For the longest time, I only built frames that had top mounted batteries and long bodies, like the ZMR X210 and the QAV210. I always felt that a longer body meant more building room and less hassle building, and I was also apprehensive about mounting batteries on the bottom, feeling they were a little more prone to hard impacts than mounted at the top.
Then I built a QAV-X210 clone, and I was hooked onto small frames with bottom mounted batteries. The size of the entire copter became relatively smaller, and the frame truly felt more nimble in the air.
However, I was not a big fan of the build, so I set out designing my own frame, working on correcting everything I felt was wrong with the QAV-X and other small-bodied frames.
Here’s me crash testing the frame:
Here’s pro pilot Clutzz maidening his Stretch 220:
And here is Clutzz building the frame:
Issue 1: ESC wires
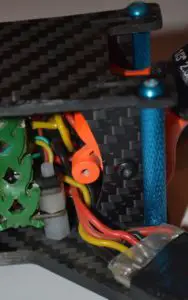
For starters, I didn’t like the fact that there was so little room to run the front ESC wires between the FC stack and the camera plates. Really, the wires were sandwiched so tightly it was a huge pain to put the camera plates in without a wire getting in the way. Considering there are 4 wires – a positive, a ground, and two ESC wires, that’s a lot to sandwich between a tight spot.
Issue 2: Camera mounting
The QAV-X clone has a slightly wider body than the size of a standard HS1177 form factor camera, so if you screw the camera into the side plates and attempt to stick the plates into the slots on the bottom plate, the plates will not go in straight, and when you try to fit the top plate, the slots won’t align, which means you’ll have to forcibly bend the camera plates to get them in the slots.
That results in a lot of pressure and stored energy(carbon fiber is not meant to flex so much), so a mild crash will release that energy. Would you believe I snapped a standoff in half after a crash? The screws on the standoffs are what holds the plates in their bent shape, so a crash means the energy wants to find a way out, and in my case, that meant a snapped aluminum standoff.
Issue 3: No options for RX antenna mounting
This is something that most frames are guilty of – there’s no damn place to mount your RX wires properly ! I used to mount RX wires by putting a zip tie around a slot in the frame and heat shrinking the wire over the zip tie, but hard crashes ended up breaking the zip ties and I’d have to use a new zip tie and a new chunk of heat shrink.
Not to mention that’s a hard repair to do on the field, so if that happens, you’re done for the day.
Unless you carry heat shrink and a lighter, then good for you.
The method shown by Chad Nowak on the Rotor Riot Alien build episode is really awesome and I have not broken a single antenna since switching to that method. In it, you heat shrink a zip tie to a standoff. The bottom of the zip tie sticks out of the heat shrink, which secures it to the standoff and prevents it from moving around. Then you heat shrink the RX wire with some thinner heat shrink around the top of the zip tie and insert it into the wider zip tie around the standoff.
Finally, apply some heat, shrink it down, and you’ve got a nearly indestructible antenna.
However…
Most tight(210mm) frames don’t have a decent place to mount the antenna. You’d have to fiddle with the antenna to make sure it it doesn’t get in the way of a prop(some frames have microscopic clearance between the prop and the standoffs) and the carbon fiber of the top plate would be pushing against it, too.
Issue 4: Battery straps
Finally, running the battery strap through two slots put a lot of strain on the strap, especially at the point the velcro joined up with the rubber part. I chewed through a few battery straps very quickly this way.
Designing the frame
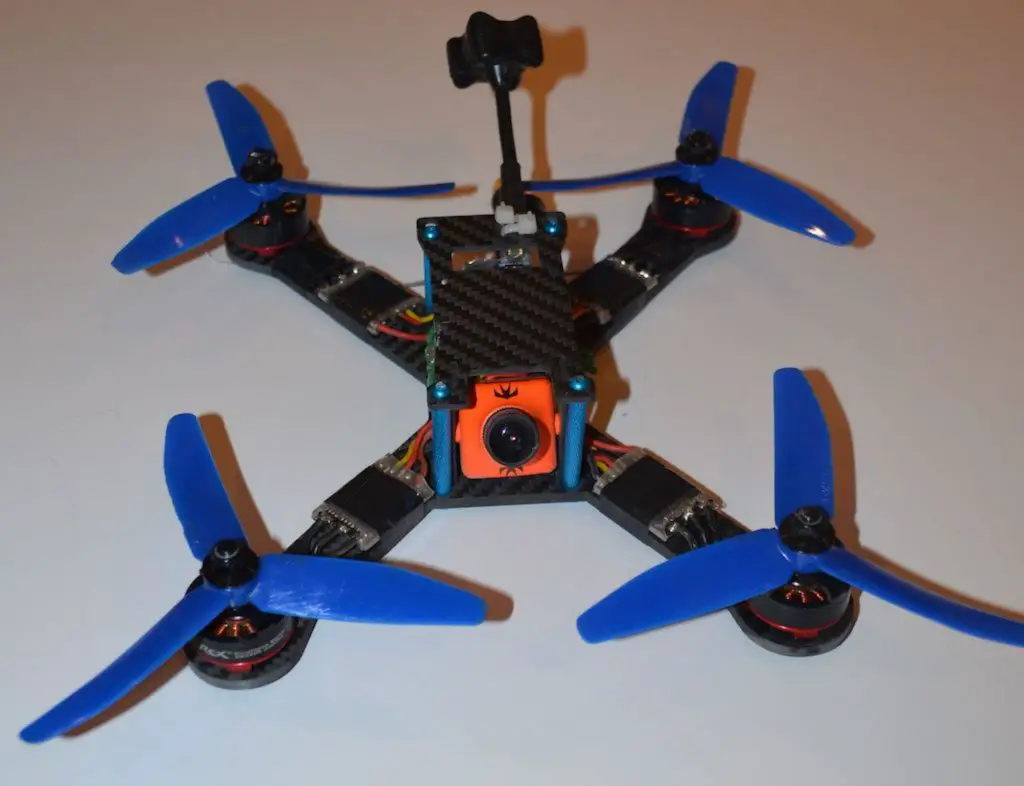
I set out to design a frame for 5″ propellers that would be almost as compact as the QAV-X210, but incorporated little tweaks which made the build process a lot easier.
Between a unibody and separate arms frame, I decided to go for unibody, since they are SO easy to put together and the frame comes together in less than a few minutes.
A thick 4mm bottom plate is very, very durable and more than enough.
I also used a thicker 2mm top plate for some extra strength.
To cut some weight, I went with 1.5 mm camera plates instead of the standard 2mm ones.
Instead of the standard 45-degree angle for the arms(which would yield a perfect X), I went for a 50 degree angle and turned it into a stretch frame.
I could have pushed the angle a little more for more extreme stretching, but then the props were getting too close to eachother and the FPV camera and it would not have been fun to always have the props covering up half your camera feed.
The arm design was pretty straightforward. I went with slight wide arms that could comfortably accommodate most 30A ESCs, and would even snugly fit the much wider KISS 24A ESCs.
The mounts are suited for 22xx motors with 16/19mm mounting holes, so there’s a very wide range of motors for you to choose from.
The center stack is a standard 30.5×30.5mm mounting pattern designed to fit most PDBs, FCs, and 4-in-1 ESCs available on the market today.
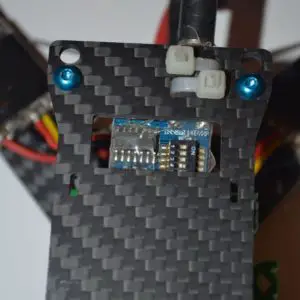
The top plate has cutouts to mount a VTx and antenna with zipties. Mounting the antenna inside the top plate has been the best for me, as I’ve never broken an antenna since mounting this way. There is no hole to mount the antenna vertically out of the top of the plate.
Then it was on to addressing the issues:
Fixing the FPV camera mounting and ESC wiring
Even though the arms are perfectly symmetrical, there’s a little more carbon fiber towards the front part of the body than there is towards the back. That’s because the front will house the FPV camera, and there’s nothing that will go on the back.
It’s only 5 to 6 mm extra, but that’s all you need to comfortably thread the ESC wires without worrying about getting them stuck between the camera plate and FC stack.
The camera plates are also cut in a curved shape so there is room to pass the ESC wires.

Finally, even though the body of the frame is a little wide, the plates are positioned to match the dimensions of an HS1177 style camera, so they would fit perfectly straight and won’t come under any stress.
There are also mounting holes for a bracket, so if you wanted to, you could forgo using the plates and mount the camera using the bracket instead.

Fixing RX antenna mounting
The top plate has 4mm holes right behind the standoff mounting holes, so you can slide the top plate right over the ziptie-heatshrink mounted antennas. You could even remove and mount the plate as many times as you want without worrying at all about the antennas.

The top plate will also provide some added protection to the antennas. Just make sure that the exposed part of the antenna clears the carbon fiber when you mount, as that will give the best reception.
Fixing battery straps
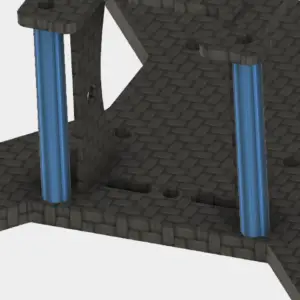
I was not fully aware of battery strap issue until Larry Davis of Falcon Multirotors(awesome frames, check them out!) pointed it out to me – so I took his suggestion and made the center part of the frame just a little bit thinner with enough room for the strap to fit snugly around it while holding a battery.
Who is this frame good for?
The Stretch 220 is a hybrid racing/freestyle frame. I do a bit of both, and I wanted a frame that would be a fast racer and strong and sturdy for acro.
The top plate supports a camera tilt of up to 55-60 degrees. After that, the camera will hit the top plate. Most people don’t fly with more than 40-45 degrees anyway, so it works.
There’s also plenty of room on the top to mount a GoPro or even a longer action camera like the Foxeer Legend or RunCam 2.
The frame also had to be a straightforward and functional build – I hate stuffing wires and coaxing parts to fit together.
Finally, it had to be versatile – the camera can be mounted in multiple ways, and you can make the FC stack lower and use 25 mm standoffs, too.
TL;DR
5 inch stretch frame with 220 mm wheelbase
Easy to build, compact yet roomy body
Multiple FPV camera mounting options
4 mm bottom plate, 2mm top plate for strength and durability
RX mounting holes at the back of the top plate
Made from Armattan carbon fiber
Where to get the frame
I chose Armattan Productions for getting the frame manufactured. Armattan has some of the best carbon fiber in the industry, and their quality and customer service is solid. The standard kit from Armattan contains black standoffs and all the metal hardware you’ll need.
You’ll have to get your own Nylon hardware for the FC stack as Armattan Productions does not have the right sizes available right now.
When you buy from Armattan, they’ll take 7-10 business days to cut the frame, and another 10-14 days for shipping. Taiwan Post is generally very fast, so once the order is out, you should get it very soon.
Leave a Reply
You must be logged in to post a comment.