The Taranis Q X7 is a really awesome radio – for an inexpensive price, you’re getting features that you’d find it much more advanced radios.
Of course, the cheaper radio means some things are left wanting. Here are some of my favorite mods for the Taranis Q X7 to really make it AWESOME.
I have done most of these mods(as you’ll see in the pictures, though there are some that I have yet to do but I found them cool, so I included them in the list).
Let’s start with high priority and work down.
Must do mod: Battery
The Taranis Q X7 does not come with a supplied battery(the base version, I believe the Q X7S does indeed have a battery included).
There’s a holder that you can put AA batteries in. But seriously, WHO flies with AA batteries, right?
There are a few options: you can either use a LiPo, 18650 cells, or a NiMh battery pack. Personally, I prefer 18650 cells because they have power density similar to LiPos, are relatively safer, and don’t take as much time to charge as NiMh packs do.
Removing the existing tray is easy. It can just be pulled out, and you can remove the plug from the board. It’s accessible without having to open up the radio.
Option 1: LiPo
There are a few online stores that sell LiPo batteries specific to the Taranis Q X7 tray.
Option 2: 18650 cells
This is the mod I have done. I 3D printed a holder I found on Thingiverse. The holder is really easy to assemble – you can just pull the springs and contacts out of the stock battery tray and slide them into this one, and solder on wires to make the two cells series.
Cut the pigtail off of the original holder and solder it on to your new holder, and you’re good to go! If you like, you can add an XT-60 or JST connector as well as a balance plug to charge right inside the radio itself, but I prefer to just remove the cells and charge them separately. It’s up to you.
Option 3: NiMh pack
I believe FrSky and perhaps other manufacturers now make NiMh battery packs for the Taranis Q X7. You can buy these and like the lipo, they’ll fit into the tray.
The only disadvantage I see here is that you won’t be able to charge the battery inside the radio like you can with the Taranis X9D, since there is no built in charging circuitry.
You’ll have to remove the battery pack and charge outside(and you’ll also have to make a little pigtail to connect the battery to the charger).
Optional but recommended: M7 Gimbal upgrade
The base model of the Q X7 comes with regular gimbals. These gimbals are good, but not great – they use a normal potentiometer which can wear away with time. After using my radio for nearly a year I felt that the sticks were getting a little rough.
The M7 gimbals are the Q X7 version of the M9 gimbals for the X9D. They’re pretty much the same except designed to fit in this radio.
Installing the gimbals is really easy. Four screws at the back of the radio will remove the back shell.
Unplug the existing gimbals.
Remove the four screws holding each gimbal in(you may also need to remove the wiring from a harness in the radio, which can be done by removing one screw).
Replace the older gimbal with the M7 gimbal, secure it with the screws, and plug it into the connector the old gimbal was in.
At this point, both sticks will be centered – to make one a throttle stick, you’ll have to put in a little screw that disengages the spring. This video will help explain it better:
Once you’ve reassembled the case, power up the transmitter.
From the model screen, press and hold the menu button to get into the main radio menu. Press the Page button until you get to stick calibration.
Do the calibration, and you’ll be good to go!
Optional but recommended: Stick ends
The Taranis Q X7 is really suited to people who fly thumbs rather than pinch. I used to hybrid pinch and could not get comfortable with the Q X7 at all. I switched to thumbs and it became much more comfortable, and I’ve also been flying better ever since.
The only issue with using thumbs is that the sharp stick ends really dig into your thumbs and sometimes even slip.
To fix that, you can unscrew the top of the sticks off, and screw on some more comfortable stick ends.
The “Lotus” style stick ends are really nice. You can either buy these ready(GetFPV link) / Banggood, or get them printed.
Optional but recommended: Gimbal protector
Carrying the Taranis Q X7 around in a backpack while looking for spots to rip can cause some unwanted movement on the gimbals. To prevent this and keep your gimbals secure and protected from unwanted pressure or movement, you can print a gimbal protector.
There are tons of designs available on Thingiverse, but I like the Rotor Riot style ones. They look really cool!
Note: The Rotor Riot gimbal protector will not work with the stick ends I told you about above. One solution – though a little impractical – is to just screw on the stick ends every time you go fly.
Optional but recommended: Kickstand
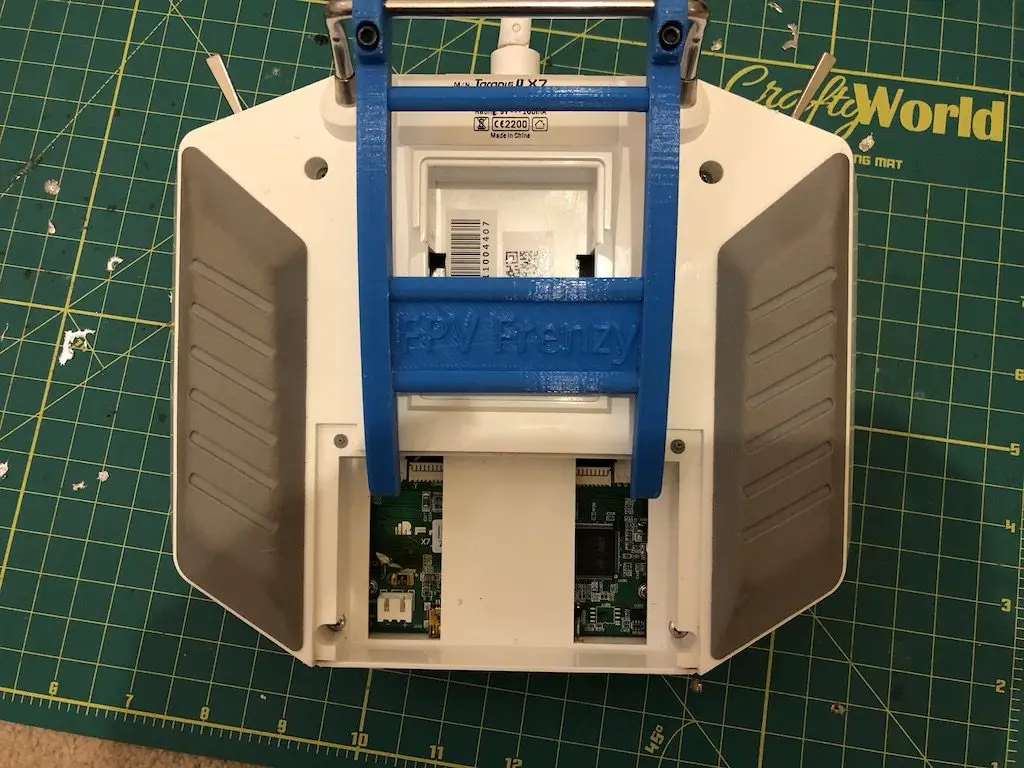
A kickstand is an optional mod, but really helps when you’re out in the field and would like to set your radio down. You don’t have to lay it flat on the ground – instead you can just prop it up using a kickstand.
You can either buy a kickstand ready-made or get one printed.
I printed mine with some FPV Frenzy bling 🙂

Fun but cool: Hydrodipped shell
Another way to REALLY bling up your radio is by hydrodipping your shell.
Hydrodipping involves taking the ENTIRE radio apart(including desoldering and re-soldering the antenna), so make sure you are up for it before you give it a shot.
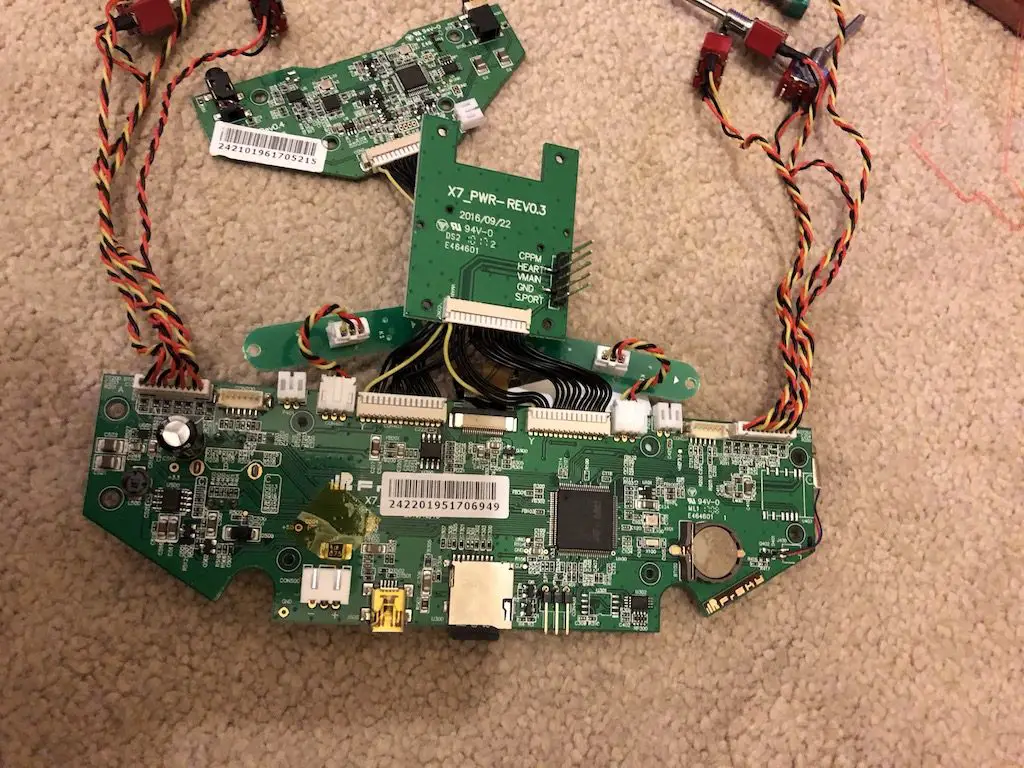
After you remove the back plate, you can see the entire radio’s electronics.
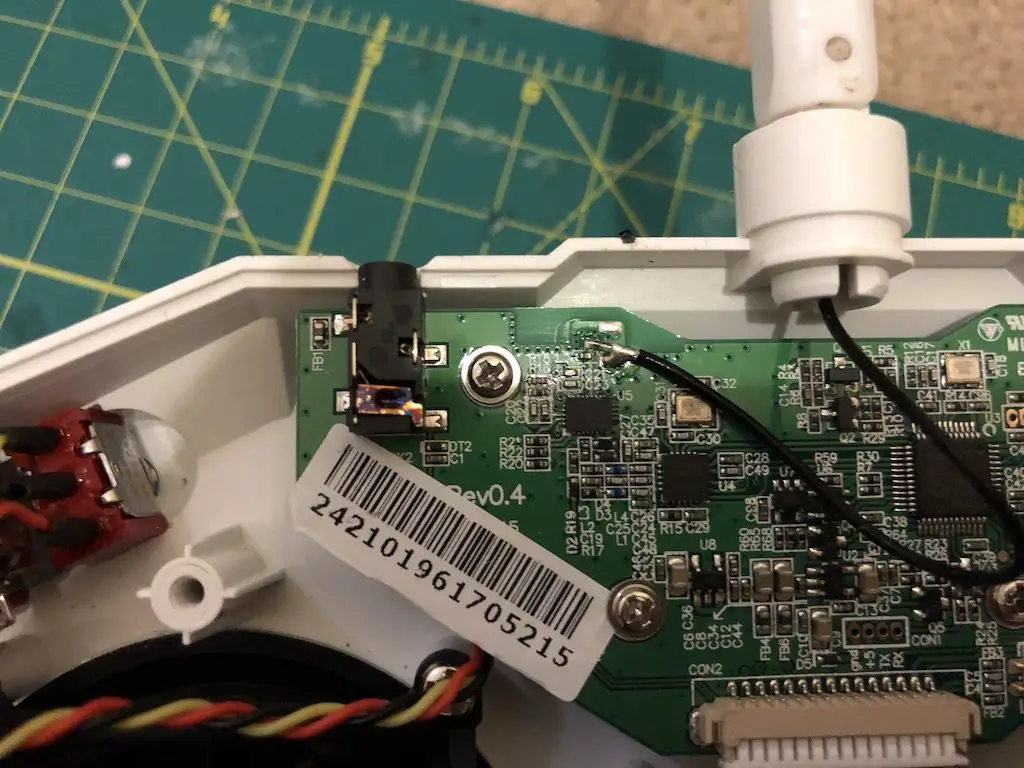
Removing the antenna is quite simple if you’re comfortable with a soldering iron. The antenna is soldered on at two points: one to a ground pad from the shielding, and then the element itself to a smaller pad.

Desolder the ground pad first, and then desolder the element, and when re-soldering, solder on the element first, then the ground pad. It should be easier this way – that’s how I did it and it was quite painless.
Removing the antenna enclosure is a different story. The holder is secured using two tabs that stick out through the enclosure. You have to press the tabs together and pull on the top of the antenna enclosure to get it out.
When I took the rest of the radio apart, I did not remove any connectors. This way there was no worrying about putting things back together.

The screen is held in by a little plastic frame. The screen fits into the frame, and a plastic brace fits on top of the back of the screen. The board will then sit on top of that.
With everything out, you can swap it all into the hydrodipped frame.
Solder the antenna back on, and bolt everything back in place.
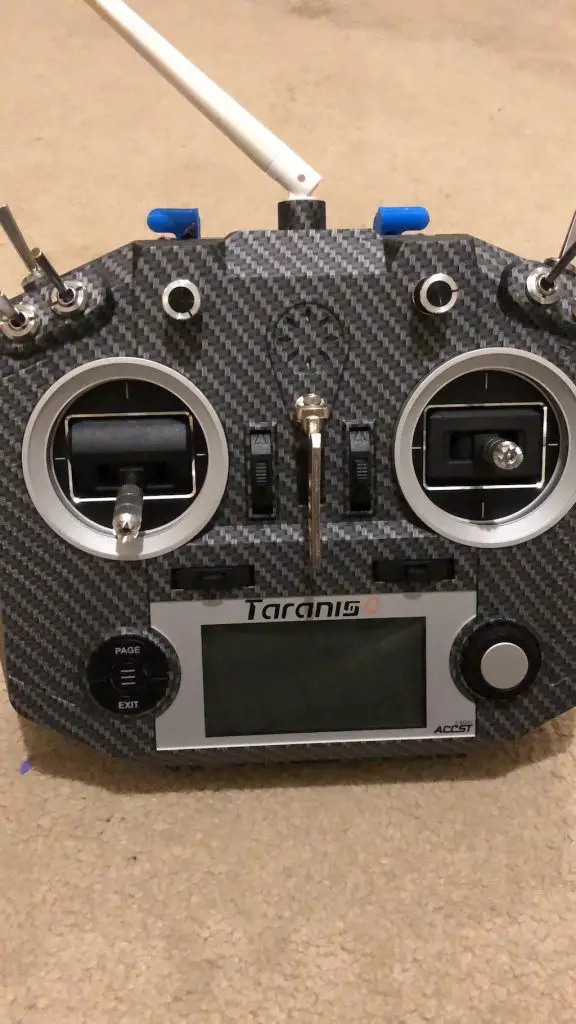
Here’s the finished product:

Conclusion
These are the basic mods that I feel are useful. Of course there are more ways you can customize the radio, and I have not touched the software part yet!
Leave a Reply
You must be logged in to post a comment.