Raceflight is an alternate flight controller software to Betaflight or KISS. It used to be a bit of a Betaflight knockoff but now it has been completely rewritten and it aims to provide a hassle-free flying experience with minimal required tuning.
The only drawback is that it has very limited hardware support, so you have to use a Raceflight board like the Revolt or Skitzo board. The Revolt V2 is an F4 board that can support 32 kHz and also has a very sensitive and well-tuned gyro.
I bought a Raceflight Revolt V2 board and set it up. The board comes with rubber vibration dampeners, which was a nice touch. Mounting the board is a little different because of the way the dampeners are – normal standoffs won’t work as well, because the top of the threads will not poke out above the rubber!
Instead, you’ll have to use the cylinder spacers, place the flight controller on the spacers, and insert a screw from the top into the spacer through the flight controller mounting holes.
Wiring the board up was also pretty straightforward. The pinout diagram is also very helpful.
A really nice touch by the board’s designers was that the ground pins are all squares, and the rest of the pins are ovals. This way you’ll never mistakenly wire voltage up to ground and fry your board!
The motor layout is a little different from Cleanflight and Betaflight, too – it’s actually similar to KISS. The pads are clearly marked M1, M2, M3, and M4, so you should not have a problem wiring it up, and even if you are switching from a Betaflight build, the motor spin direction remains the same, so it’s no big deal.
There are enough UARTs to hook up an SBUS receiver with telemetry and enable SmartAudio or Tramp VTx – honestly, that’s all you really need on a racing copter these days!
Flight characteristics
Even on default everything(only adjusted rates to my familiar stick feel), the copter flew very well – it was smooth and there was only a tiny bit of top end throttle oscillation, and that too in certain situations only.
There was a tiny bit of propwash, but only when I really forced it out. Otherwise, the copter was responsive, smooth, and fast.
Is it better than Betaflight? It’s hard to say. Both firmwares are very, very good – though I did feel that out of the box, Raceflight handled the propwash a little better. With Betaflight, I got a similar feel after enabling the Dynamic Notch Filter.
However, I am not sure if the difference is so vast that I would completely abandon Betaflight and switch completely to Raceflight.
The one thing I do like about Raceflight is that it’s easy to set up, like KISS. There are a lot of presets built in that you can use and get flying right away.
This video is from my maiden flights with my build. In the video, I attempt to decrease the filters bit by bit to try and improve handling. I did not touch the PIDs, except slightly bumping up the I gain. I feel there is a little room to either decrease the P gain by a couple of points or maybe increase the D gain if my motors can tolerate it.
Setting up Raceflight
Once you’ve got your Raceflight board, you’ll have to install the Raceflight configurator – there is a Mac, Windows, and Linux version available, which you can download from here.
After installing the configurator, when you connect your board for the first time, you’ll be greeted with a setup wizard. I like the idea of the setup wizard as it will take care of a lot of settings automatically, but it’s still a good idea to manually go through all the tabs once to make sure everything is okay.
Raceflight Setup Wizard
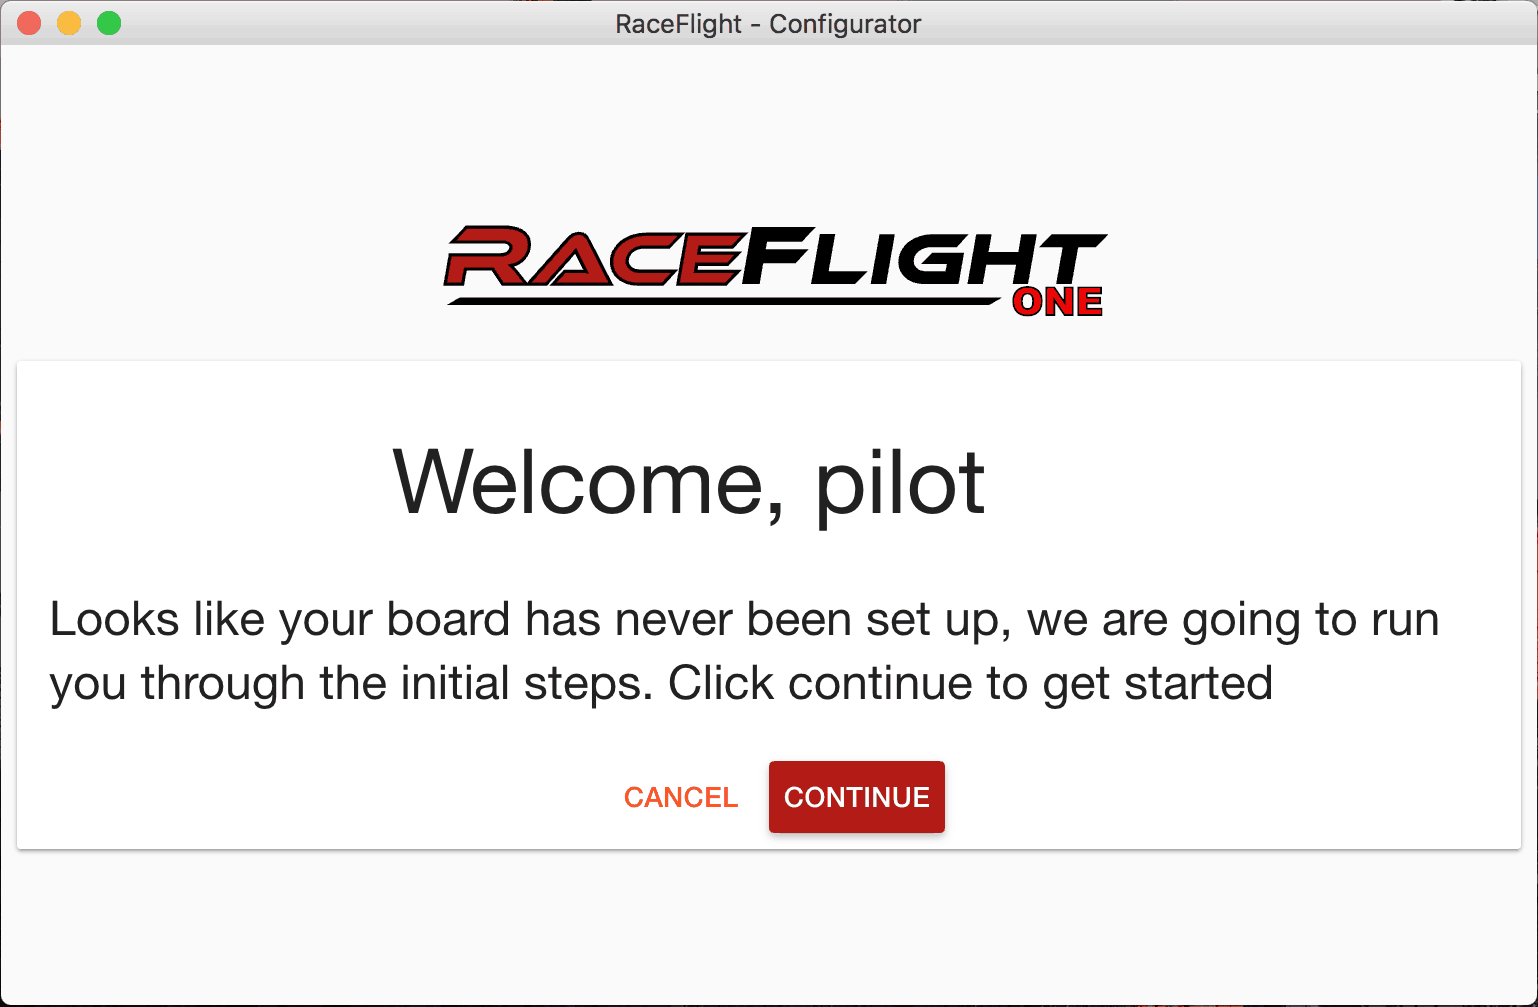
This is the first screen you are greeted with in the Raceflight setup wizard:
Click continue, and you’ll be brought to the next screen, where you’ll choose your receiver type. Since I was using FrSky, I chose that, but you will have to select whichever protocol you are using. Note that it may seem that you have to click on the image and nothing is happening, you actually have to scroll down a little to make the “Next” button visible.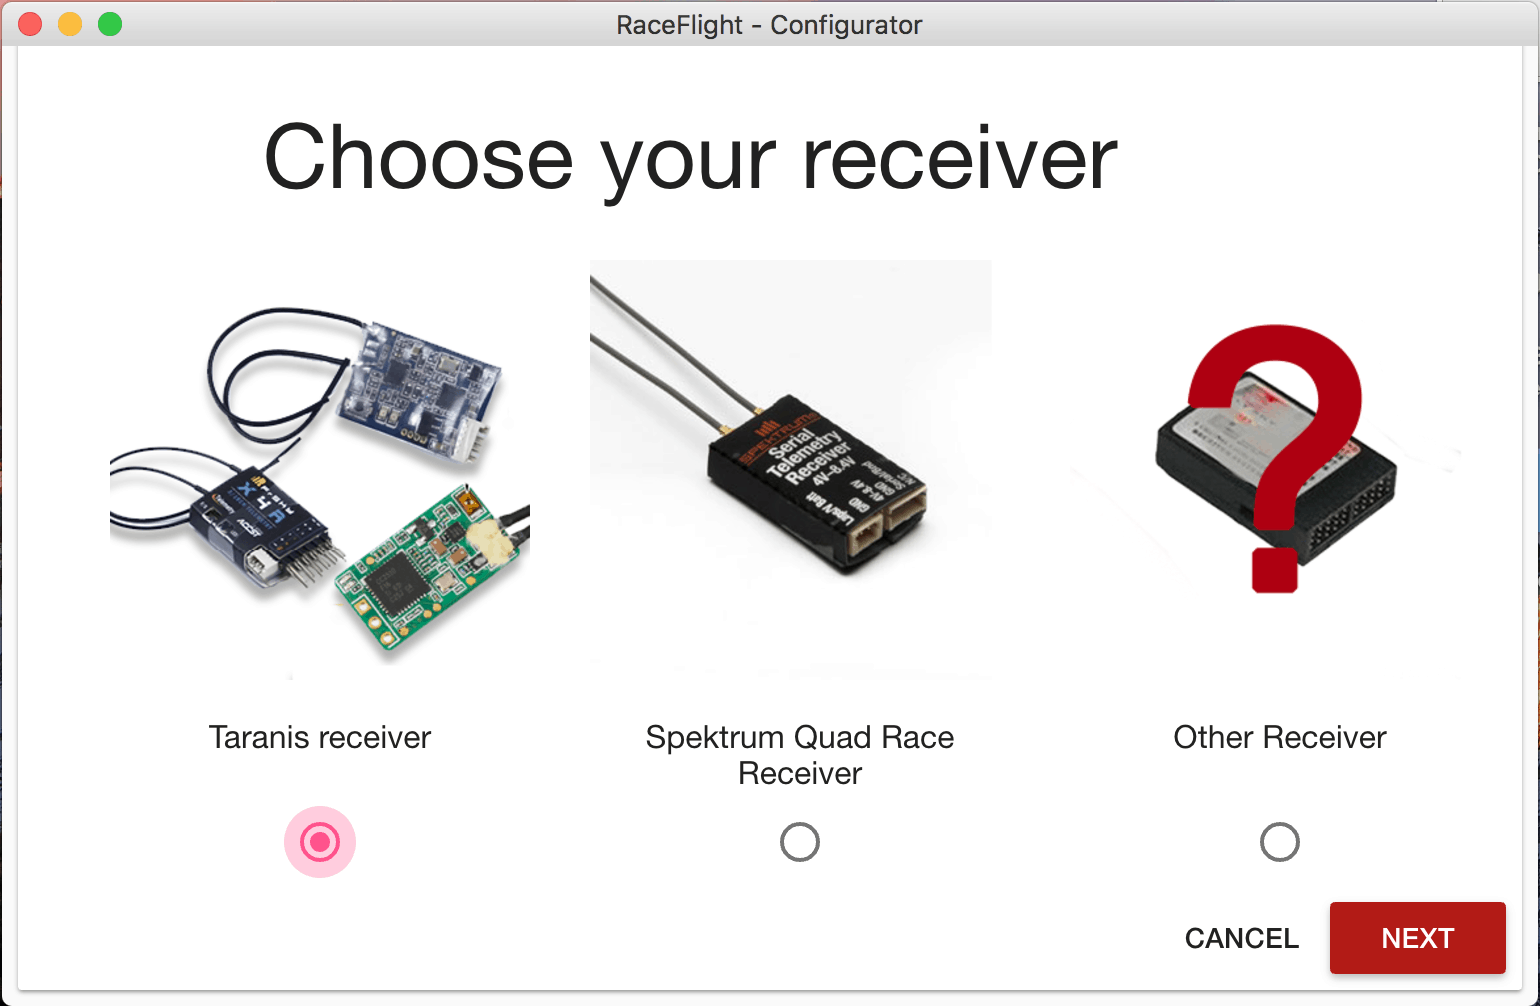
The next thing to choose is the kind of VTx you are using. If you’re using something with SmartAudio like the TBS Unify, select that, or if you’re using something like the Tramp, select that. For everything else, choose the last option.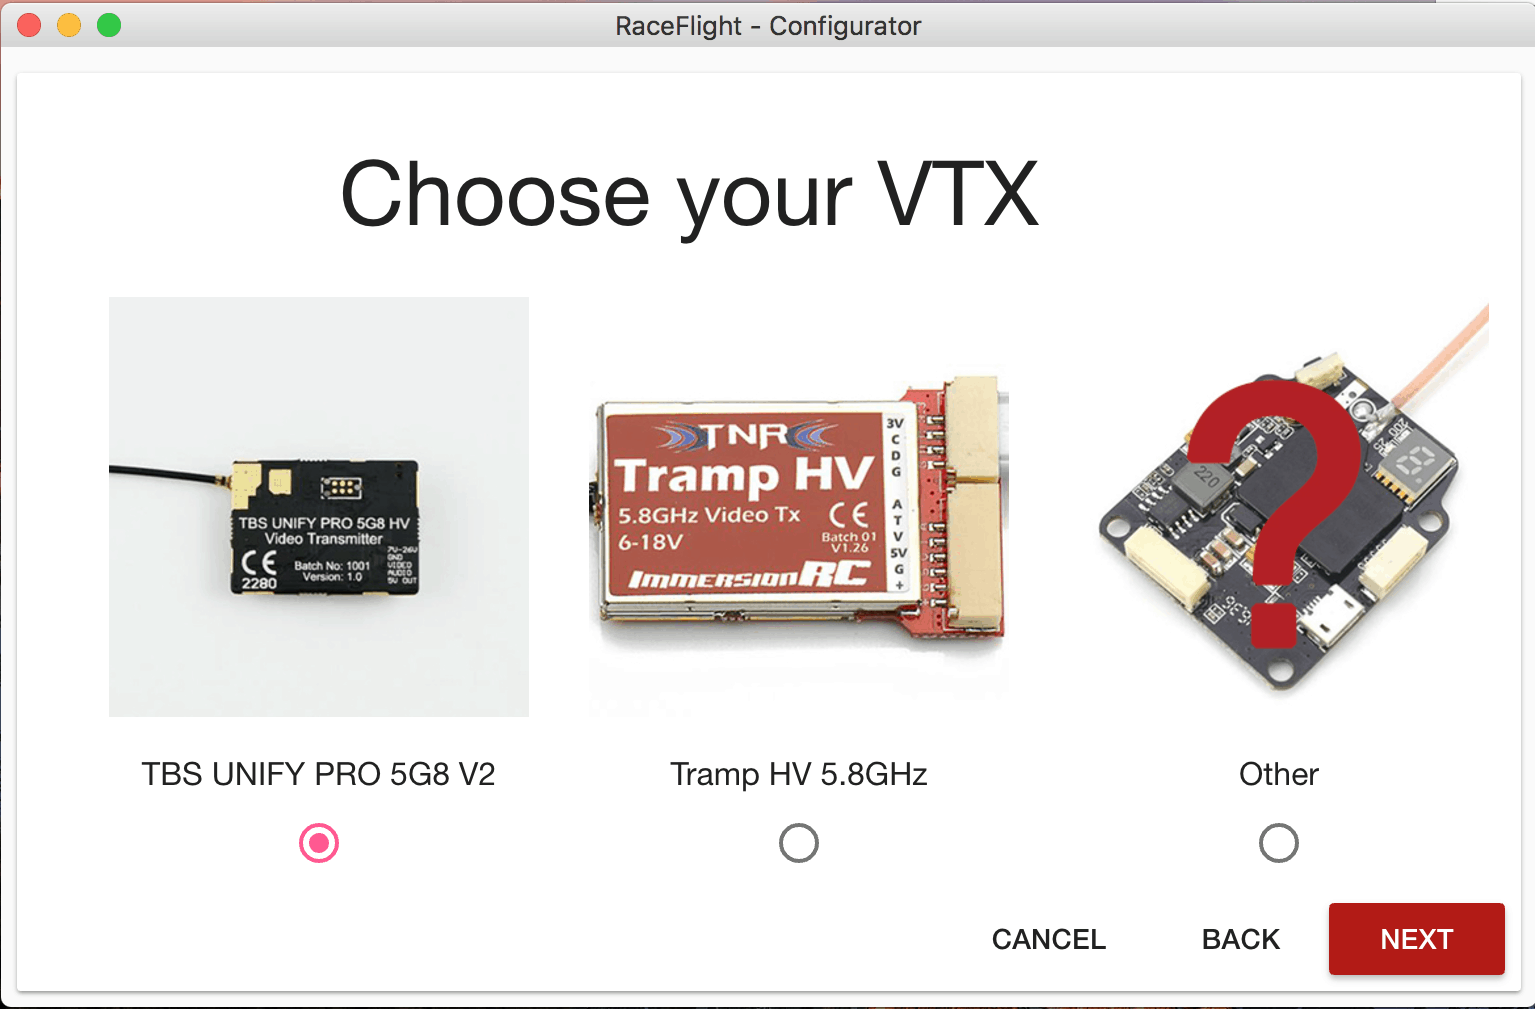
Depending on what you select here, you will have the chance to watch a setup video. It shows you the basic wiring.
In the last step, you’ll be asked if you want to run reversed props. I didn’t in this case, so I clicked no to continue and that brought me to the end of the wizard.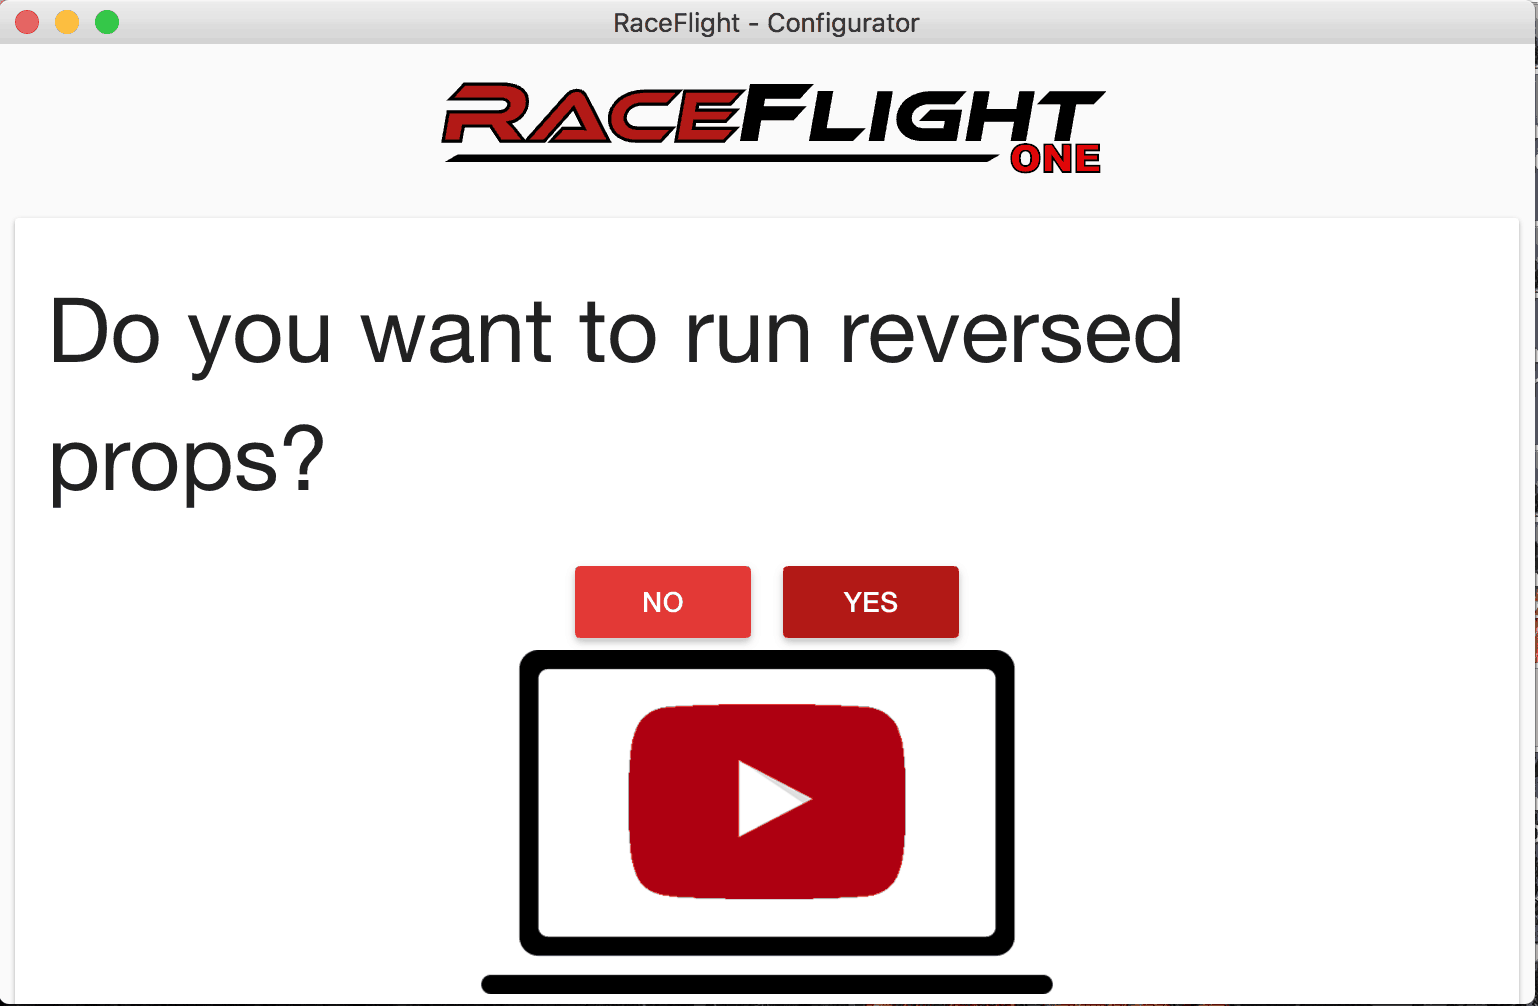
This is the final screen, which prompts you to go through 6 more steps.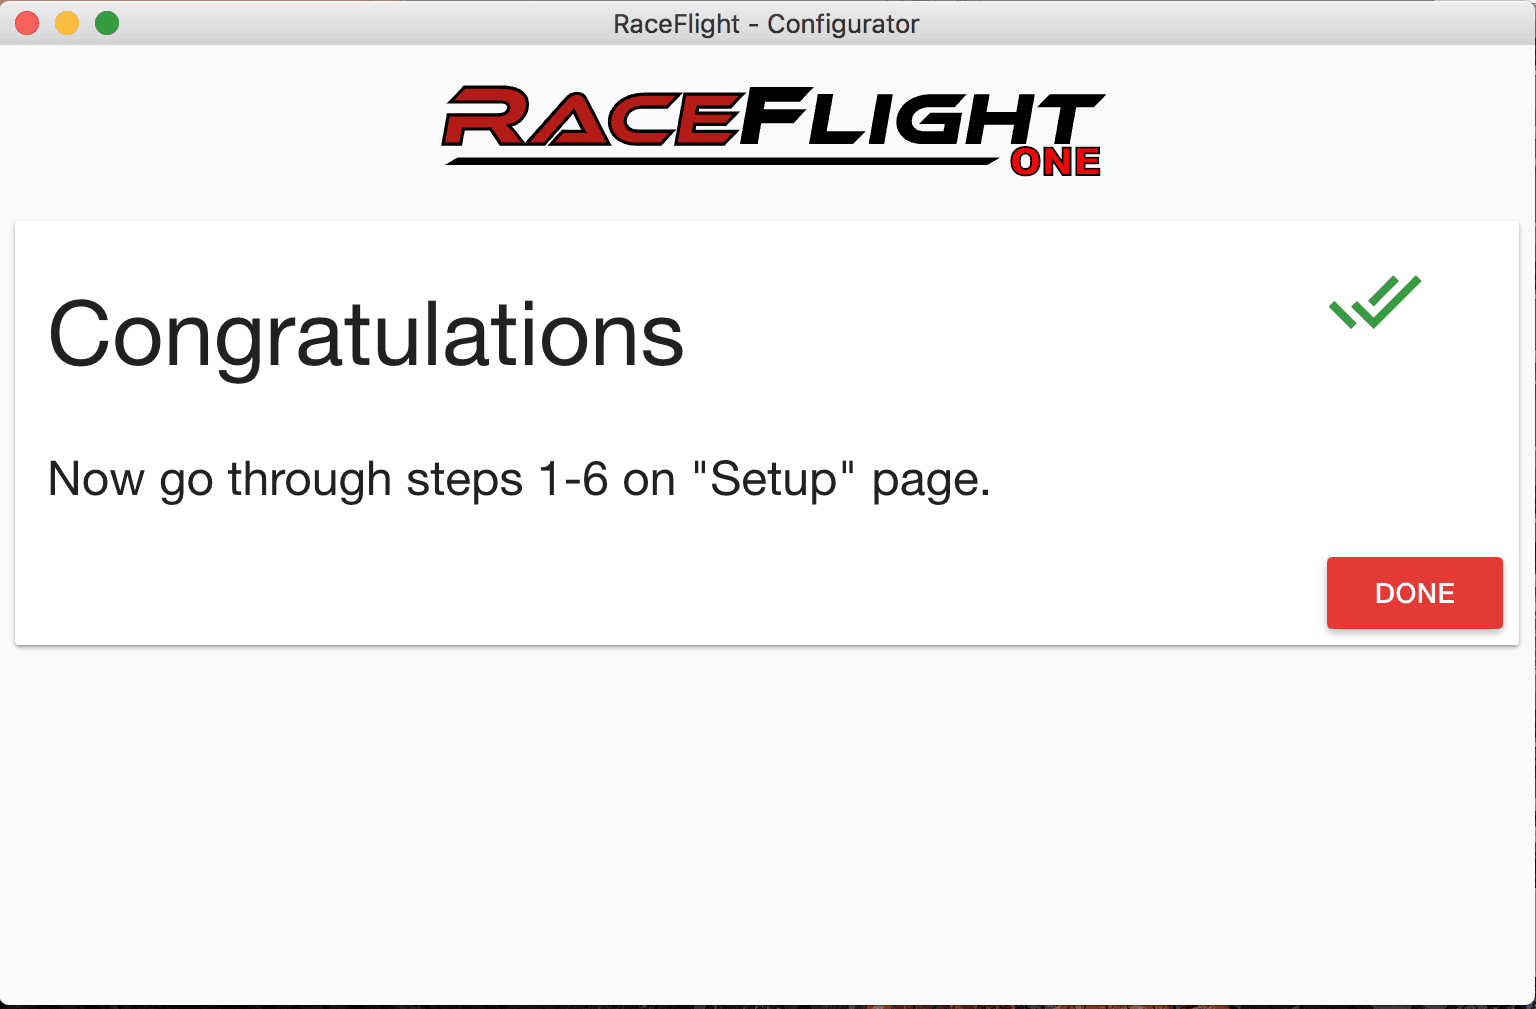
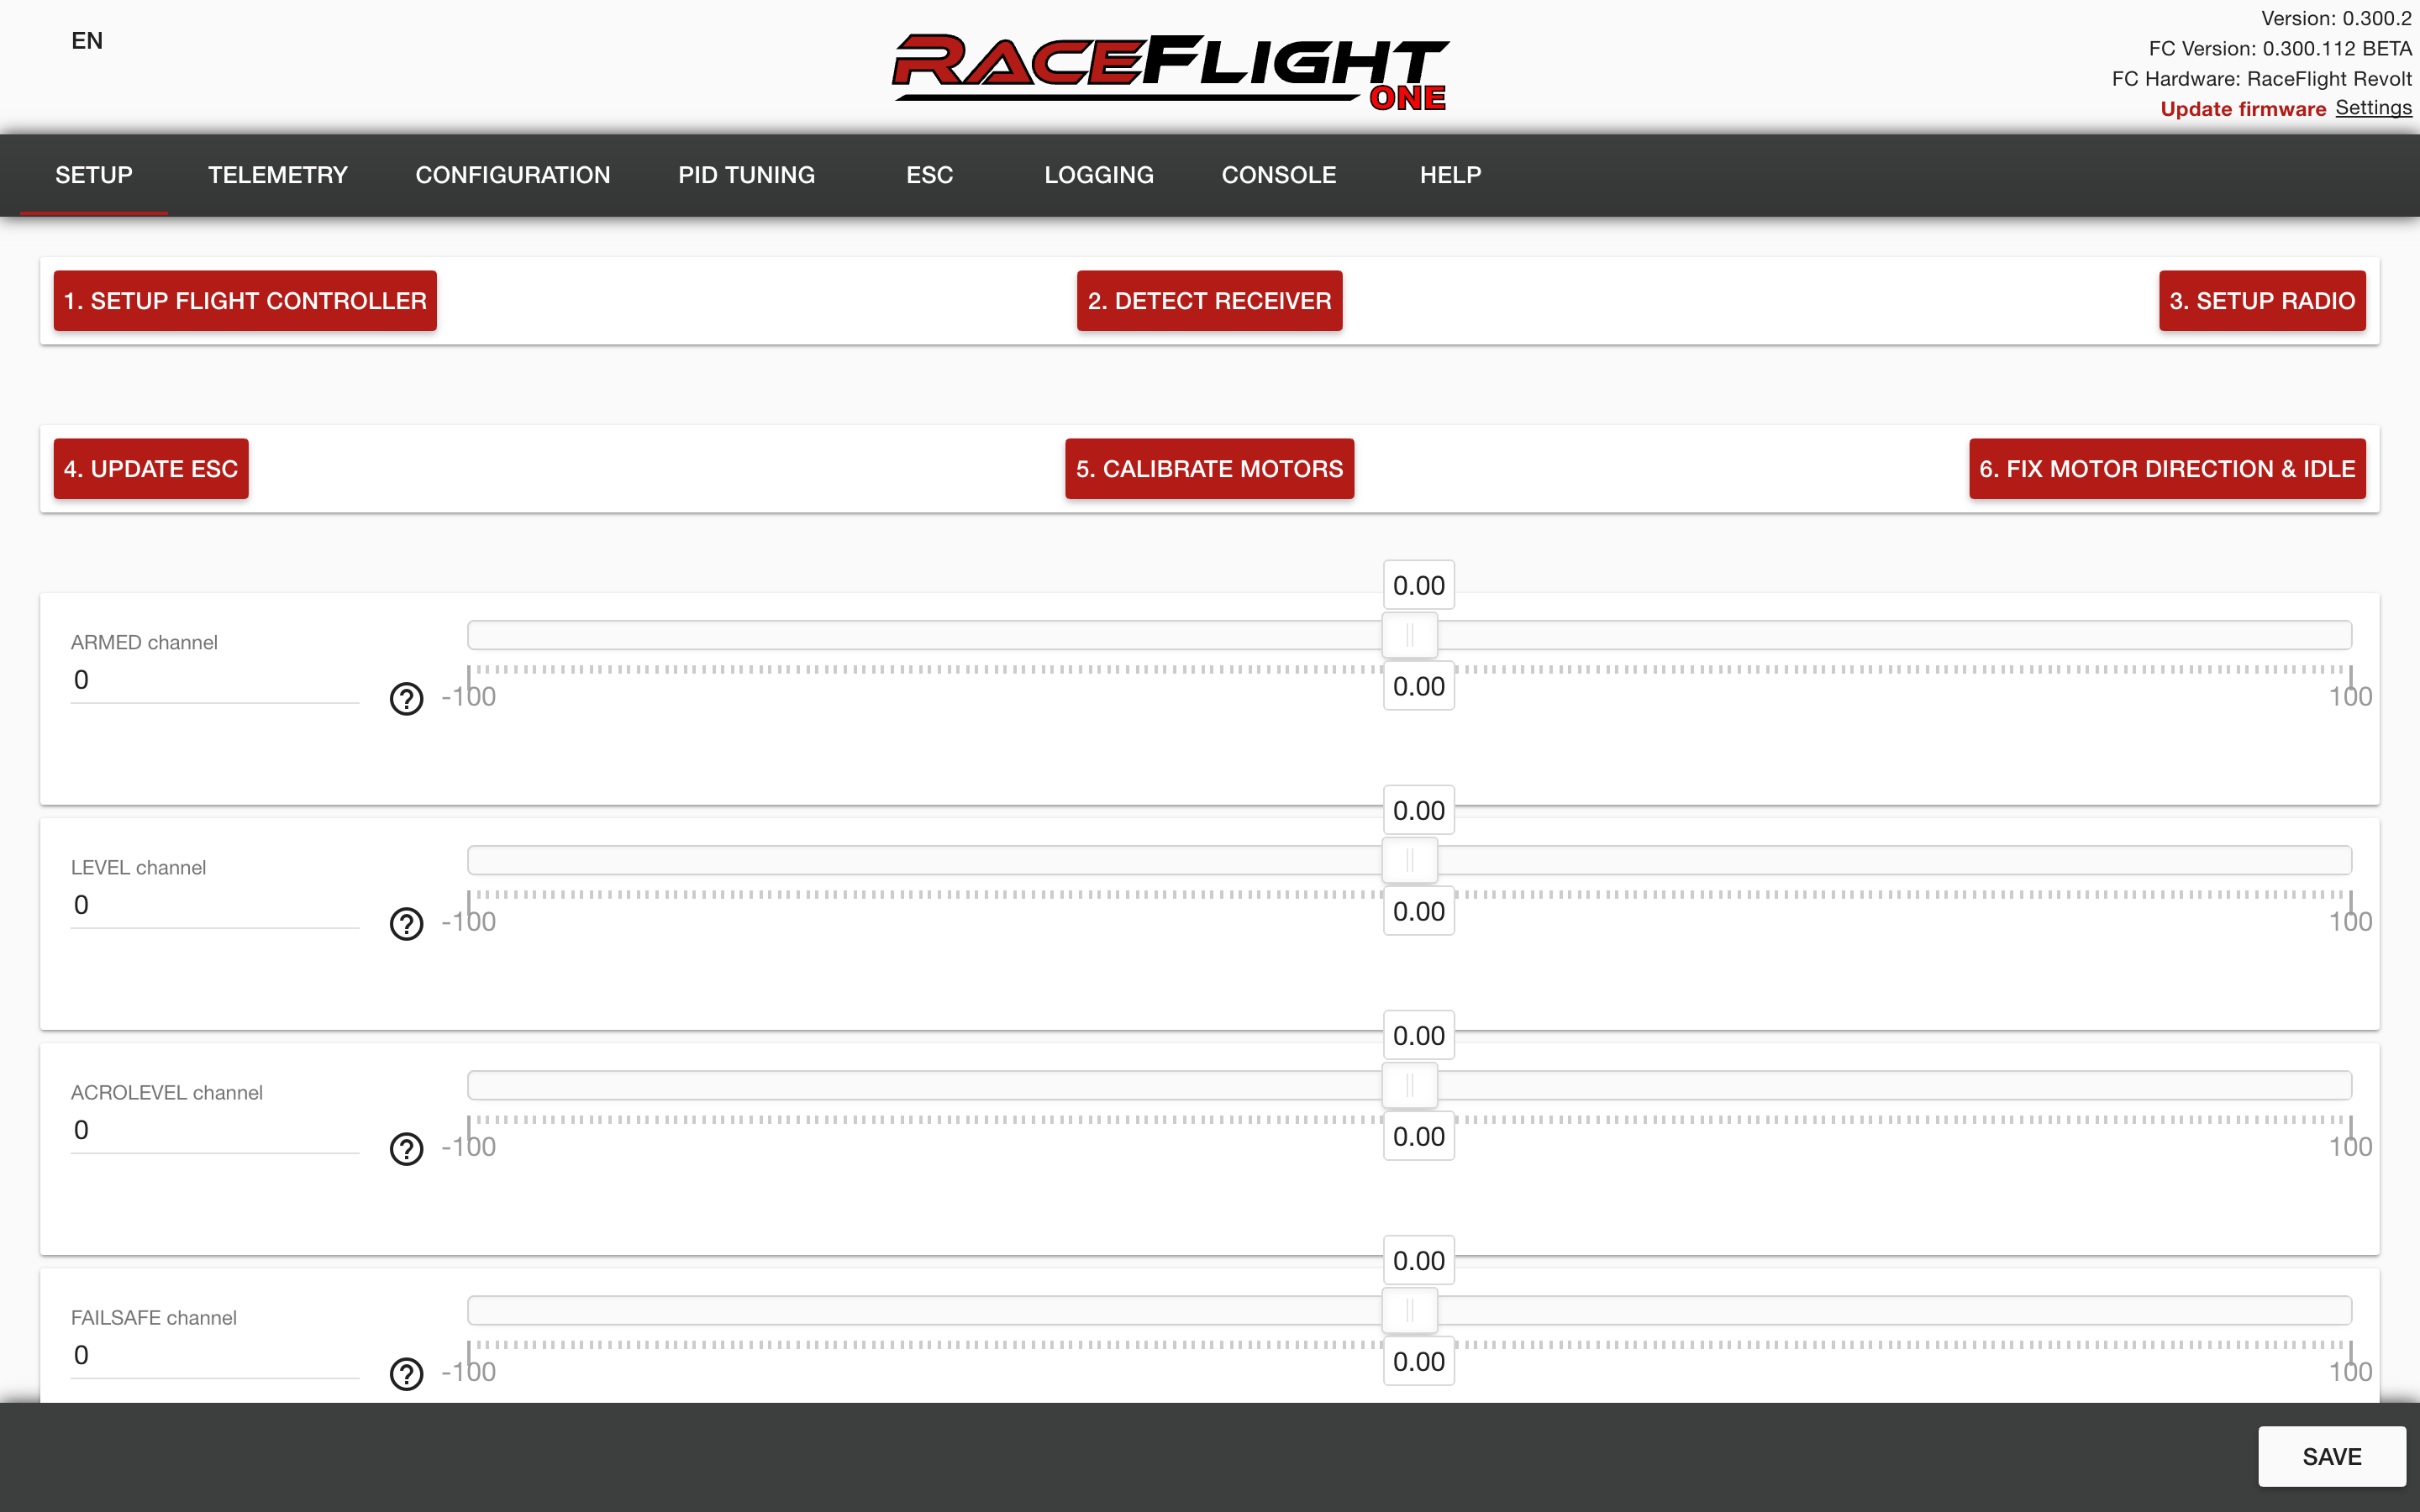
On the setup page, there are 6 buttons that take you through the steps for basically configuring your quadcopter. It’ll take care of all the necessary things like orientation, radio protocol, axes, and the like. All that’s left for you to do is change the rates if you wish, and you’re good to start flying!
First, click button 1: Setup flight controller
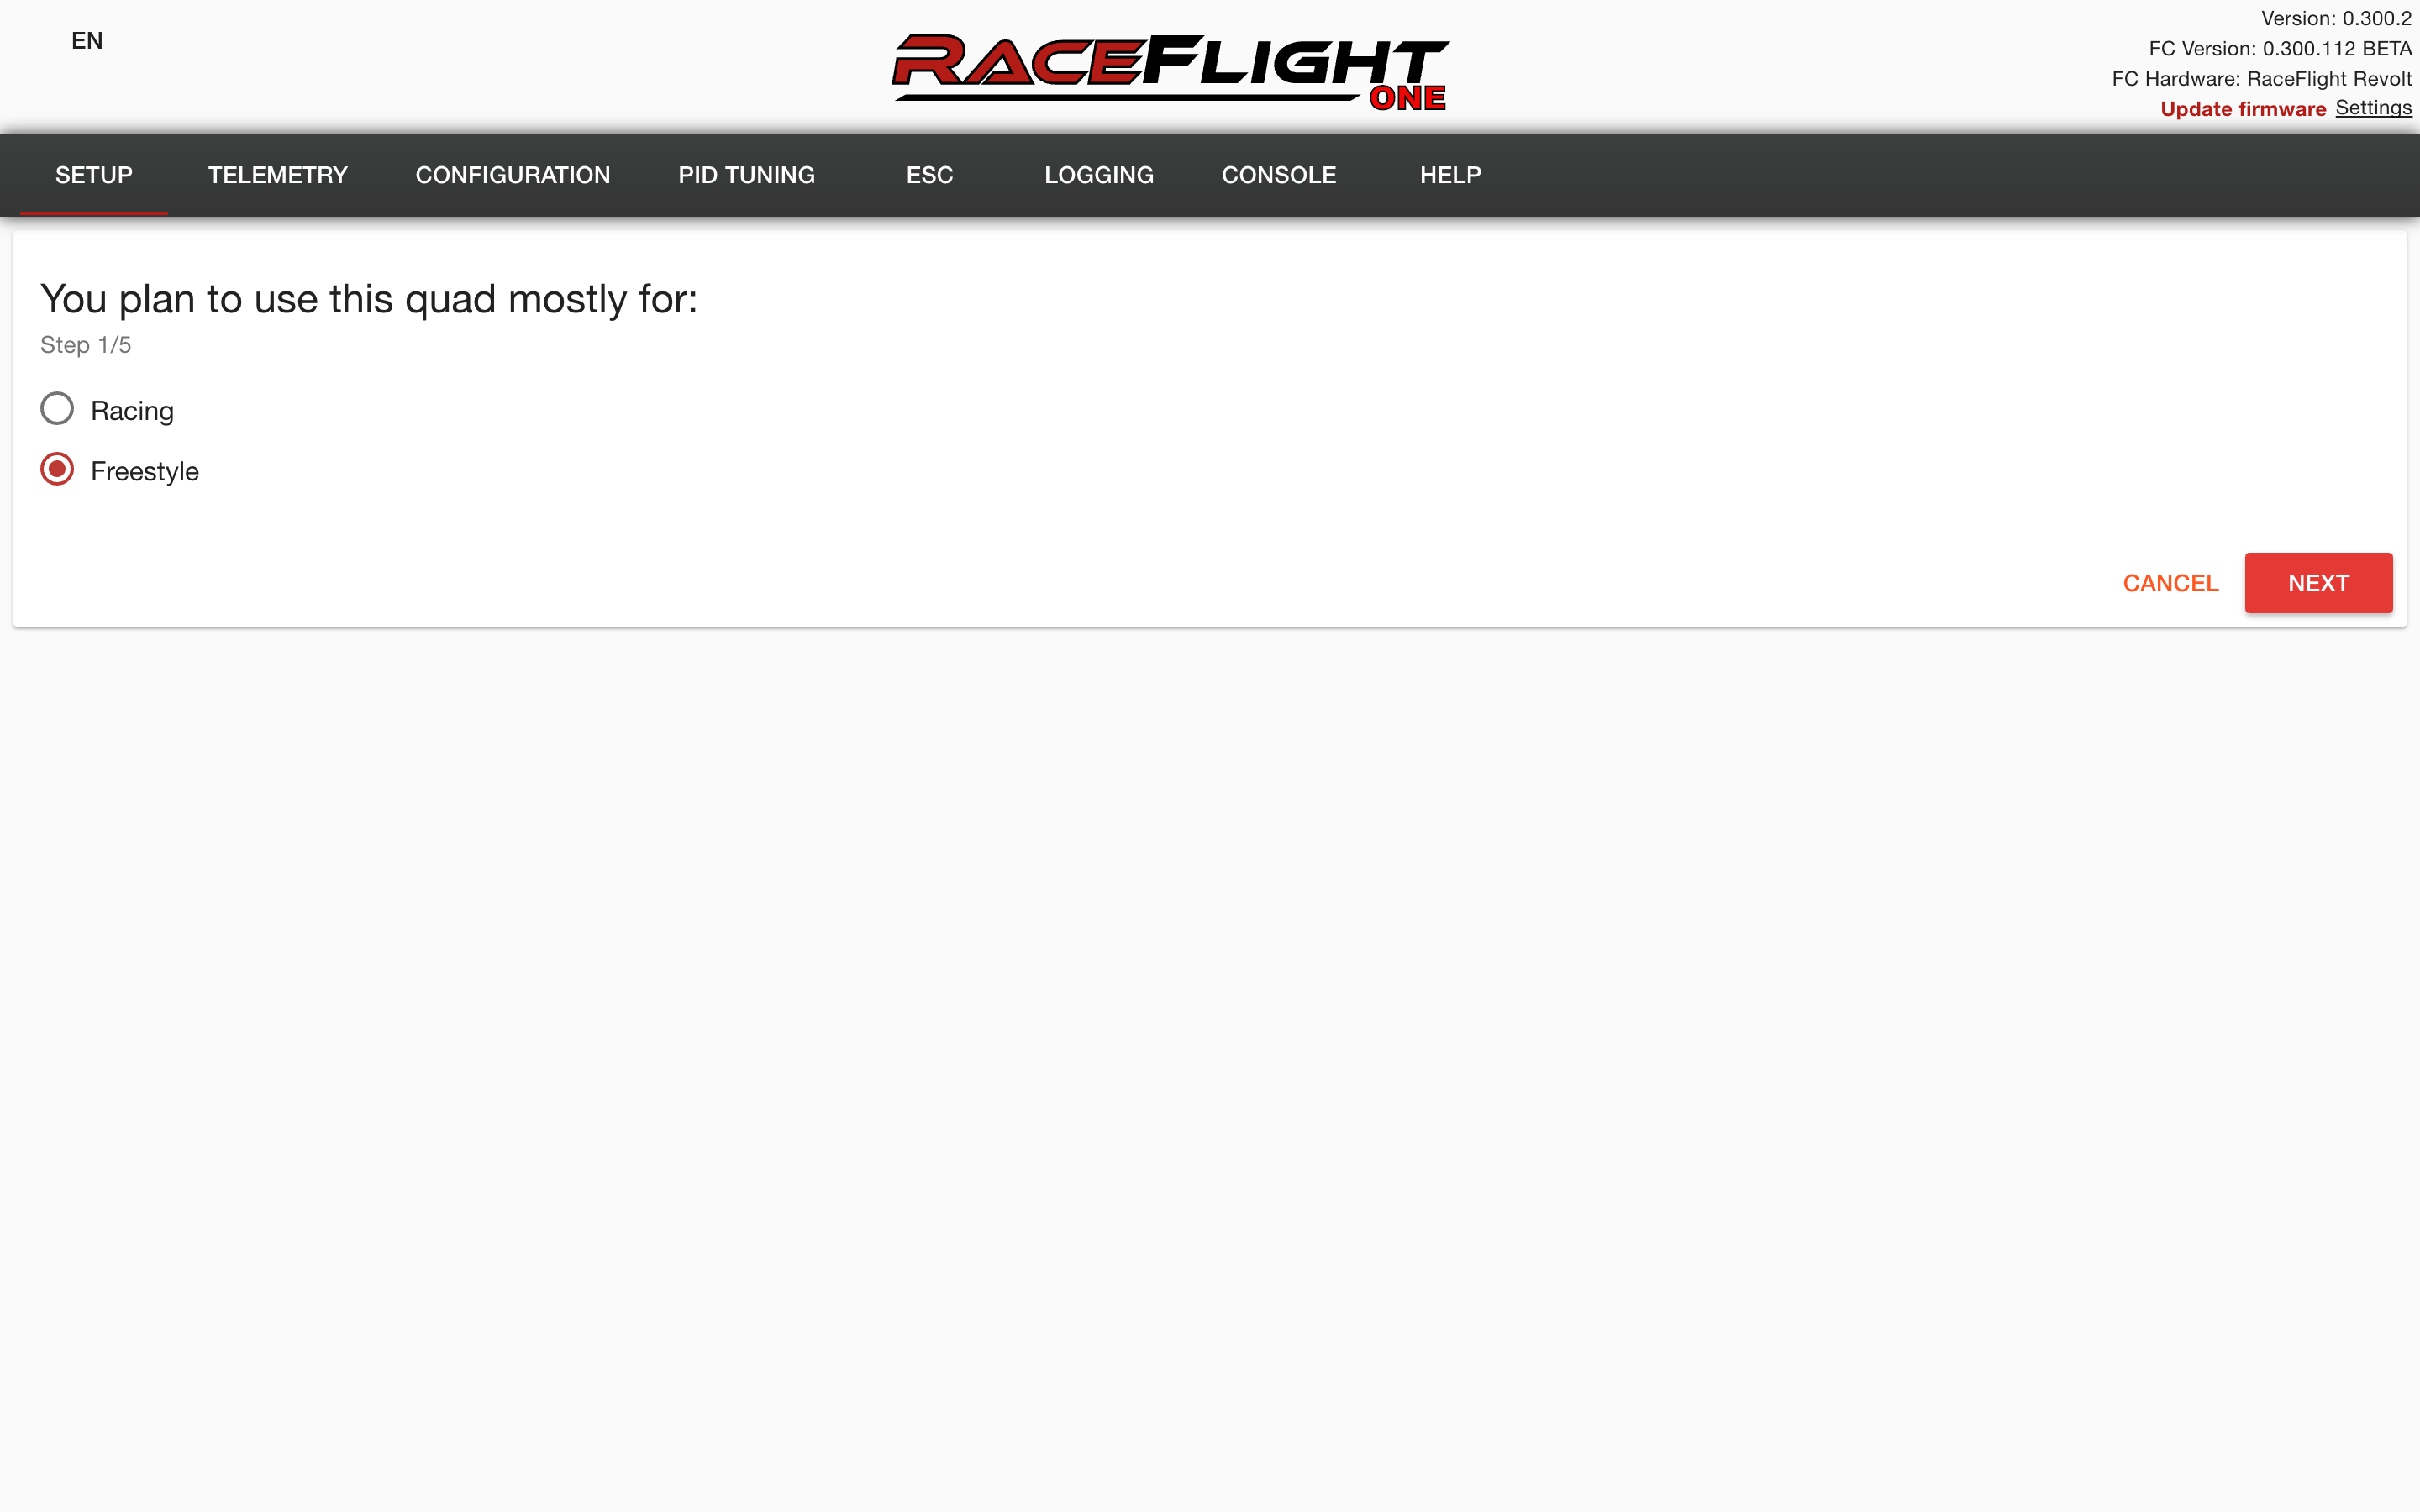
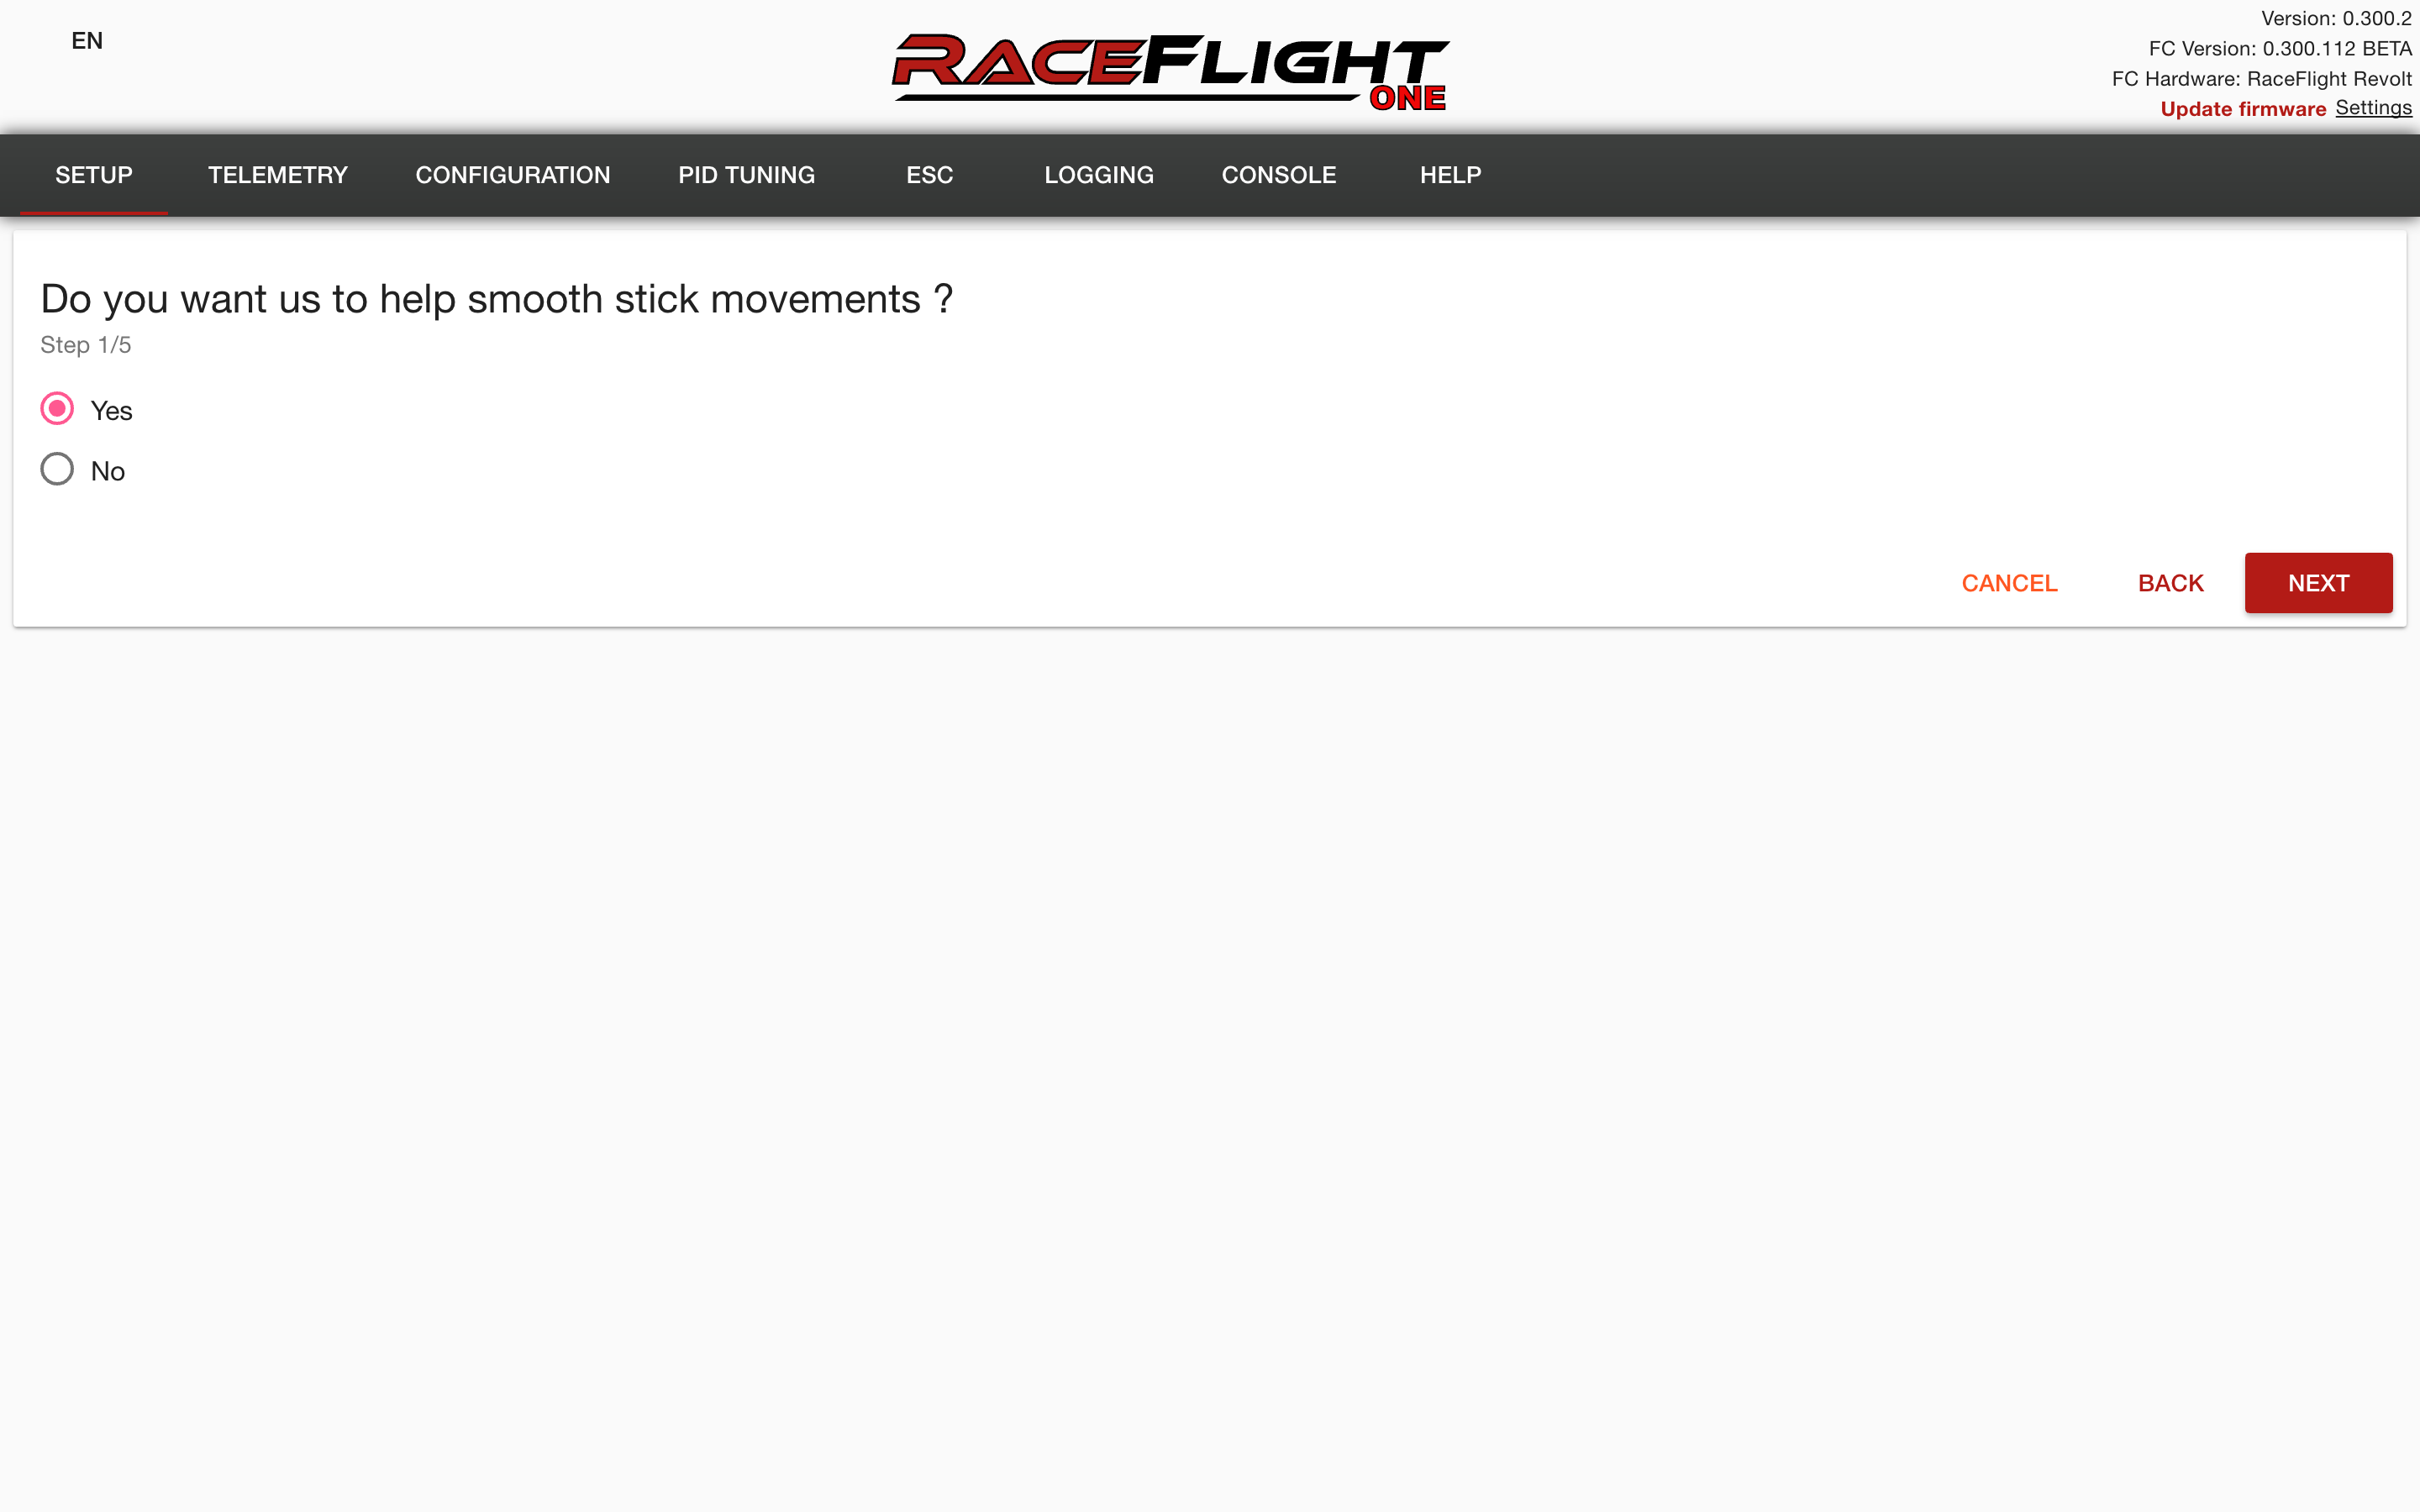
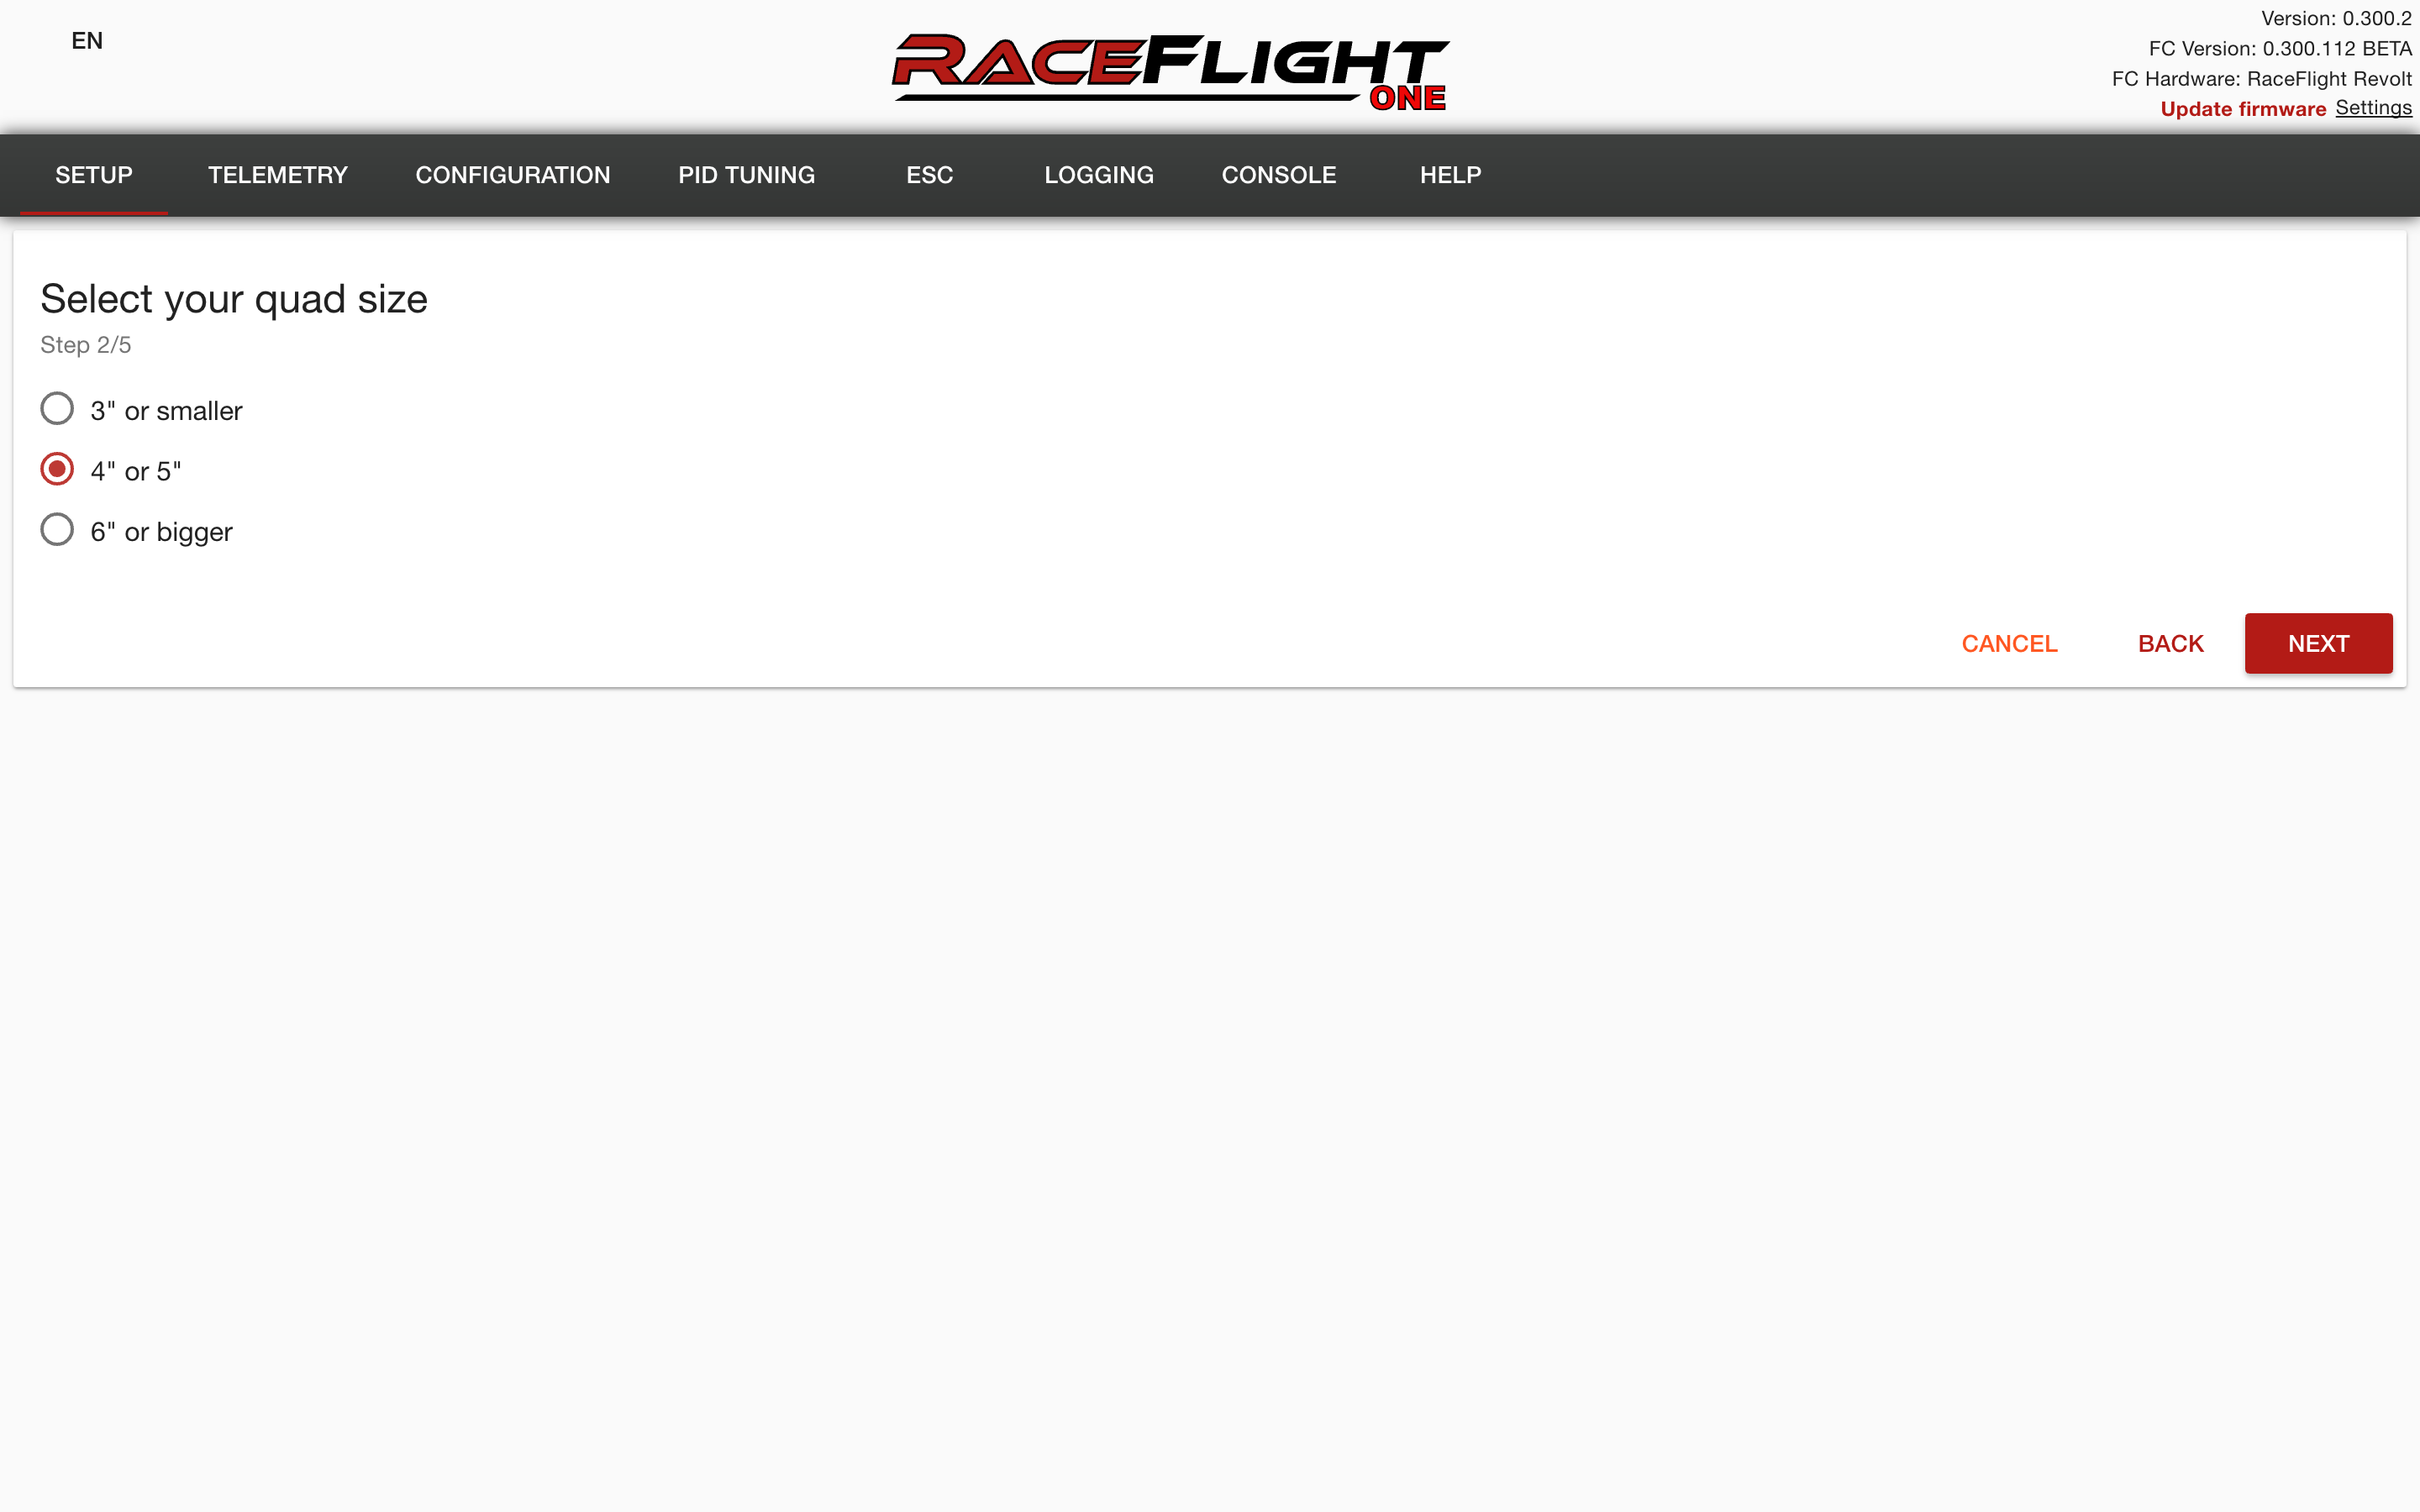
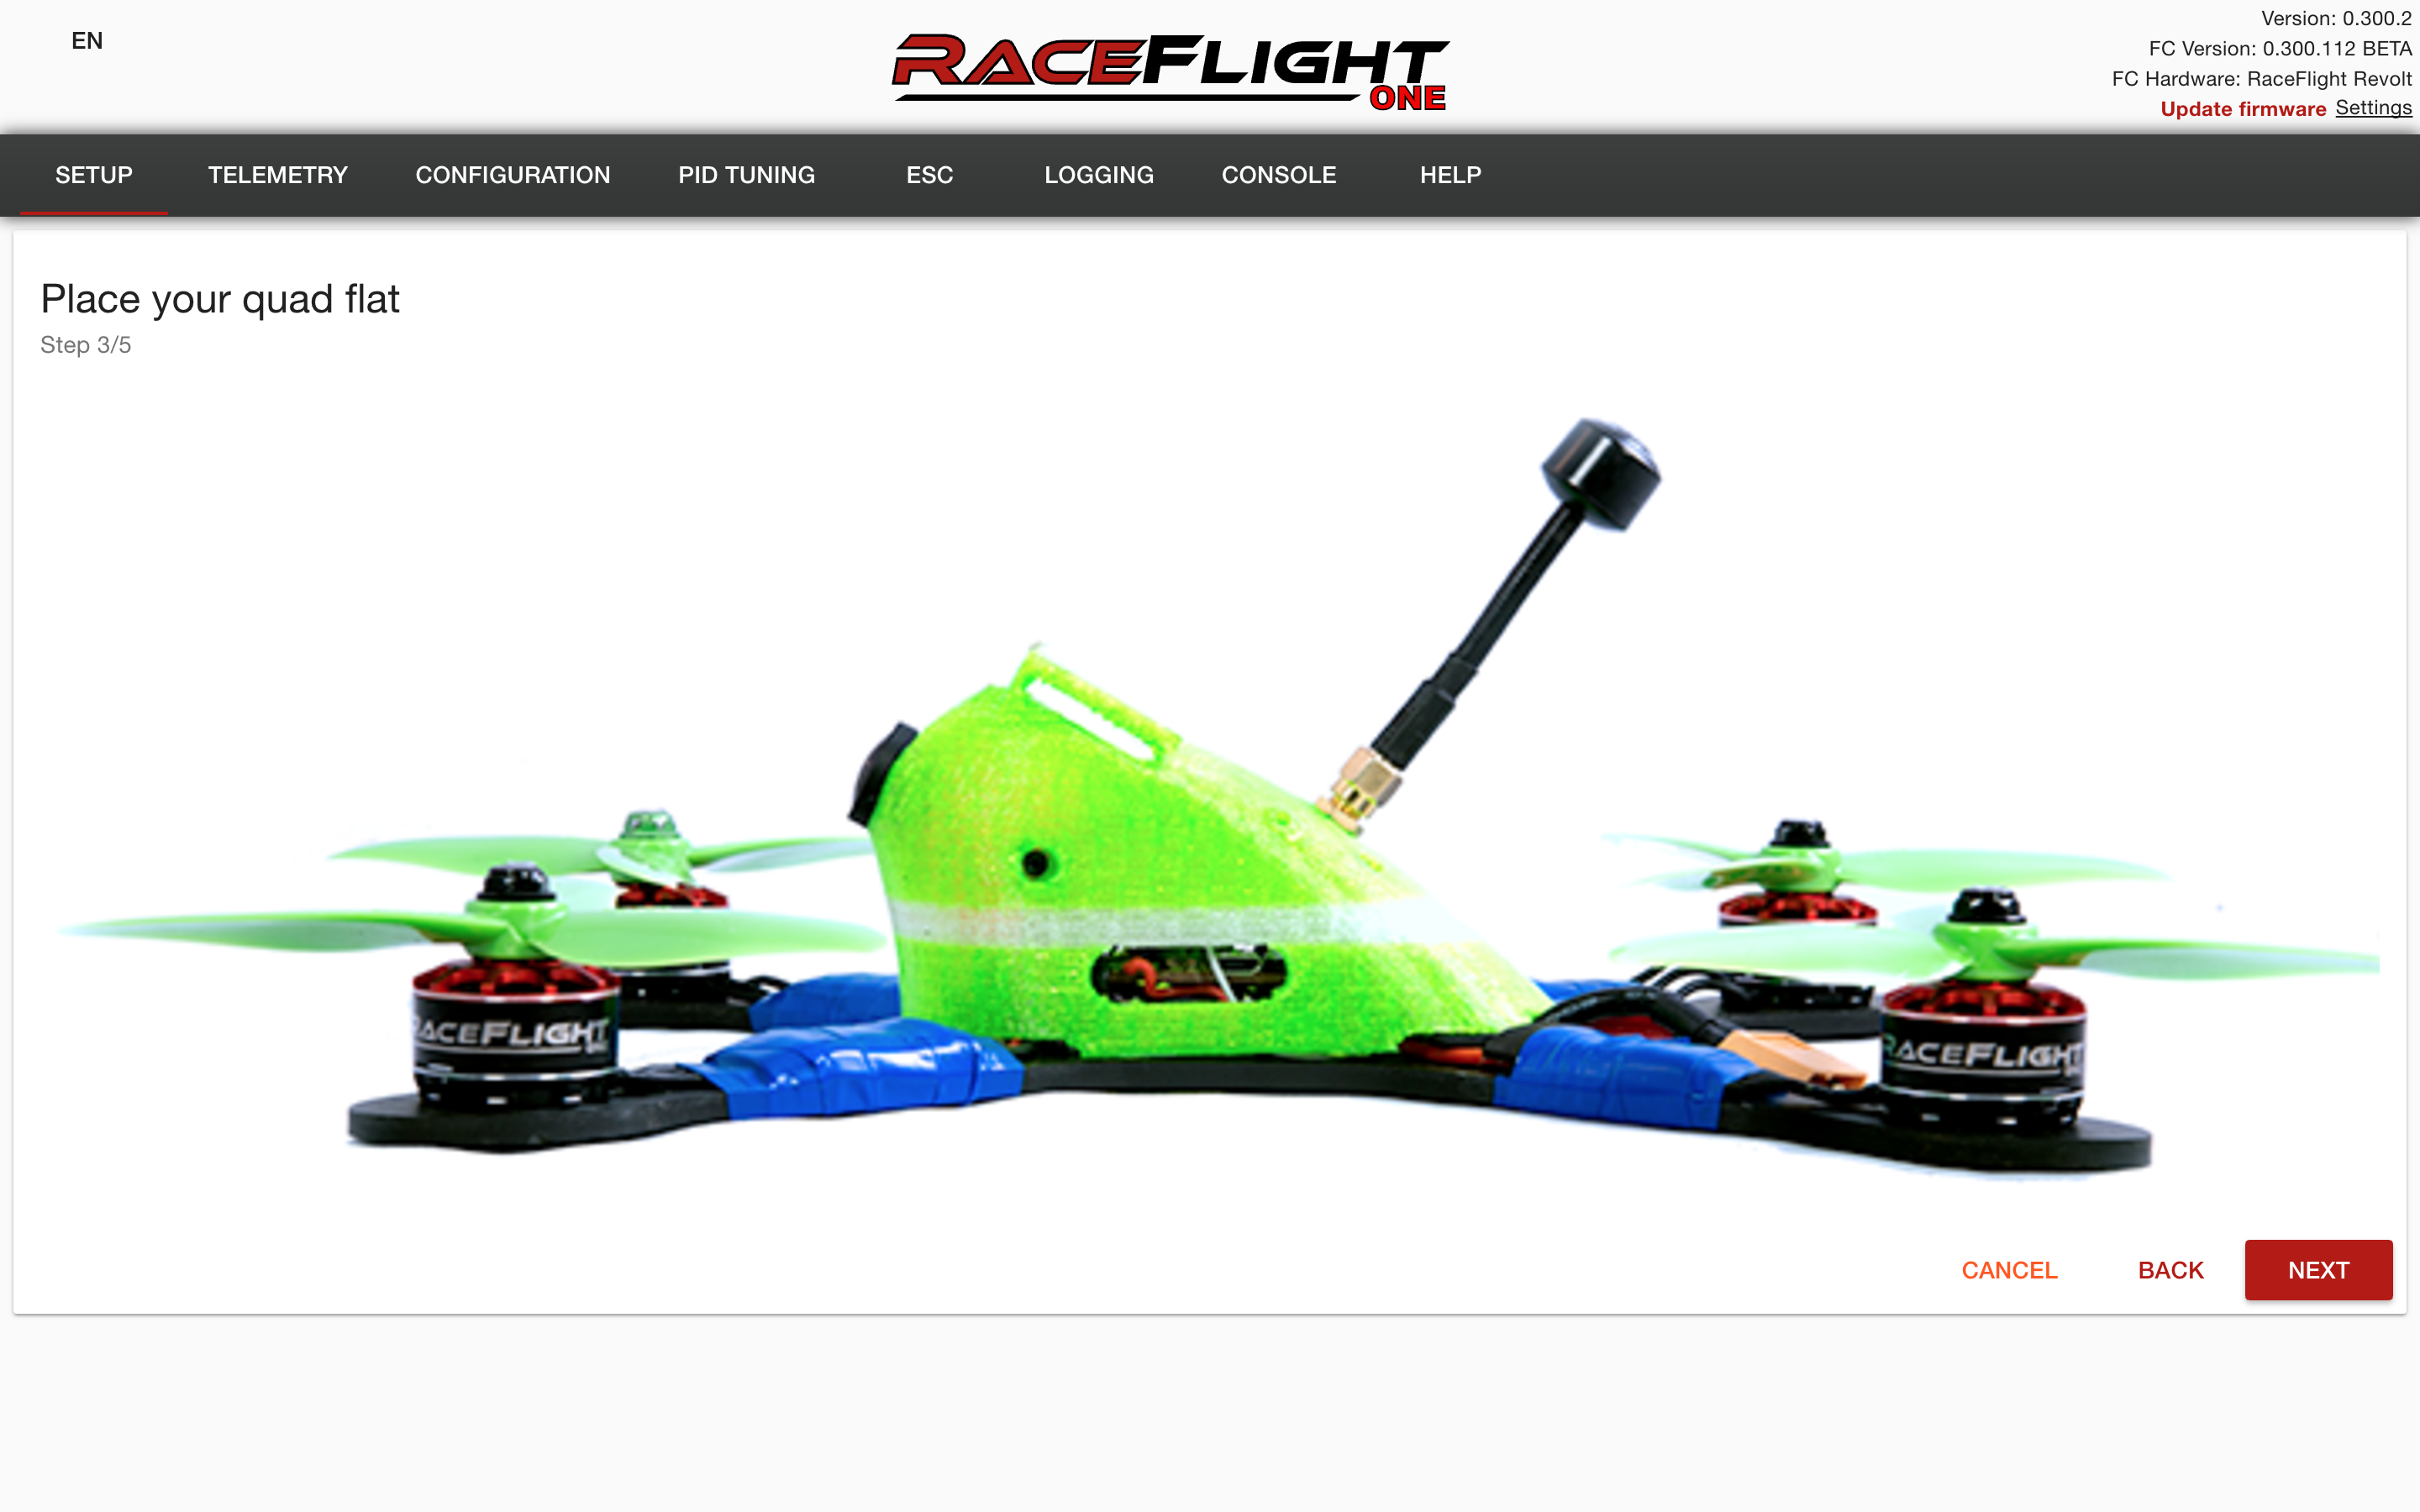
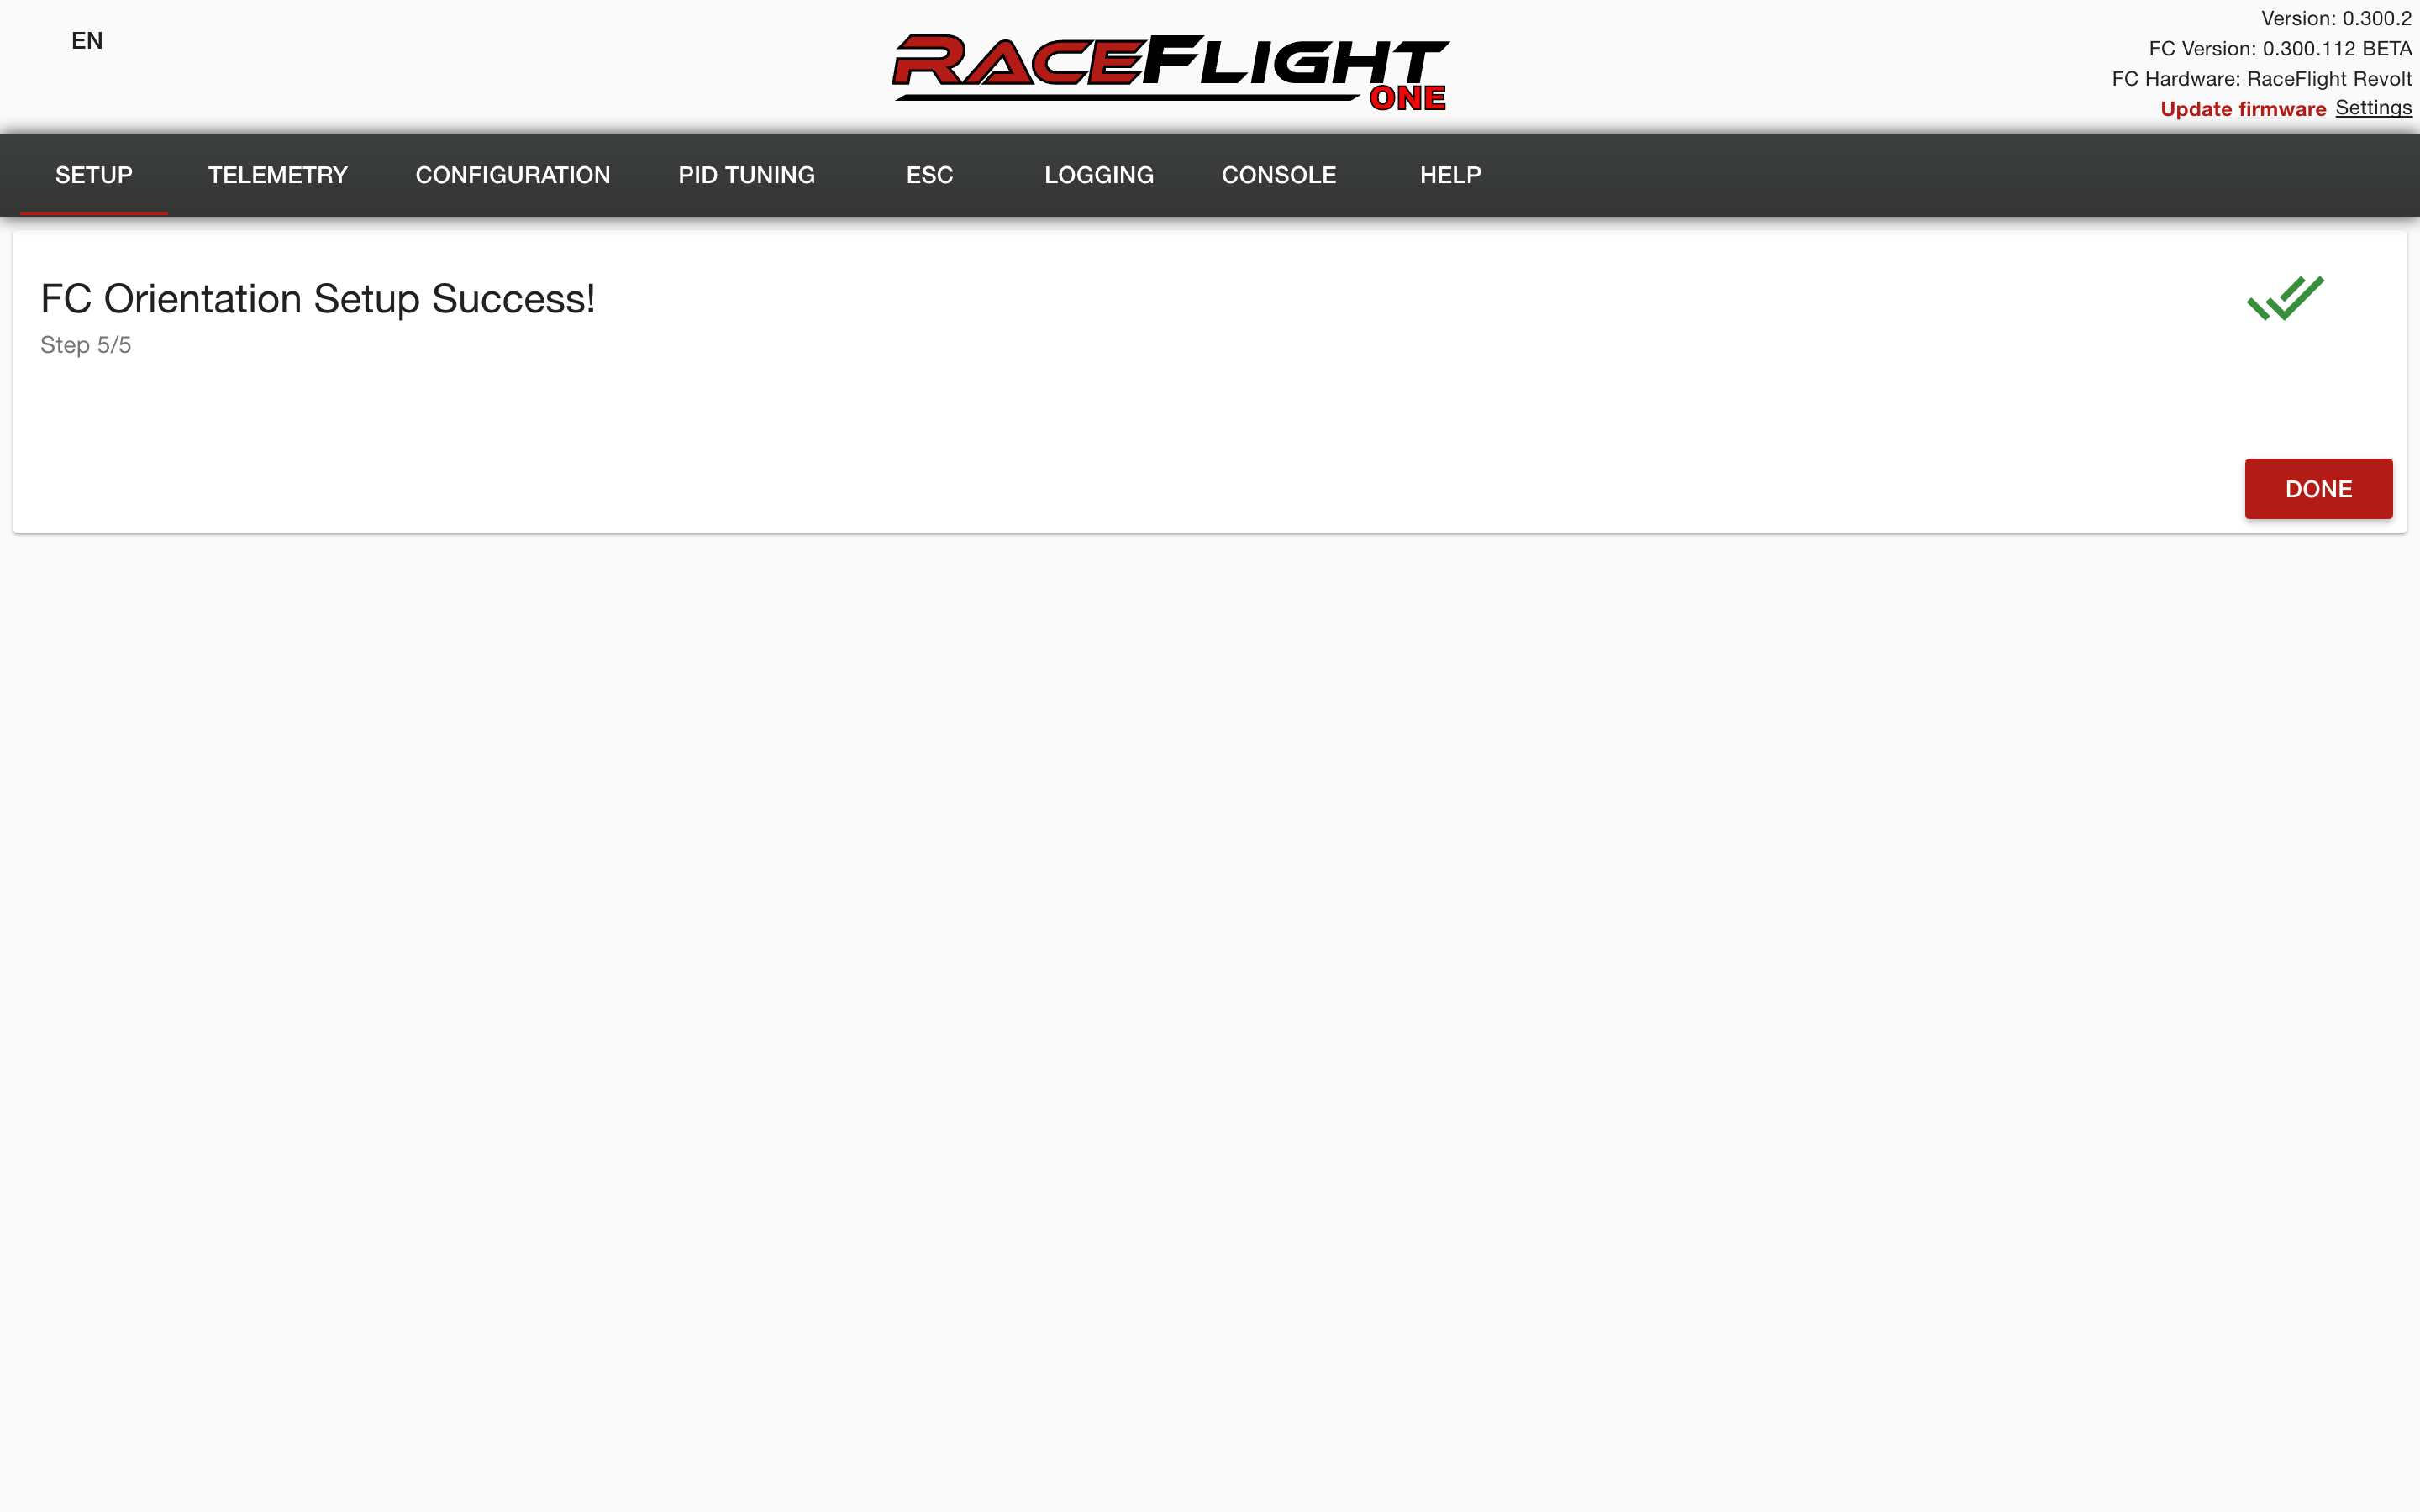
You will be taken to a 5 step wizard – just follow the instructions, they are pretty straightforward. These steps are mainly to determine your board’s orientation. You’ll be asked whether the frame is for freestyle or racing, do you want to smooth stick movements(I chose yes), then asked to put the quad in different orientations, and what size props you are going to use.
Once you’re done with this step, click the second red button, which says “Detect receiver”. Your radio will have to be on and bound to your receiver for this step. In a couple of seconds, the software will automatically pick up the kind of receiver you are using and the proper protocol, and make sure everything is correct.
If your software can’t detect the radio, there are a few steps to take to troubleshoot:
- Make sure you’ve soldered the inversion jumper to “INV” or “NOR” depending on your receiver. For FrSky SBUS receivers(and I’m assuming FlySky also) you’ll need to jumper the INV and TX1 pads, and for Spektrum, you’ll need to jumper NOR and TX1 pads.
- You can also use TX4 for SBUS, so whichever one you use, make sure you jumper the corresponding tabs.
The next step, number 3, is to setup the radio. This is fairly straightforward, too. You’ll be asked to move the sticks in circles(radio is on and bound, of course), and then you’ll be prompted to move each axis. Follow the on-screen instructions, and the last screen will be for setting your arm switch.
Step 4 is Updating ESCs. You’ll need to plug in your battery for this step. The software will modify the ESC firmware a little and you’ll be prompted to click OK once the ESC tones finish playing. They’ll be quite similar to the Betaflight BLHeli_S ones, just a slightly different pitch and tone.
Step 5 is calibrating motors. This is a step you should take because the default setting is Multishot, not DSHOT. I went through this step, but ended up changing the ESC protocol to DSHOT later. Calibration is just like we did it in Betaflight. The software will ask you to plug in the battery, once it does, plug it in, and it’ll go through the calibration tones. Once it’s done, it’ll ask you to remove the battery and you’ll be done.
Step 6 is fixing motor direction and idling. This step of the wizard will spool up the motors and have you confirm that the motors are spinning in the correct direction. If they’re not, you can fix it through the software itself.
Thoughts on the setup wizard
On the whole, I really liked the idea of the setup wizard. It kind of reminded me of KISS, where everything is designed to be very straightforward and you can just select presets to automatically adjust everything in your flight controller to the rest of your gear.
Once you finish the wizard, you are ready to fly, right away. But the default rates are quite slow and you may want to change them before flying.
The rest of the screens
This is the main setup screen where we started the wizard from. As you can see, you can also set up your switches and flight modes on this screen. You’ll have to assign the channel under the mode you want to use(it may take a little guesswork to see which switch is which channel, but it’ll be from 5 onwards), and then move the sliders to the range for it to be active.
My arm switch is a 3 position switch, and I like to keep both middle and down as “Arm”. In the wizard, it only picked up on middle as arm, so I just moved the slider so it would include both middle and down. Easy.
This is the same way it works in the Betaflight configurator, so if you’re coming from Betaflight, it’ll be familiar!

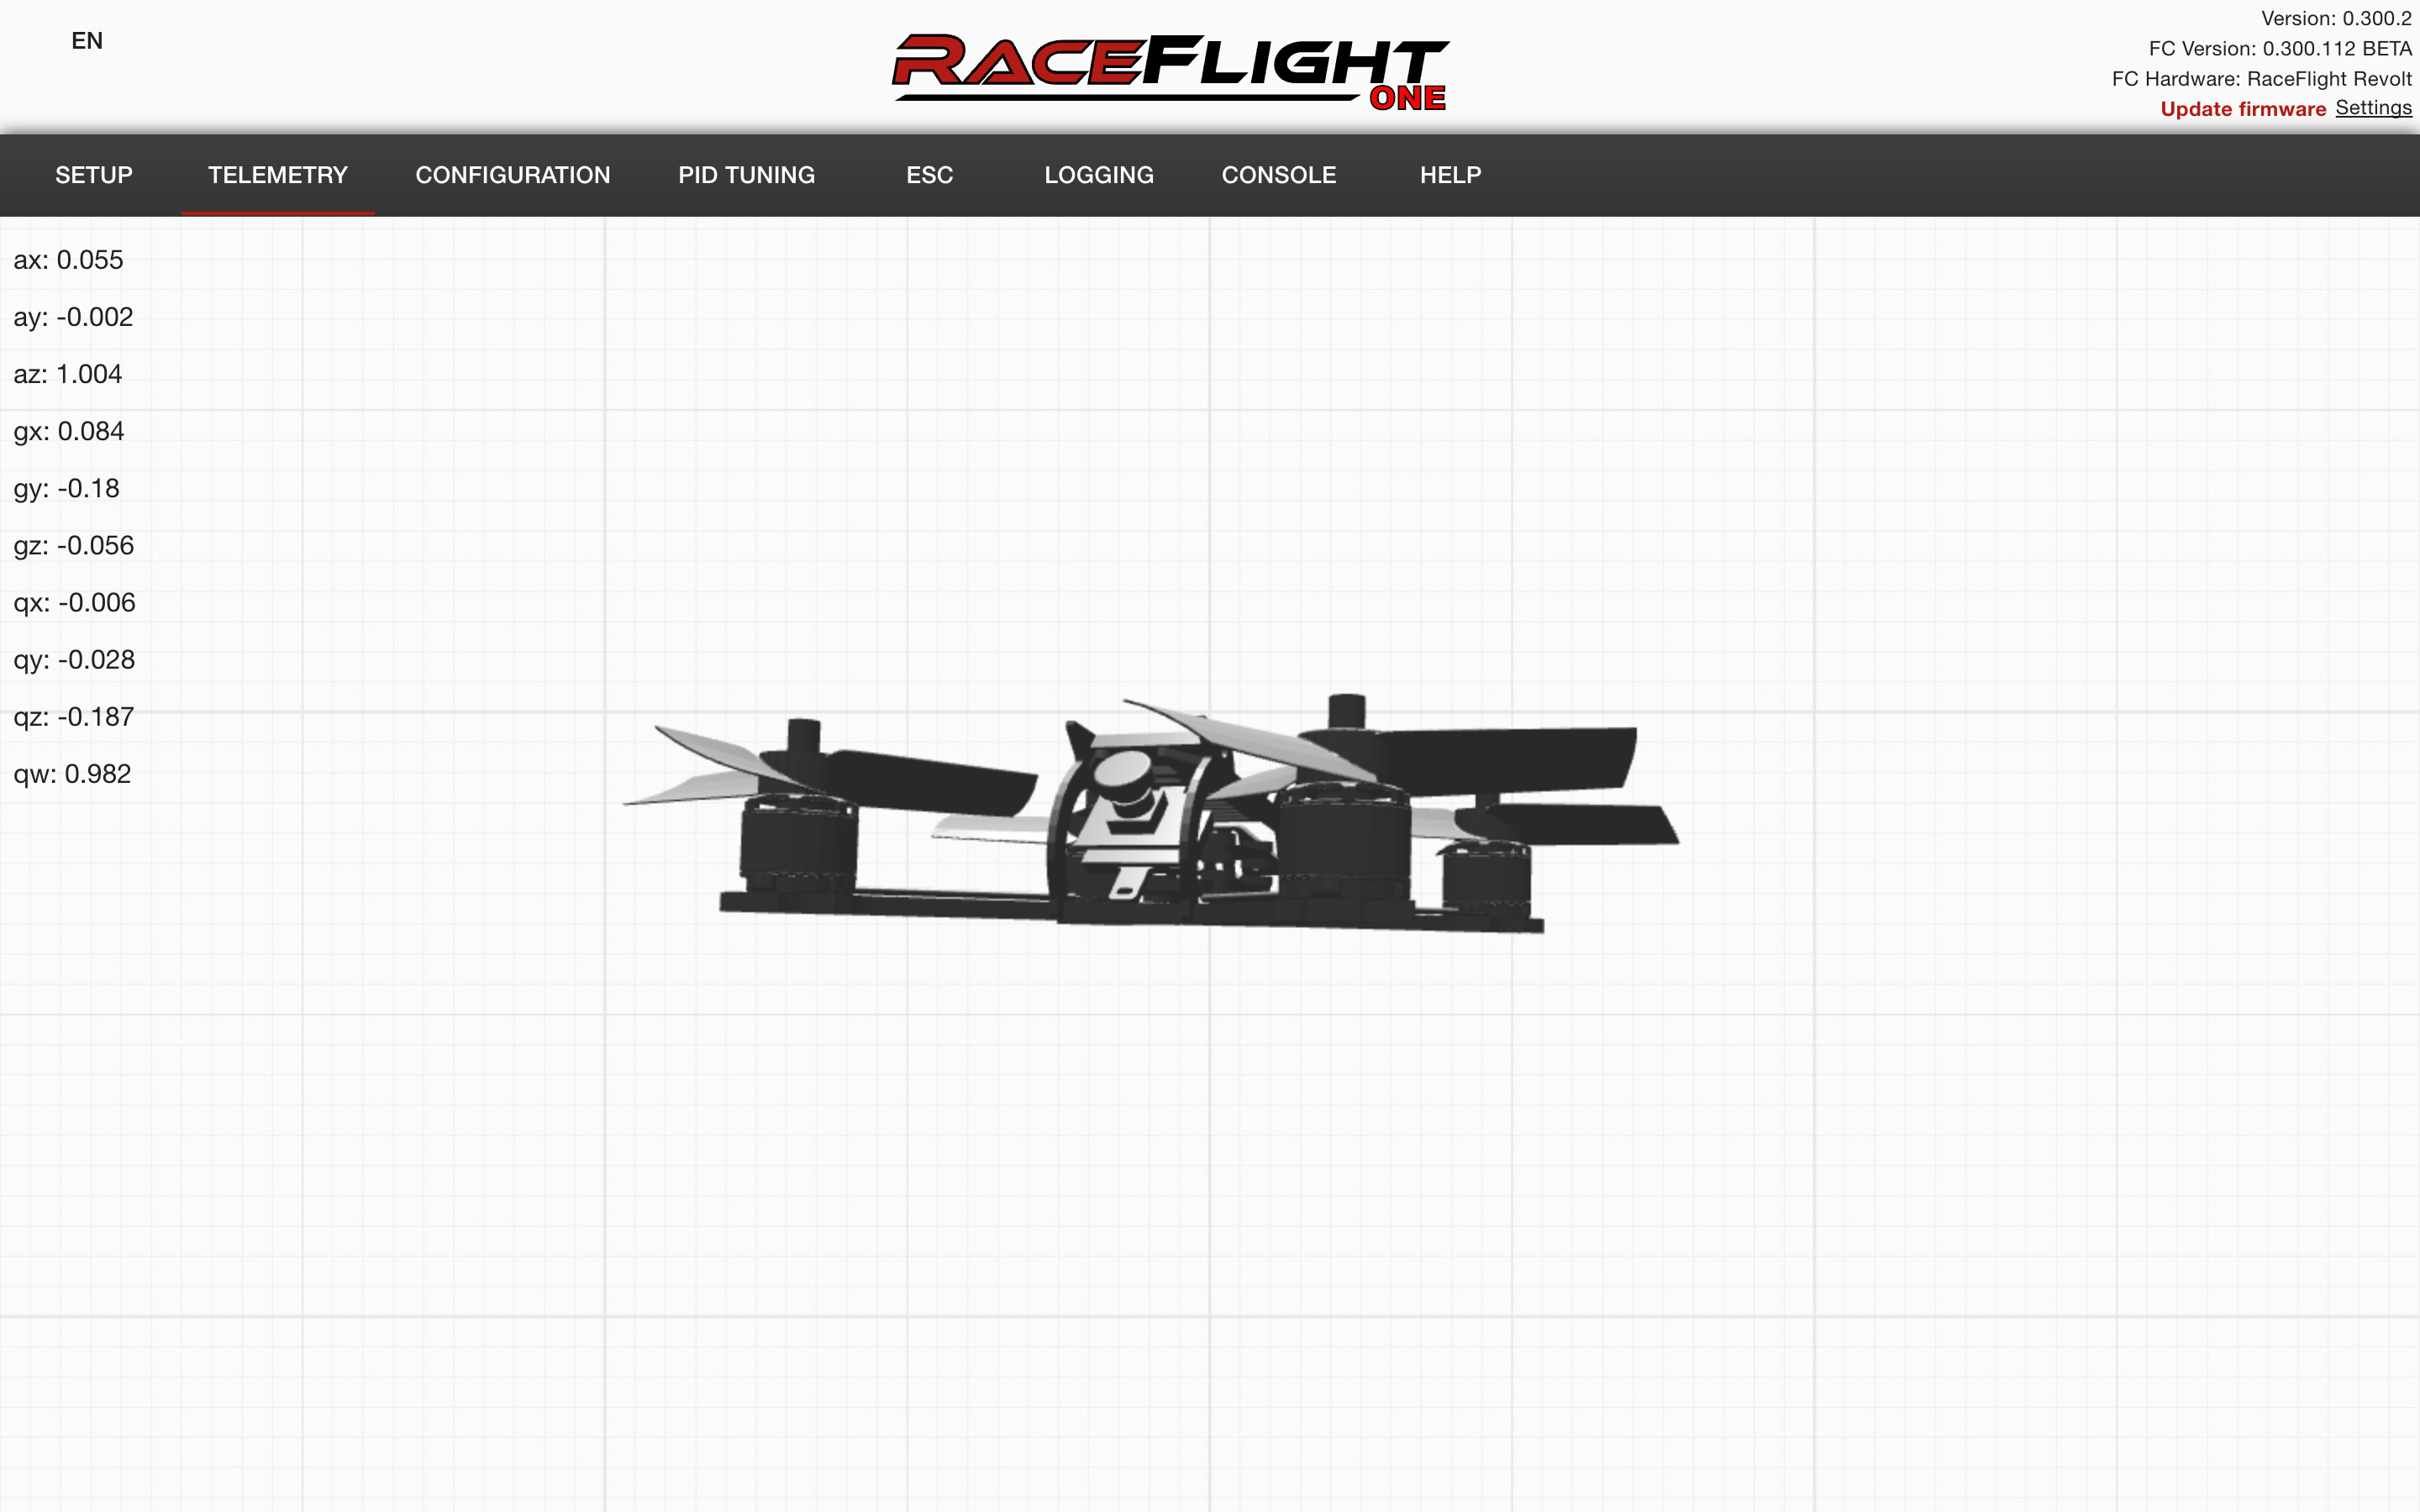
The next screen is the Telemetry screen. Here, you can see all the data the flight controller is logging. As you can see, the FC is currently reading accelerometer and gyro data. Enabling Telemetry for your radio can be done on the next screen.
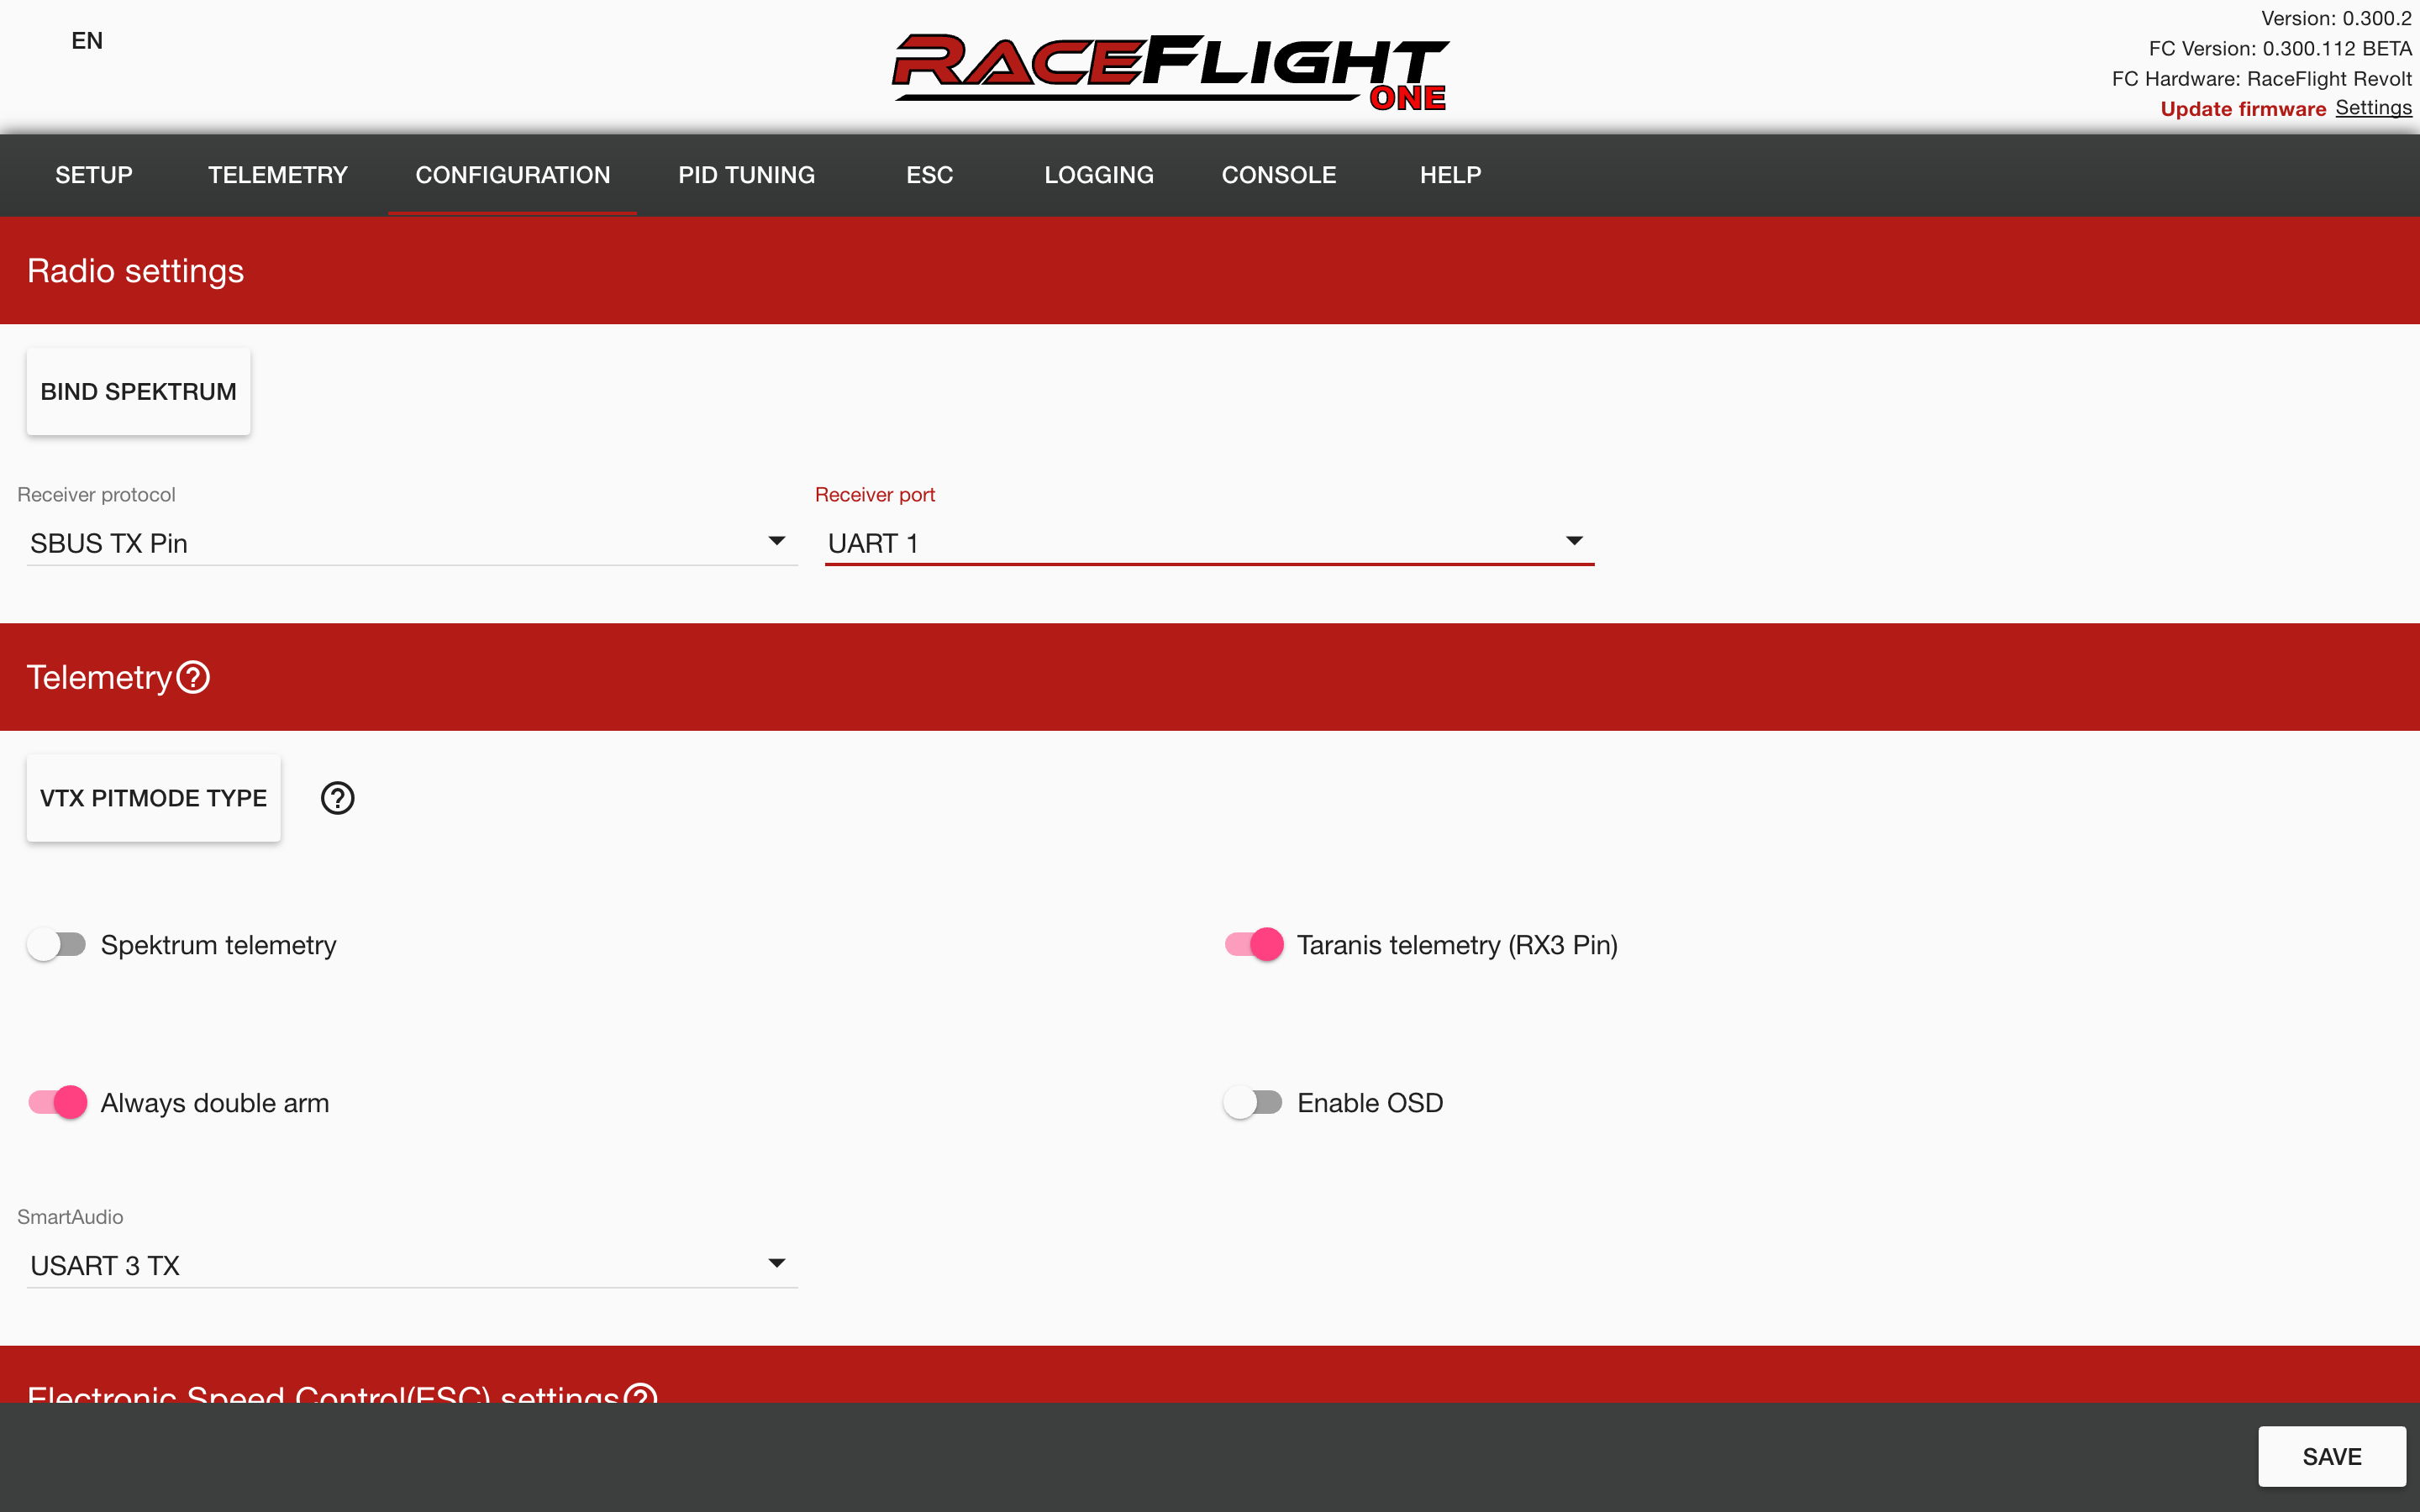
The Configuration screen allows you to change settings for your receiver, video transmitter(smart audio/tramp) and other settings. You don’t need to change radio settings if you’ve successfully completed the setup wizard!
Under telemetry, you can choose what kind of telemetry you are going to use – Spektrum or Taranis.
The “Always double arm” is a neat feature where you have to arm once, then disarm, then arm again to actually spool up the motors. This prevents accidentally knocking the switch and spinning up the props!
Below that, you can choose which UART SmartAudio is hooked up to if you are using it.
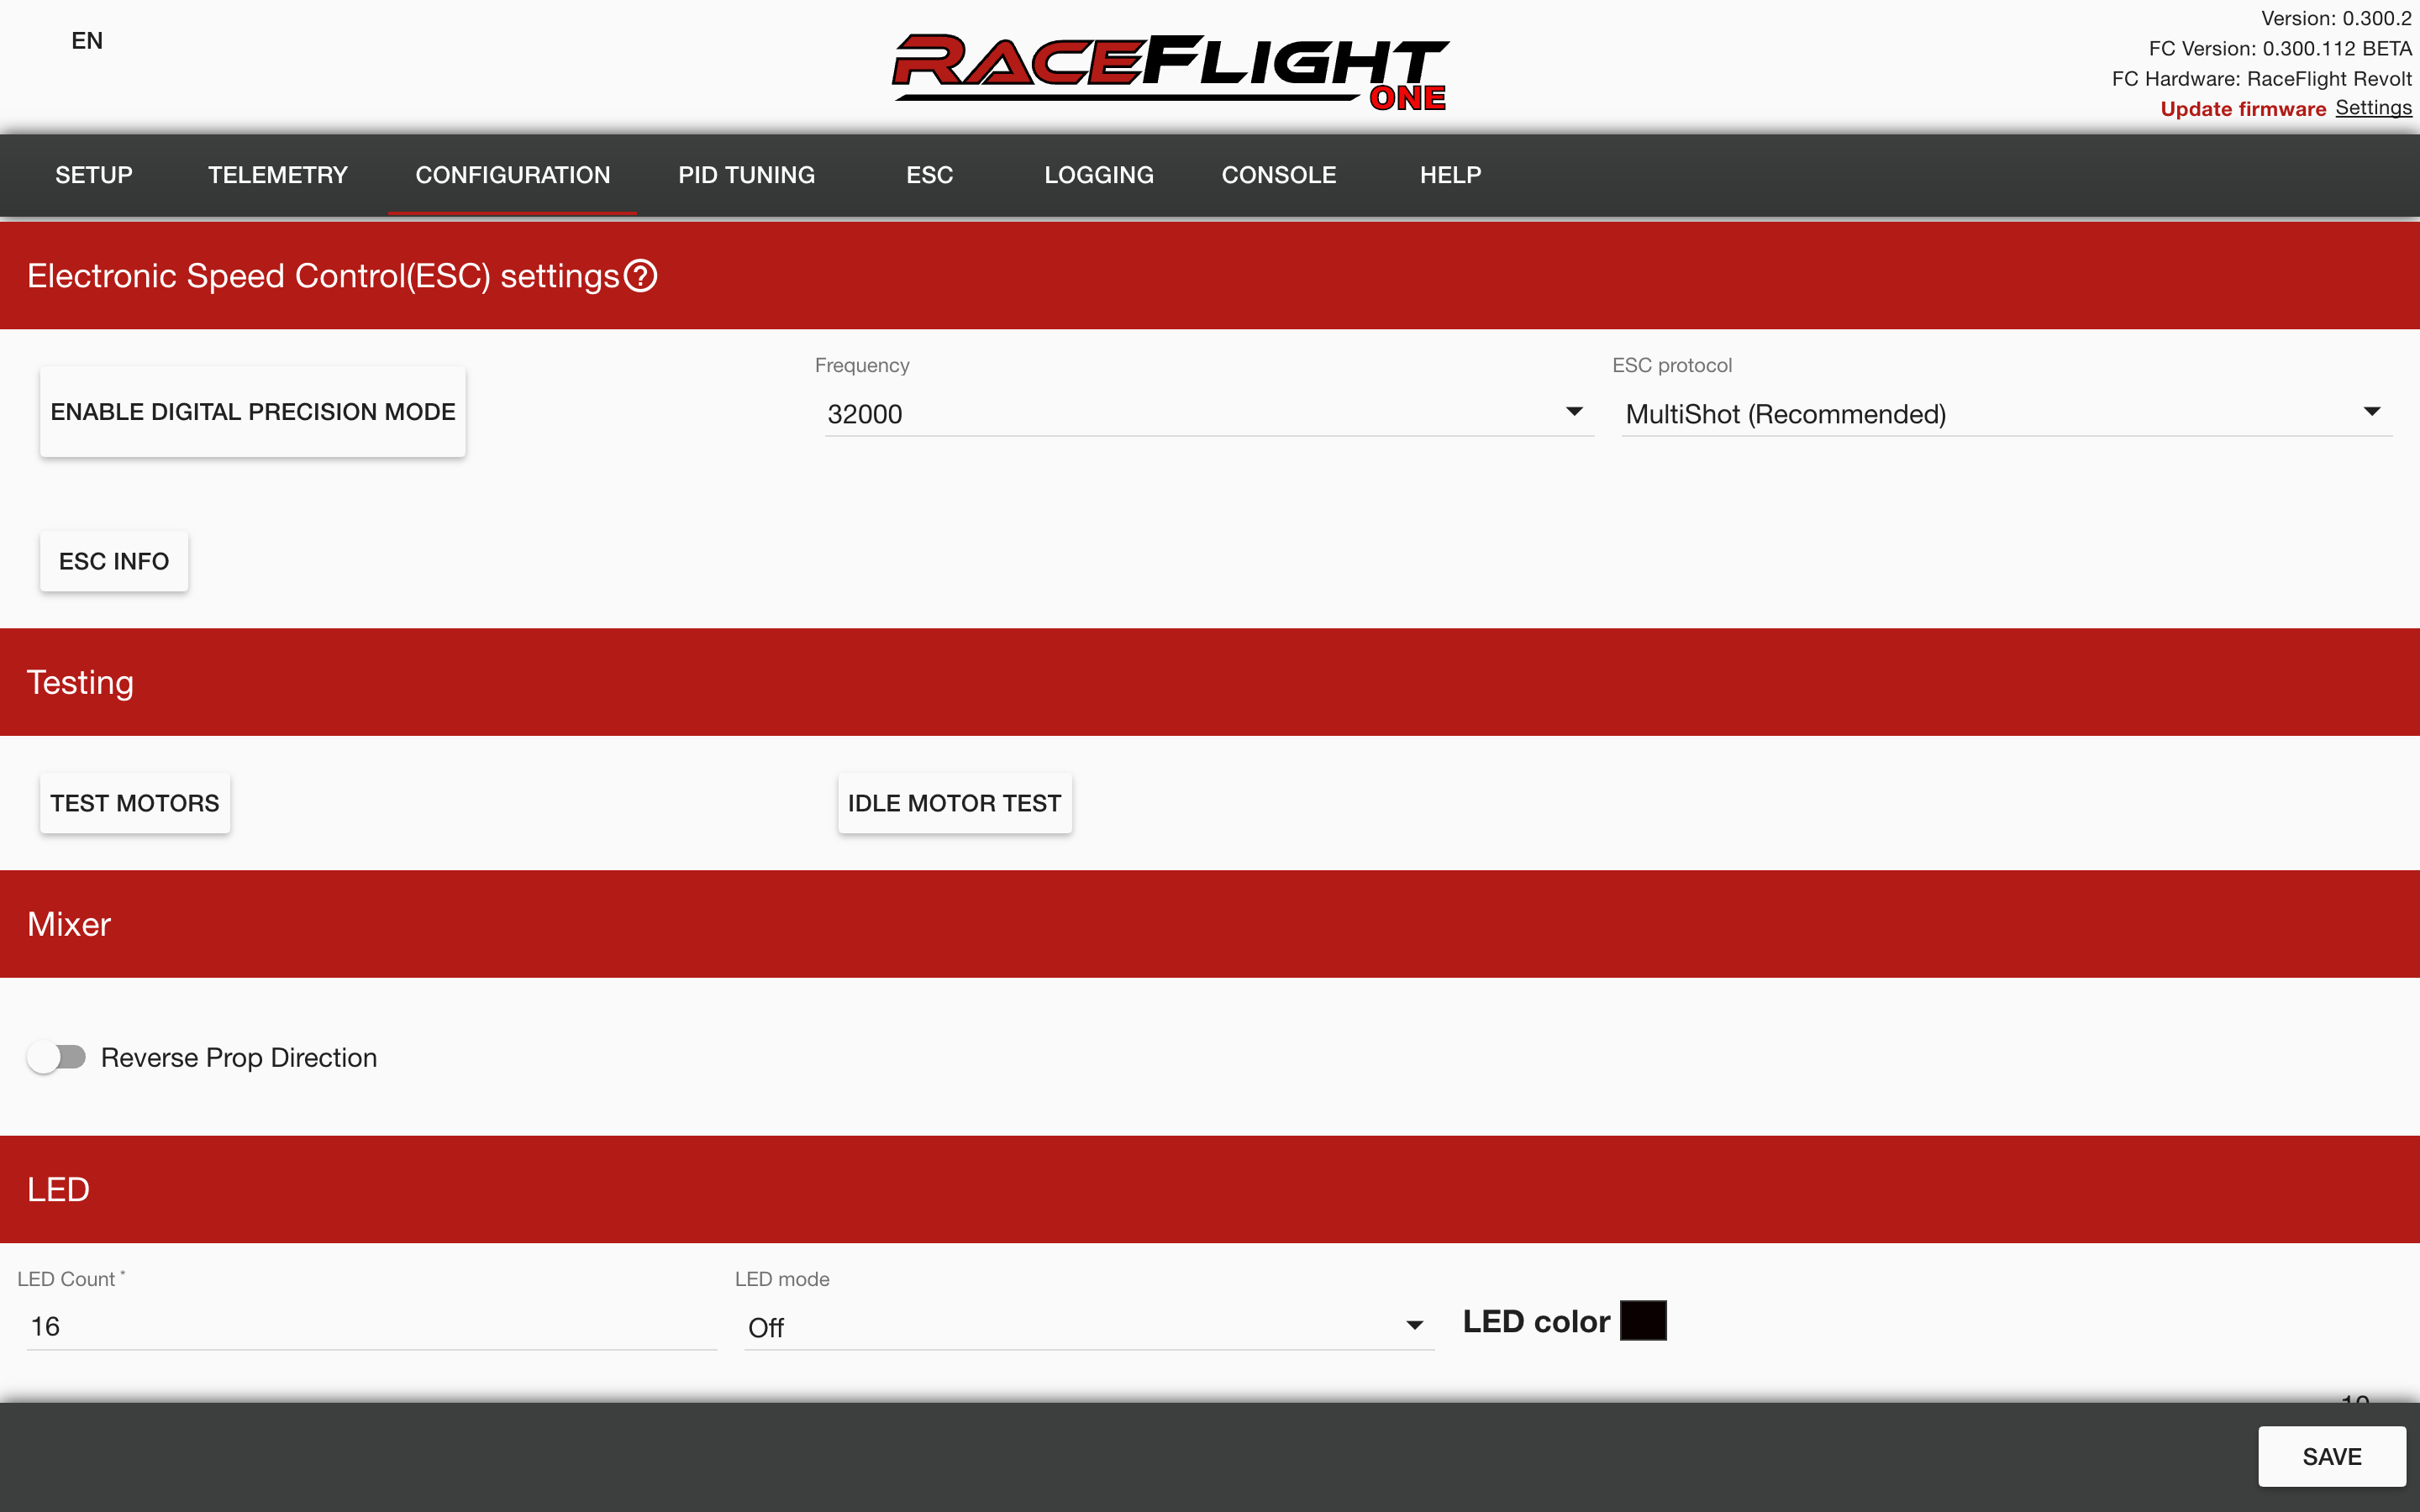
If you scroll further below, you can change ESC settings, adjust the ESC protocol and see ESC info. If you press the “Enable Digital Precision Mode” button, you’ll enable DSHOT. Make sure you choose DSHOT 600 or DSHOT 1200 depending on what your ESCs can handle, or else your quad won’t fly properly, or at all!
Below that, you can test the motors(which we already did in the wizard, reverse prop direction – remember to actually switch your props around if you enable this – and finally adjust the LED colors.
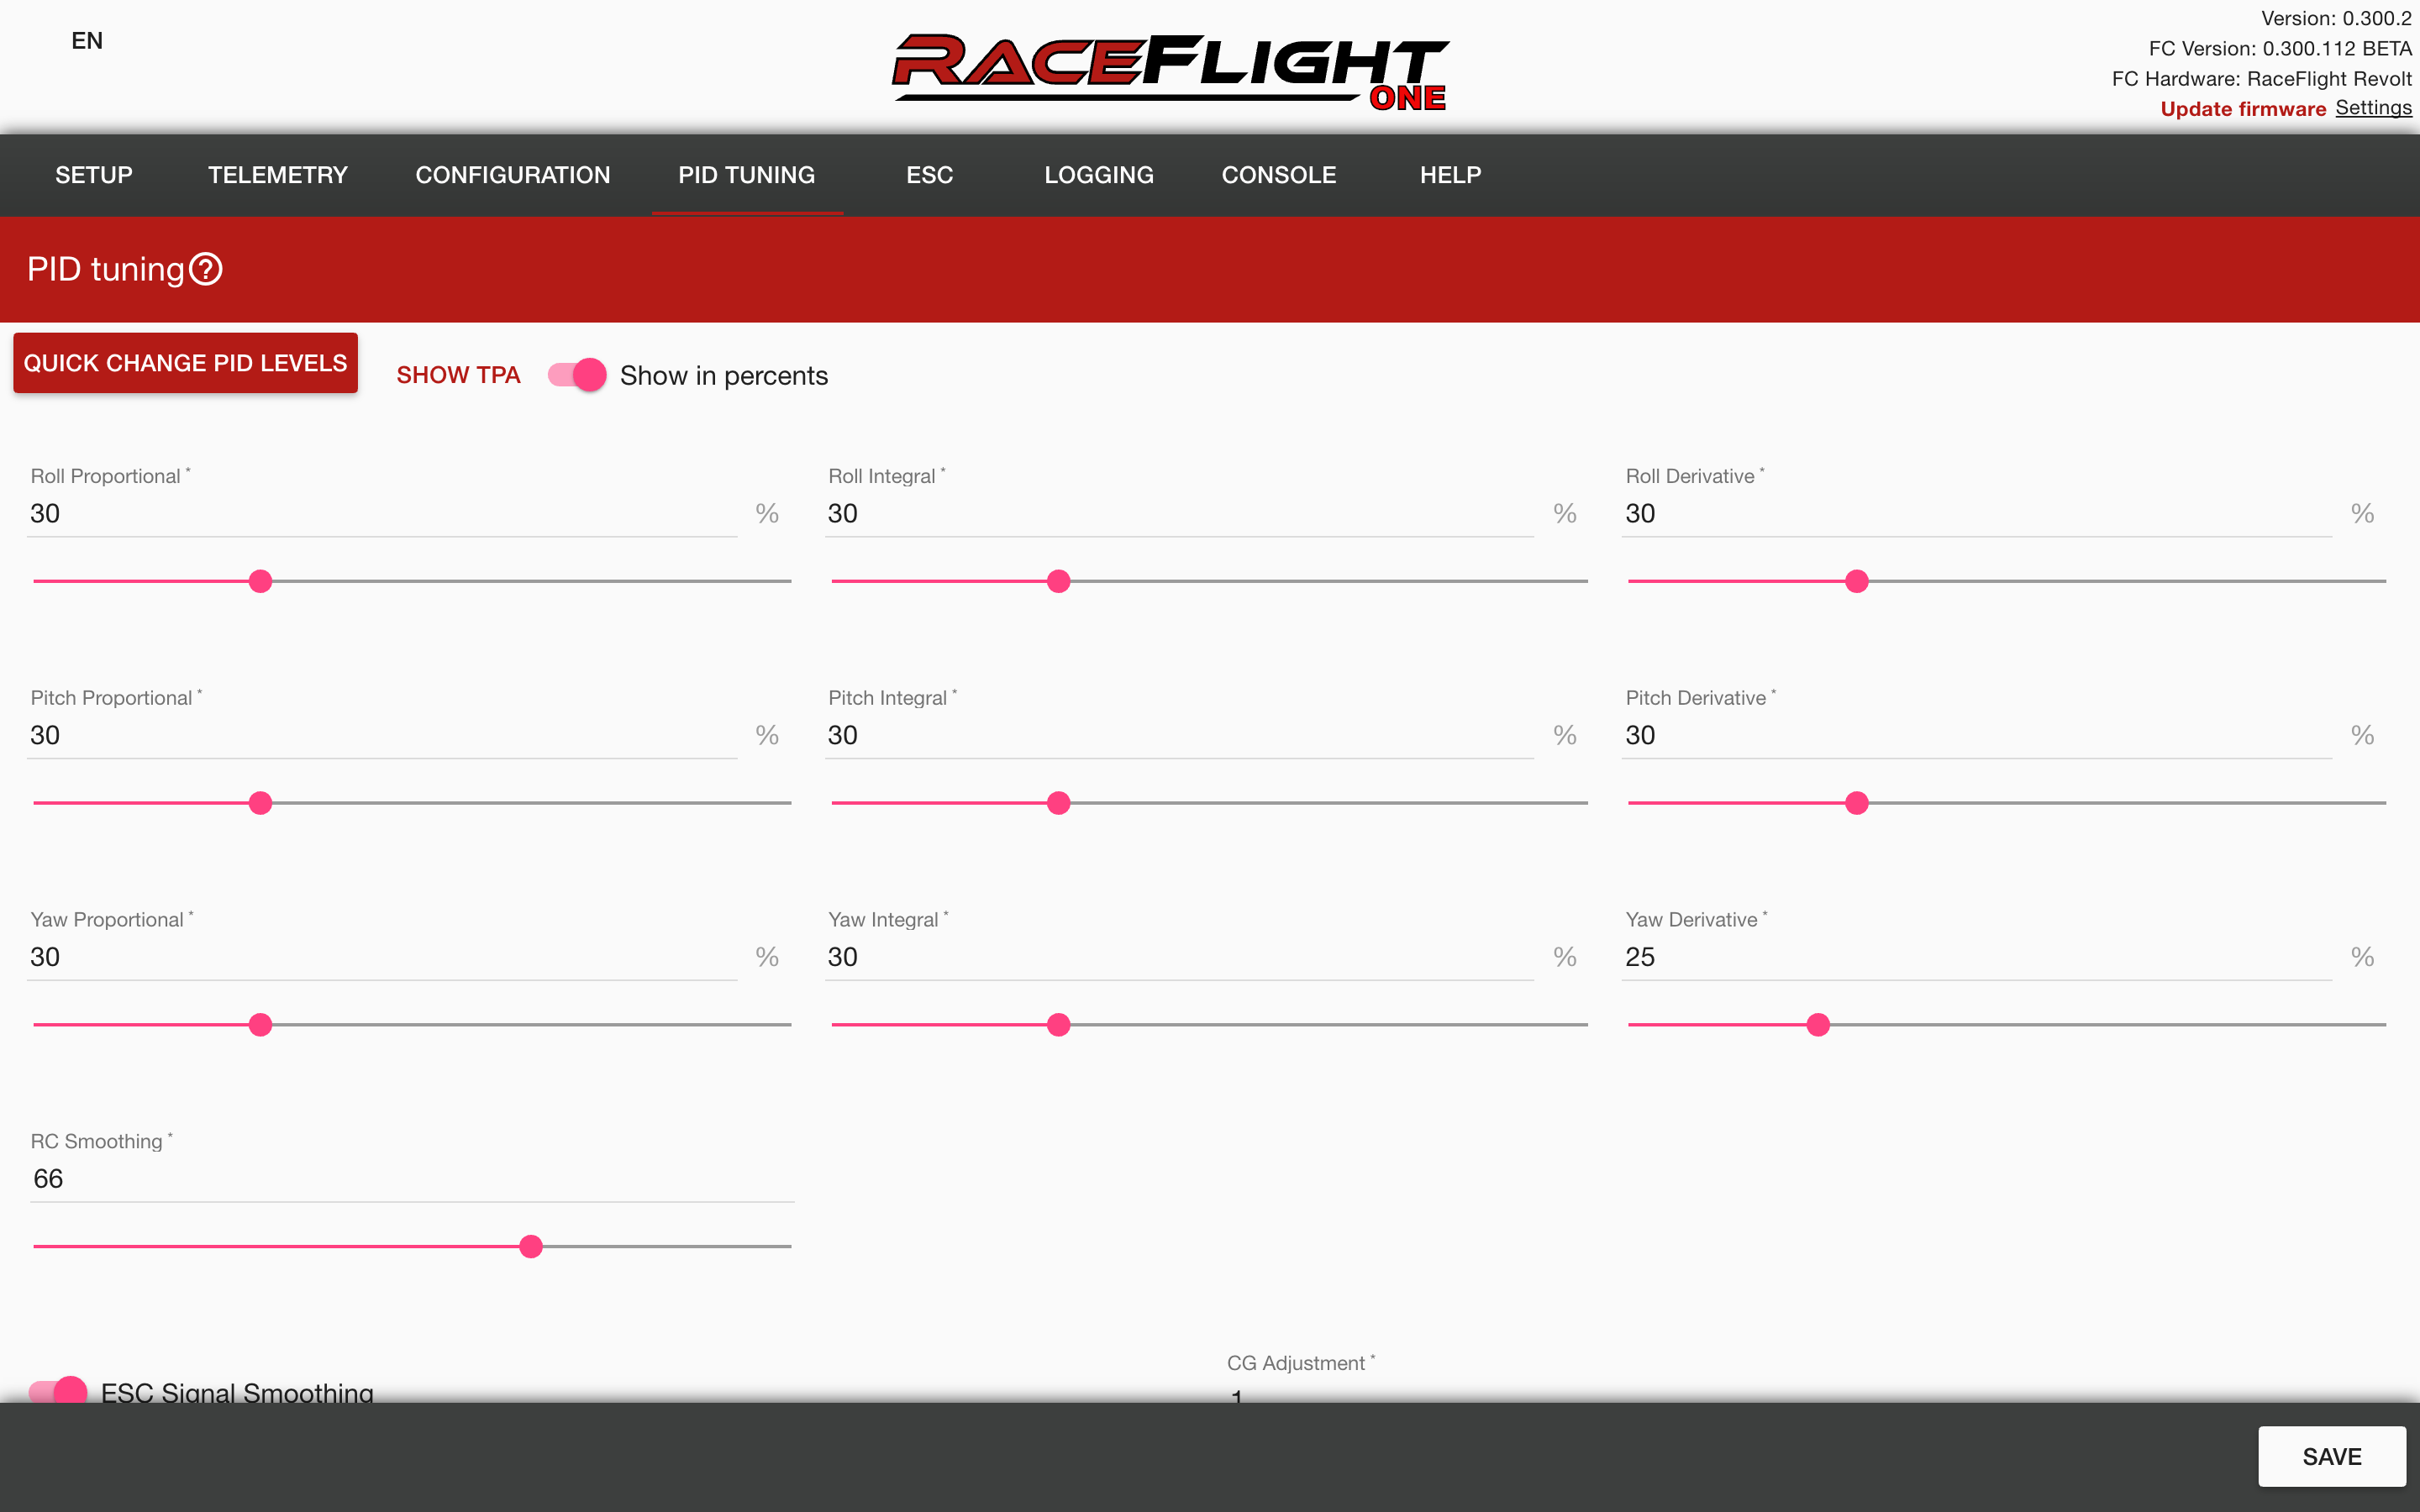
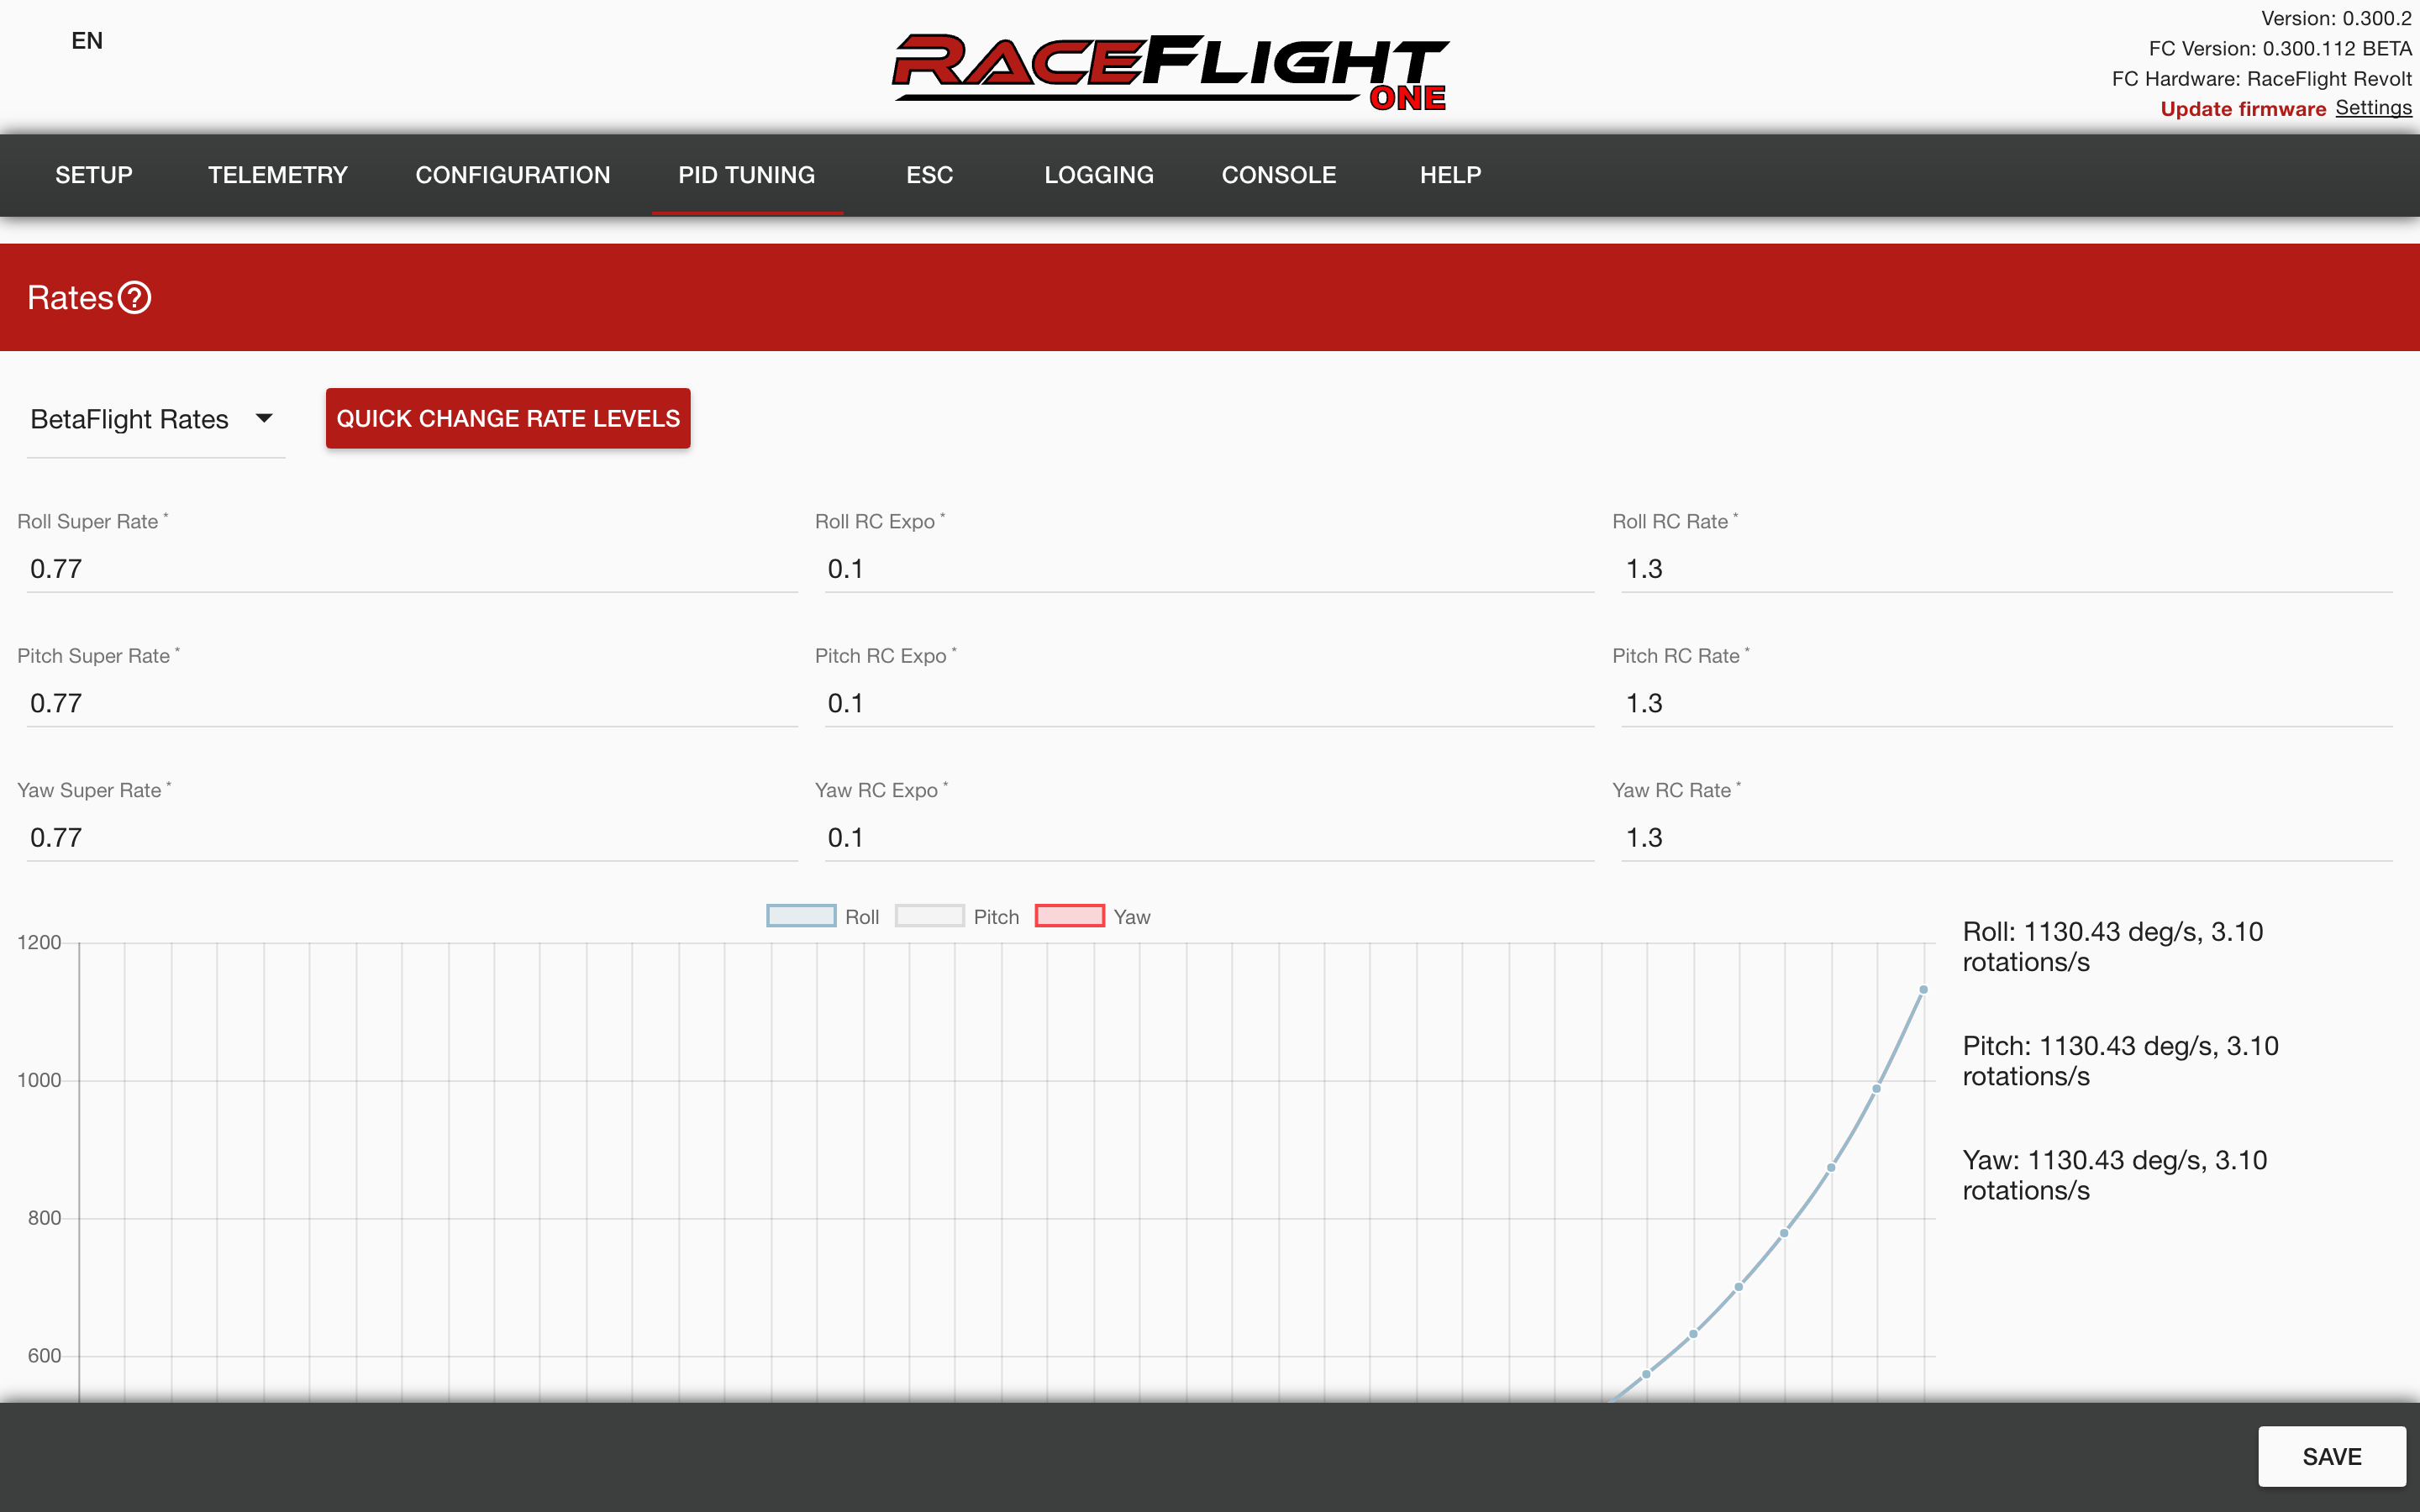
The next tab is the “PID Tuning” tab. I have not changed the PIDs at all because Raceflight is supposed to fly flawlessly on default, stock PIDs. The only thing I adjusted was the rates, which you’ll find as you scroll down.
Finally, in Rates, you can choose RaceFlight style rates, KISS style rates, or Betaflight style rates. The only difference between the three is the way the numbers scale and work together. Since I am used to Betaflight, I chose Betaflight rates and simply put in the numbers I usually put in on my other builds – these are rates I am quite comfortable with, and it was nice that I could replicate them here so easily and quickly.
 The last three tabs are ESC, logging, and console.
The ESC tab is for calibrating and configuring your ESCs, which we’ve already done in the wizard.
The logging tab is for recording flight data and everything that is happening.
The console is the command line, where you can manually enter settings and change variables. I am not sure if there is as extensive documentation for the Raceflight command line as there is for the Betaflight command line, so I am going to stay wary of fiddling too much.
After all, the concept of Raceflight is apparently to be quick and easy to fly!
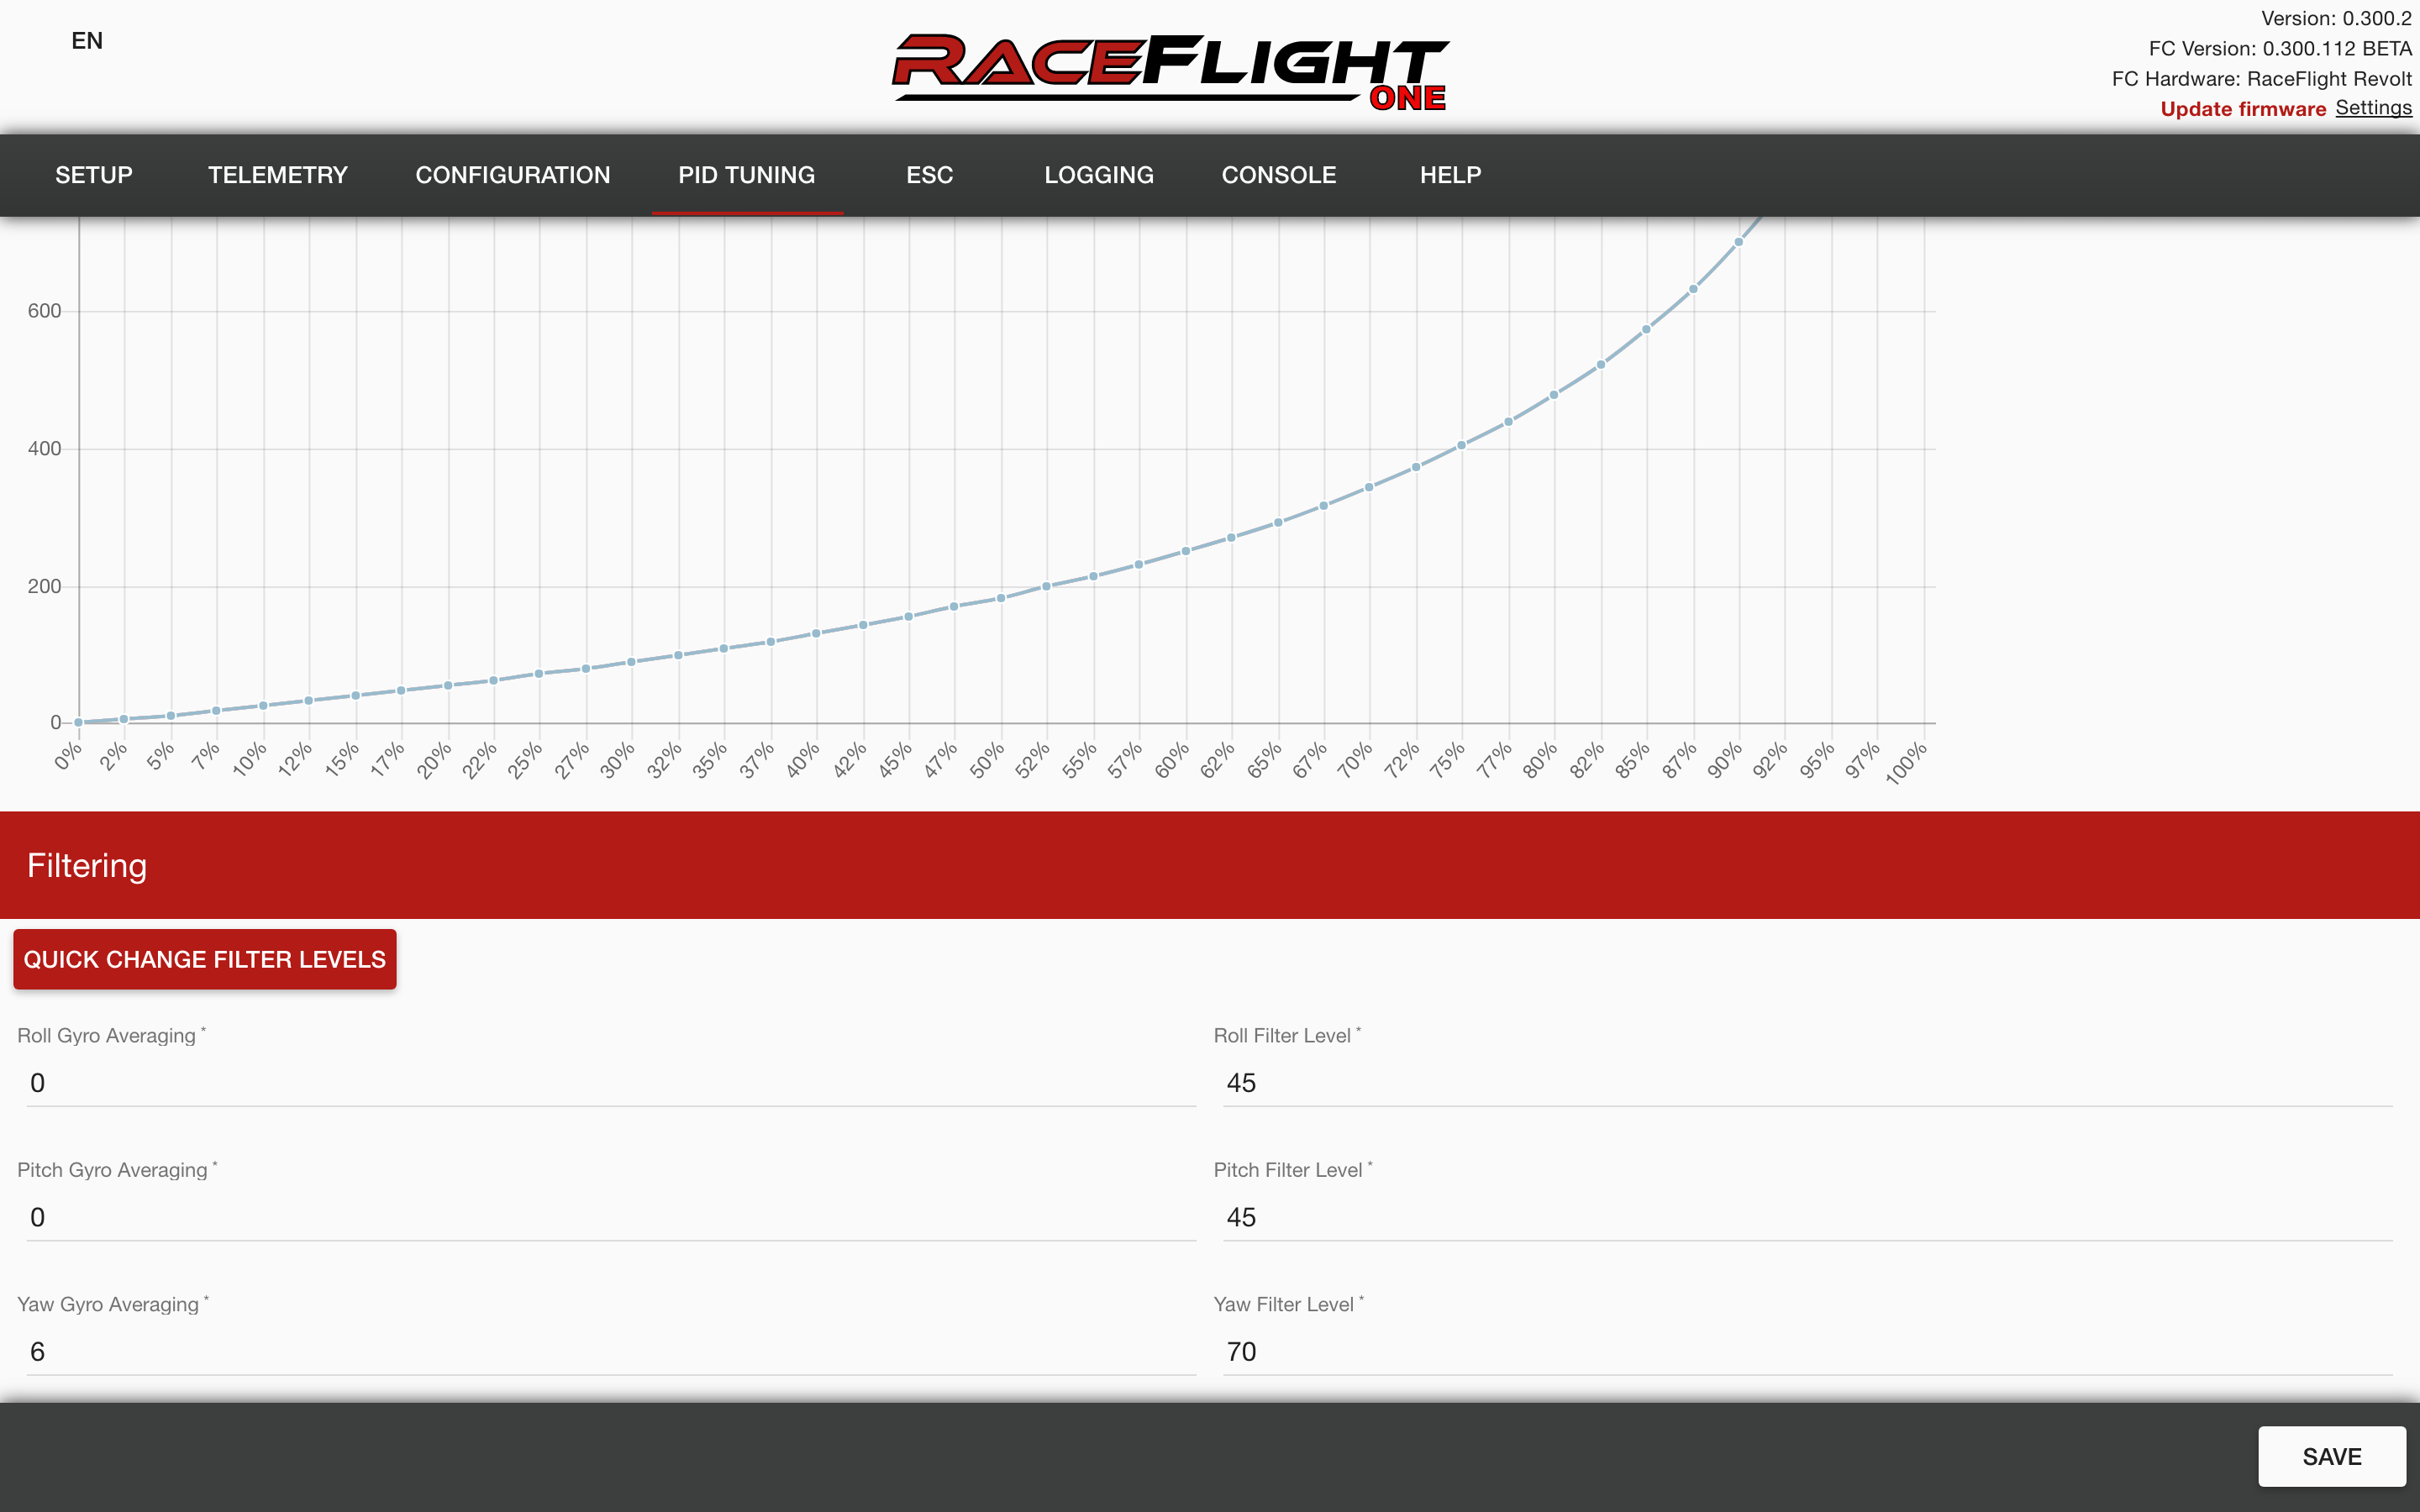
Below rates, there is one last option to change filtering. Filters in Raceflight are similar to filters in Betaflight. You can either manually reduce them, or use the presets by pressing the “Quick Change Filter Levels” button.
I would recommend using the presets, and working down from there. In the flight video at the start of the post, I got my filters down to around the “Low” preset before my motors got too hot for comfort.
What about failsafe?
You may have gotten to this point wondering “Where the hell is failsafe?!”
I was wondering the same thing, and it turns out that it’s built in and you’re not able to change it. The default setting is “drop”. I tested this by arming the quad, throttling up a little(without props of course) and then shutting off my radio.
The motors turned off, confirming that failsafe had kicked in.
What about airmode?
I was not able to find a direct toggle in the configurator to turn airmode on or off, but the motors have an idle speed which they run at when you have just armed the copter and have not applied throttle yet, so I am guessing that airmode is a default setting. From the motors option, you could probably turn off the idle setting if you wished.
Conclusion and final thoughts
As I’ve mentioned multiple times throughout this post, Raceflight was very easy to set up and I had a very nicely flying copter right out of the box. The flight controller handles propwash well, and the copter is very responsive on stock PIDs. One difference I did notice was that the props seem to be quieter – my Betaflight builds often had “clicky” props on idle(zero throttle), and once I got on Raceflight, the clicking completely went away.
However, with Betaflight’s Dynamic Notch Filter, you can have a very similarly performing copter. I think we’re at a stage in flight controller technology where nearly all firmwares are flying super clean and super smooth, and it may end up boiling down to a matter of personal preference.
If you have not tried Raceflight, I highly recommend that you give it a shot. I may not end up replacing all my Betaflight builds with it, but I certainly did have fun flying this setup!
Leave a Reply
You must be logged in to post a comment.