The guys at ImpulseRC are the developers of the Alien frame which was made immortal by pilots like Mr Steele, FinalGlideAUS, and UmmaGawd.
The Alien was for long the freestyle frame of the pros – with some exceptions – and for good reason. It was spacious, well built, balanced, sturdy as a tank, but still nimble enough for awesome freestyle.
The only drawback? It was silly expensive at well over $100.
Enter the Reverb.
Note: I realize the zip ties are not ideal, I will have to fix that.

Competition for the Alien?
The Reverb is marketed as being home-cooked competition for the Alien itself, since in the eyes of ImpulseRC, there are no competitors for the Alien otherwise!
On the whole, the Reverb is a lighter, more thought out, and most importantly cheaper alternative to the Alien.
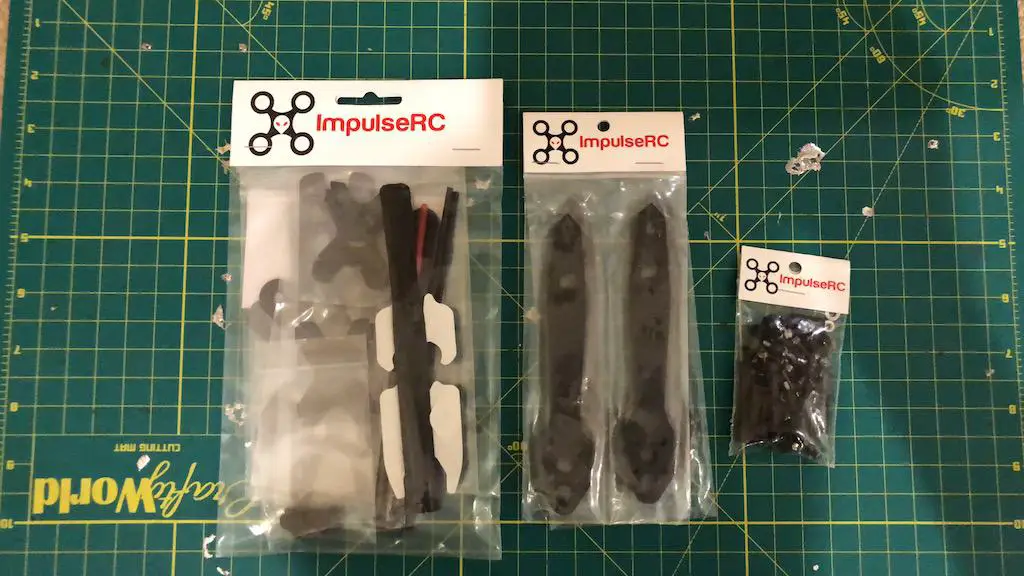
You receive the parts in separate bags for the arms, body, and hardware, and right from the first time you hold it in your hand you can notice the quality.

Overall design and carbon fiber quality
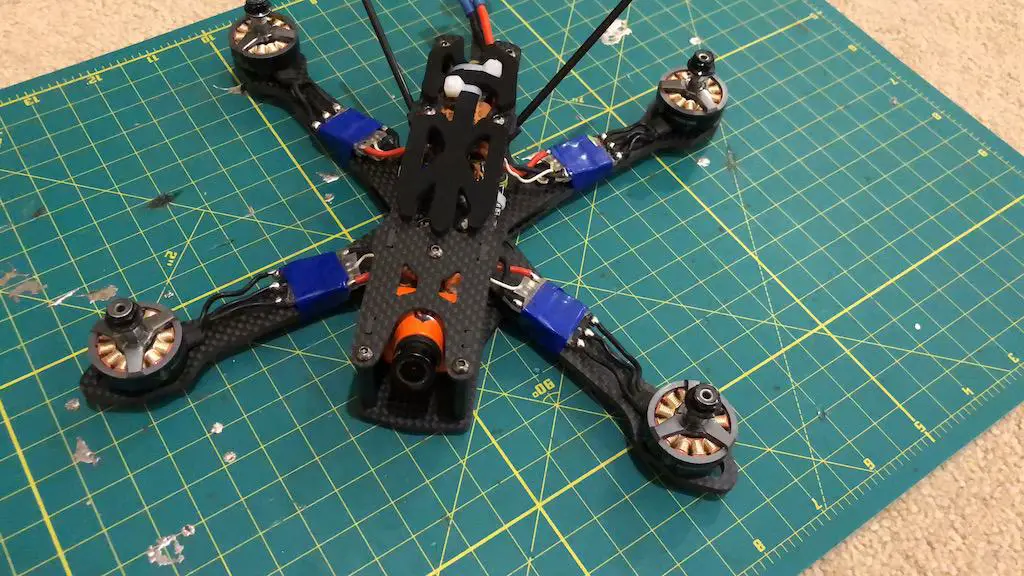
The Reverb is a True-X frame with a 230mm wheelbase. the arms are 14mm at the thinnest point and 18mm at the widest point.
What I really like about this design is that even though it’s a long body frame, the arms still stick out in front of the chassis, so chances of a head-first collision with the camera is quite difficult. Most of the time, the arms(which are much stronger) will take the impact.
Of course, that puts your motors and props at risk, but motors and props are a bit sturdier than camera lenses!
The next neat design touch is the two part main plate.
To save on weight, space, and ultimately cost, the bottom plate was split into two parts. The front part is where the camera plates fit in, and it sits lower, and the back part fits above with the arms sandwiched in between.
The back plate uses sunk nuts to hold the bolts in, which was a nice touch. It does make assembly a little more time consuming but the end result looks and feels really good.
This actually gives you a really solid center which is 7.2mm thick. It also allows to have fewer cutouts since the thickness variation actually accounts for the weight reduction, so the overall piece of carbon is much stronger.
It’s incredibly stiff and does not give at all if you try and bend it from the two arms.
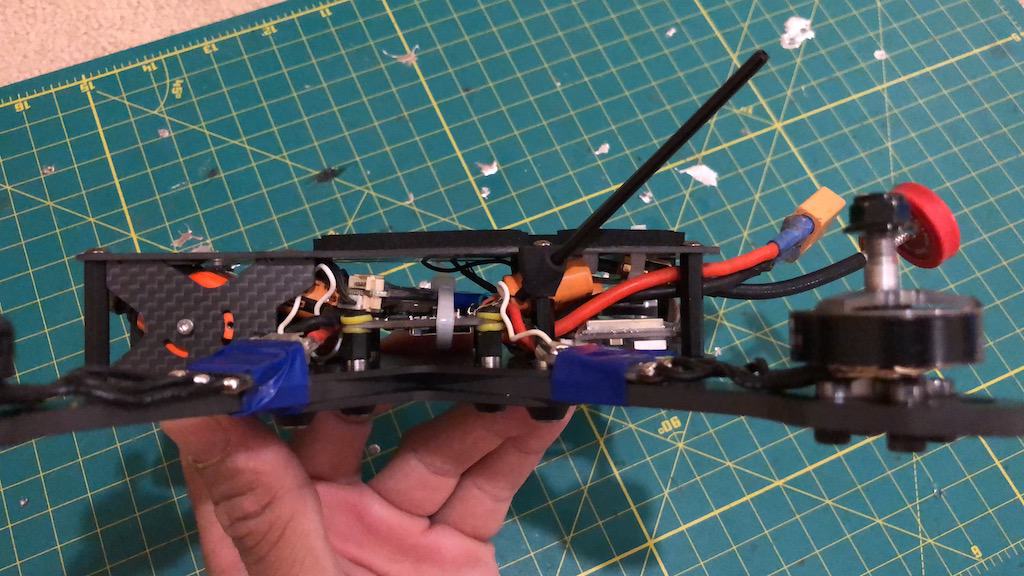
One really interesting(and perhaps the first time I’ve seen such a thing) design touch with the Reverb is the single standoff in the middle. There are a total of 3 pairs of standoffs, and one single standoff that goes directly behind the camera.
I think the split main plate design enabled the designers to use just a single standoff in the middle, since the majority of the structural support is provided through the solid center part.
The hardware that comes with the kit I purchased was a gunmetal finish. Man, does this look sexy! The hardware is made of stainless steel.
The cone washers also look really good, and will do a great job of preventing too much stripping/damage to the bolts when you skid across concrete.
The arms have mounting holes for both 16mm and 19mm holes. The really neat thing is that instead of slots, there are actually two circular holes combined into one slot, so the bolt can’t move back and forth when you’re attaching the motor to the arm.
This seems like a really minor detail but it makes a huge difference – I usually have a really hard time getting the motor holes to line up otherwise.
Finally, the antenna tubes that come with the Reverb are really nice. The idea for mounting the antennas is a shorter standoff, on which there is a glass fiber/nylon holder where the nylon tube slides in. This then gets flush with the top plate, and you use a long 12mm bolt to secure the holder through the top plate into the standoff.
After you fasten it down, the tube does not move either, so it’s a really solid fit! It is actually an ingenious design and really saves the trouble of using heat shrink and zip ties.
Frame assembly
ImpulseRC provides really nice PDF instructions for assembling the Reverb which you can find here.
The initial few steps are a little technical, so I’ll share how I did those with you here.
First, you’ll have to insert the sunk nuts into the back main plate. The sunk nuts have to be driven into the holes in the plate, though, as they won’t directly fit flush.
To do this, DON’T FILE AWAY THE CARBON AROUND THE HOLE!
You can either:
a) Whack it with a rubber mallet until it goes in
b) Use a bolt and washer to pull it in(better)
To use method b, place the sunk nut on the hole with the threads facing down onto the carbon, and use a washer and 6mm bolt(provided in the kit) and start screwing the bolt in from the other side.

Once the bolt is all the way through, keep turning the bolt until the threads of the sunk nut are fully flush into the plate. The washer will prevent the bolt from going further into the carbon, and the extra turns you do will pull the sunk nut in.
Pretty easy!
The second and third steps in the manual involve assembling the arms. This is pretty straightforward, except when you put the arms in one by one, do not torque the bolts down fully until you have all four arms in.

If you torque the bolts down fully like I did, you won’t be able to get the remaining arms to align correctly. Just keep the bolts a little loose so there is some play left, and you’ll be fine.
Fitting in the components
On the whole, it is a very spacious frame and I was able to fit all the components in very easily. This is considering that I was using slightly older ESCs with a CLRacing F4S board and had to fit four capacitors on the board!

There’s enough space behind the flight controller to fit a video transmitter like a Unify Pro or an AKK X2P as I have, and you can either mount your receiver on top of the video transmitter or on top of the flight controller.
The rubber standoffs that are included with the Reverb are meant for flight controllers that don’t have rubber mounting built in(like the CLRacing F4S or RaceFlight Revo boards).
Since I was using a CLRacing F4S, I had to screw a spacer onto the protruding bolt, place the flight controller on top, and screw that in with another bolt. It’s fine, but I don’t know how well the nylon standoff will hold in up a bad crash.
Even though it’s a shorter frame(30mm in the front, and around 24 mm in the back), it doesn’t feel too cramped, even with the capacitors.
I only wish there was a better way to zip-tie the VTx antenna. Chad Nowak has noted that the zip-tie method works best for him, but the space for the zip ties happens to overlap with the foam battery pad!
If I had better ESCs or when I upgrade the ESCs to newer ones, the build will become far cleaner.
In this way it’s a really neat idea of combining the long body idea with no wasted space.
Parts list:
- Rotor Riot HypeTrain V1
- RacerStar 30A lite BLHeli_S
- CLRacing F4S
- Runcam Swift 2(GetFPV / Banggood)
- AKK X2p VTx
- Pagoda antenna(GetFPV / Banggood)
- TBS Crossfire Micro RX
Conclusion
On the whole, I really enjoyed putting this frame together and the split bottom plates as well as the nylon radio antenna tubes are really cool design touches. Plus, the FPV camera is very well protected by carbon all over as it does not protrude much.
All danger areas – namely the antennas and camera – all well covered and protected and that ticks off the boxes for me as far as a freestyle frame is concerned.
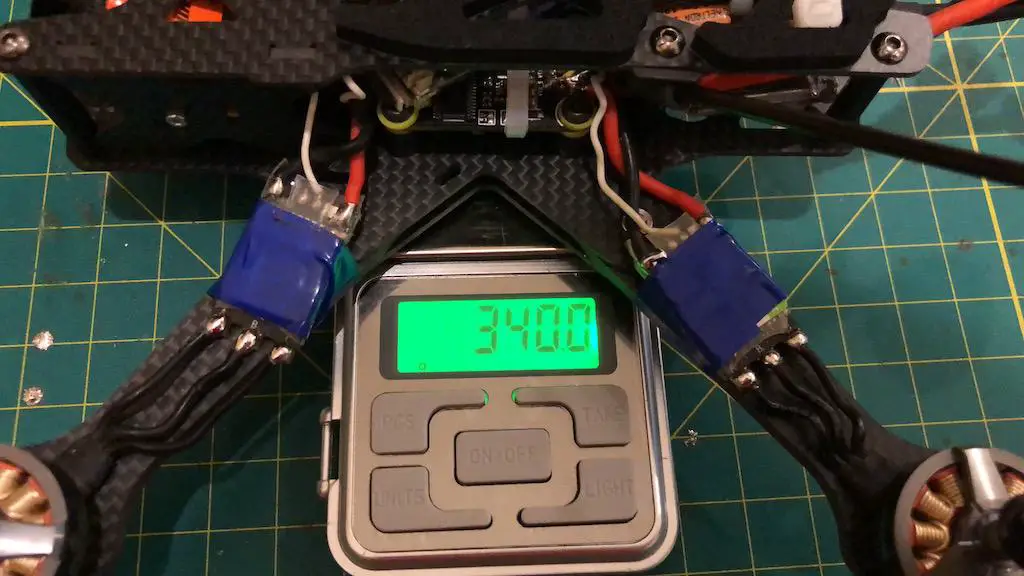
All together, the build does not weigh that much – in fact, it’s a very respectable 340 grams fully built up. Add another 150 grams for a battery, 20 grams for props, and 80 grams for a camera, and you’re looking at a 600 gram build AUW with a HD cam.

Not bad at all, as this is pretty much where most freestyle builds are.
This is my first ImpulseRC frame and I’m very happy that the ImpulseRC guys and Chad Nowak took cost into consideration. At just around $100 shipped, it falls in the same price range as the Armattan Chameleon and Rooster(this is not considering the fact that Armattan has a warranty!) – as well as most other premium frames out there like the Ummagawd Remix, Stingy, and other QAV frames.
If you’re looking for a new freestyle frame and you want something sleek but still with the awesome Alien form factor, the Reverb is an awesome choice.
Leave a Reply
You must be logged in to post a comment.