The kind folks at GearBest sent me a Furibee DarkMax 220 drone to review. The DarkMax 220 is an interesting concept as it has higher end components, meant to fly faster, and it’s still available for less than $200. That makes it an incredibly enticing choice for people who can’t resist the urge to have a new race quad(who can, right?) but don’t want to break the bank.
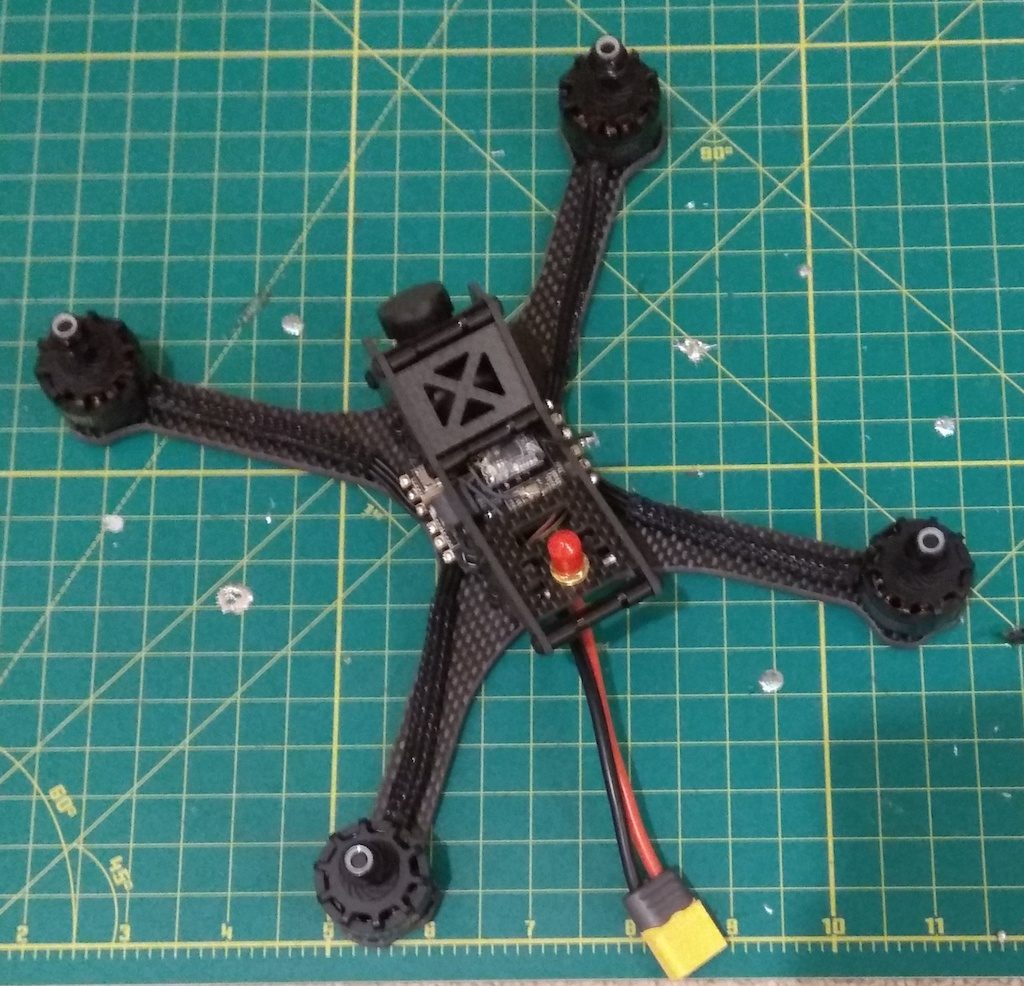
But does it live up to the hype? Let’s find out!
Components
The DarkMax 220 boasts impressive components for the price.
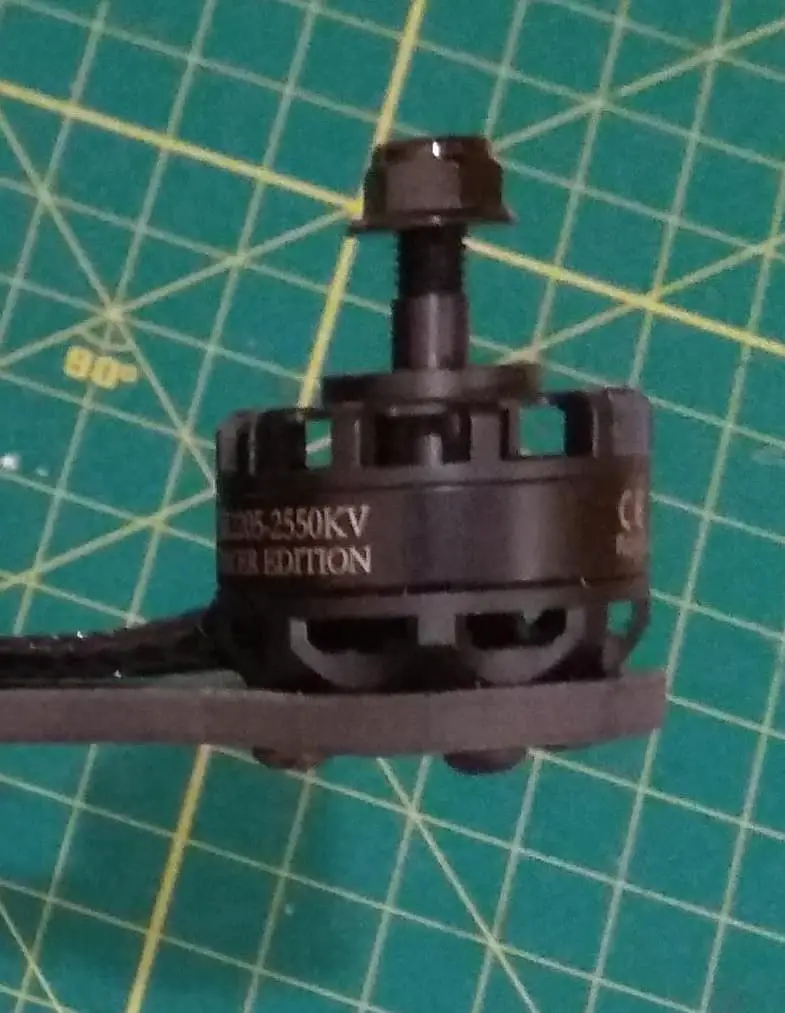
It has some special edition DYS 2205/2550kv motors. These aren’t the same as the DYS SE2205 motors that came out at the same time as the Emax RS2205 motors, but they’ve got DYS branding and race-ready specs, so they seem promising. The motors have C-clips instead of a bolt(like in the DYS SE2205) so that’s a bit of a bummer, but otherwise the motors spin very smoothly on the bench and I expect they’ll do nicely on the track, too.
The ESCs, FC, and VTx are combined in a 2-board stack. The brand of the stack is ARTOWER – first I have heard of it – and the bottom board is a 30A 4-in-1 BLHeli_S ESC that can take up to 6S and supports DSHOT600.
The flight controller is an F4 board with an integrated 48 channel VTx and it supports the Betaflight OSD, as well as current sensing.. The video transmitter has an RP-SMA pigtail which is connected with an IPEX connector. The transmitter can switch between outputting 25 mw, 100 mw, and 200 mw, which is good for racing as you can switch to lower powers for smaller and indoor tracks.
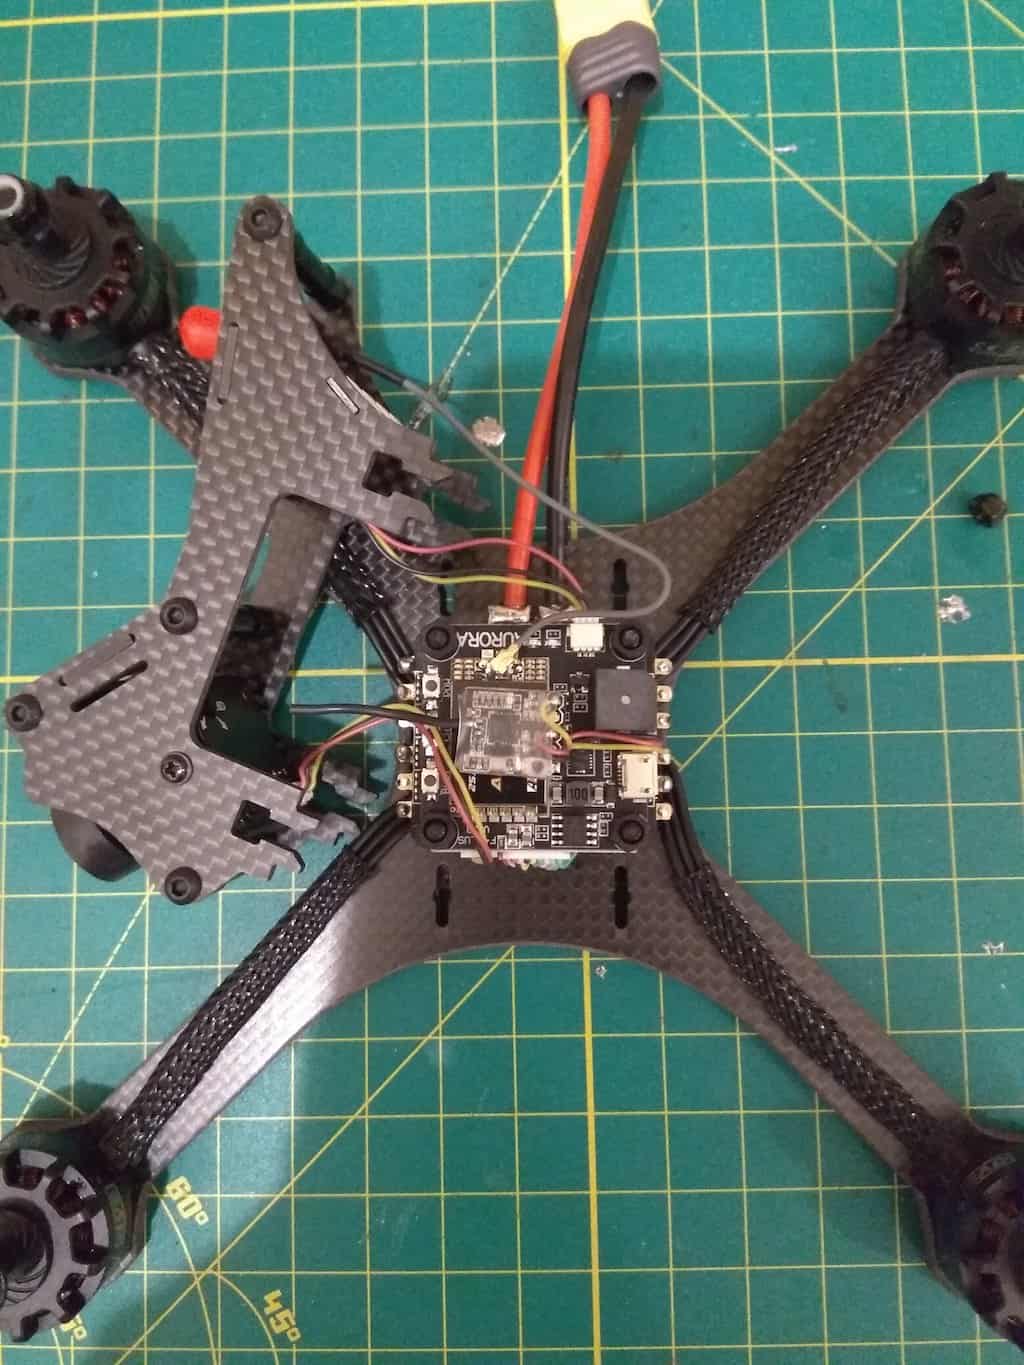
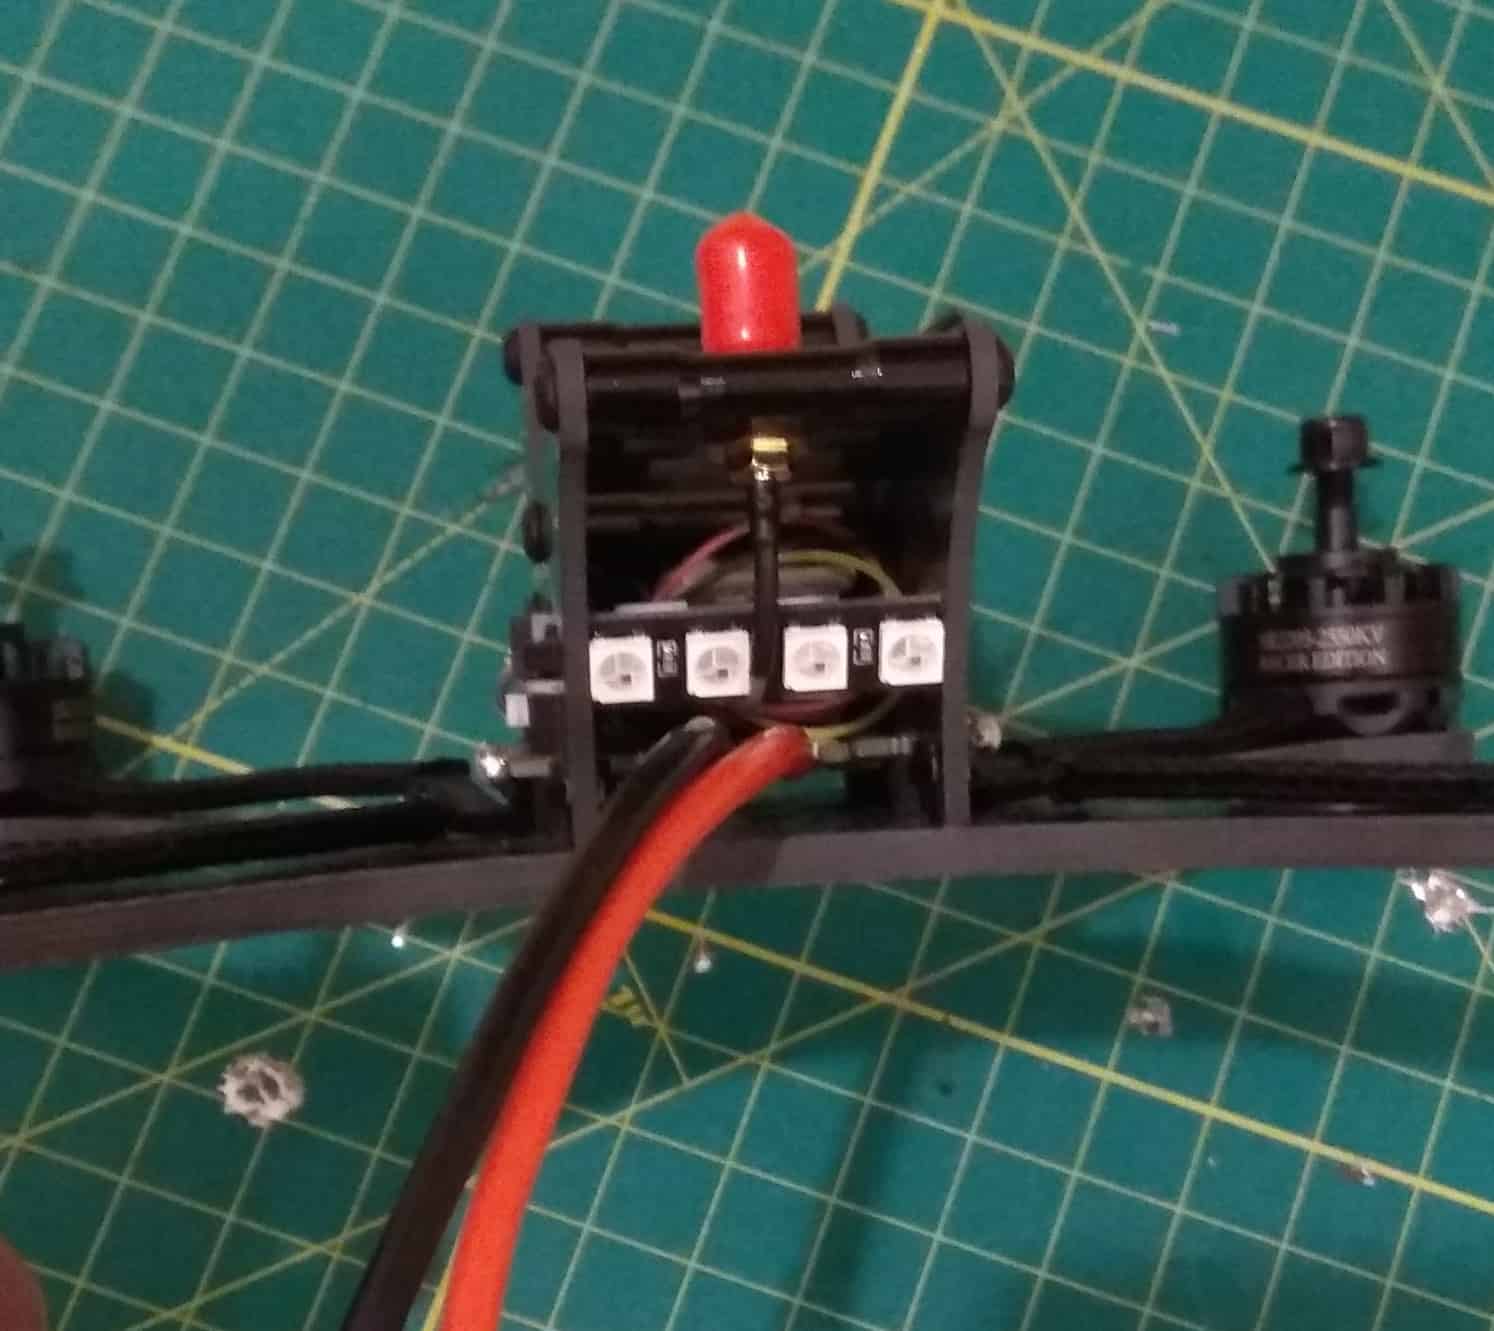
The stock antenna is complete garbage, so use any circular polarized or pagoda RPSMA antenna you have lying around.
There are three buttons on the side of the flight controller – one to change the channel and band, one to change the transmit power, and one bootloader button.
Interestingly enough I was not able to see how you could tell which transmit power you were on as there is no visibly display anywhere.
That’s really the issue with these tight builds – displays and buttons become a little hard to reach!
The DarkMax 220 ships with 2 sets of Gemfan 5152 triblade propellers – these are pretty heavy props and I suspect they’ll take quite a lot out of the batteries.
Finally, the FPV camera is a generic CCD camera with a 2.5 mm lens. There is an OSD that you can access to change the settings, but the plug is very inaccessible and I’ll have to remove the entire top of the frame to get to it, so let’s see.
This miniquad is a BNF, which means you get a receiver with it too. I was mistakenly sent a FlySky model, so I’ll have to swap the receiver out. No big deal, as I have one extra lying around. However, even the existing FlySky receiver was in such a tight spot that I had a hard time locating the bind button. I suspect I would have had to remove the top anyway.
There’s also a built in LED strip which was a nice touch.
All in all, the components are pretty promising for the price tag and should perform well.
Frame design and build quality
The frame is a true-X design and feels very solid to hold. With a battery strap and antenna, it weighs 276 grams. Add 4 props and you’re looking at just shy of 300 grams. Impressive.
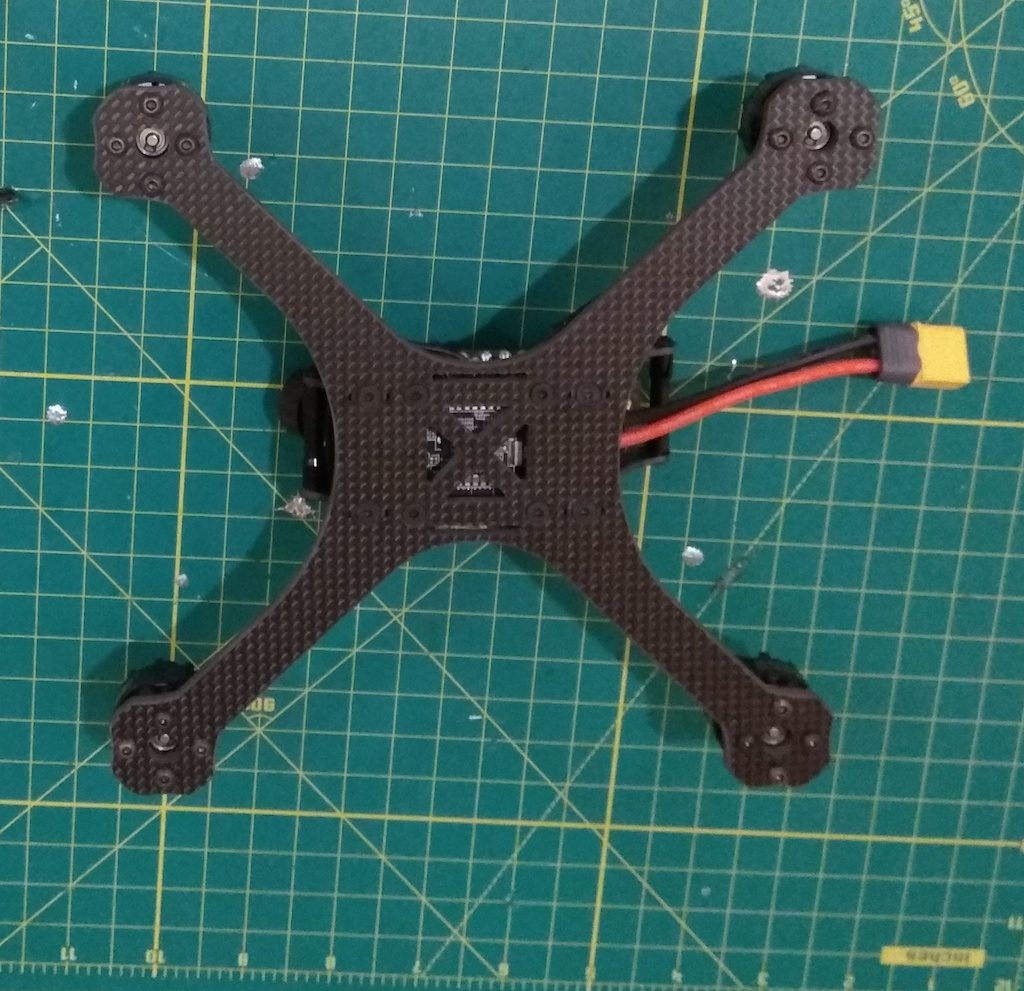
Just from an initial glance at the frame, though, and man, it is SWEET.
The build quality – as far as cleanliness and soldering go – is just impeccable and it truly looks like a work of art. I mean, if you just wanted to buy this miniquad based on aesthetic appeal only, I think you’d find a way to rationalize it!
Instead of the usual standoff/top plate design, Furibee decided to go with two side carbon fiber plates that are held onto the bottom plate with 4 bolts and nuts. The side plates then hold two top plates sandwiched between them, the first which houses the FPV antenna pigtail and the second which can be used to support a HD camera.
Honestly, I don’t like mounting HD cameras directly onto carbon fiber as they get very easily dinged up in crashes, especially if you’re using a Chinese camera like the Eken H9.
I’m planning on using this setup purely for racing, so I don’t really need to worry about an HD camera, but if I were to mount one, I’d use some foam to pad the carbon fiber plates before sticking a camera on there.
Another neat design touch is that the bolts on the bottom plate are flush with the plate. For bottom mounted battery frames, this is an awesome touch – small bumps won’t put unnecessary pressure on the battery, and it will sit much smoother.
The top assembly is a little bit complicated, if you ask me. I suspect it will be a little finicky to get the side plates out if I want to make any changes or repairs – I’ll have to open it up anyway to replace the receiver! I felt that centering the bolt and nut that hold the top plate down may be a little difficult.
However, upon opening it up, I saw that the side plates actually don’t depend completely on the bolts to stay in – the carbon fiber from the side plates slides into slots in the bottom plate, and the bolts are just there for added strength.
It was still quite a hassle to align the bolts in the tiny space – considering that the arms get in the way and it is a little hard for someone with fat fingers like me to hold a bolt like that and fit it in place.
It’s not really a deal-breaker, but it does make field repairs a little bit more of a hassle than necessary.
I also had an issue with screwing on an antenna. For whatever reason, the nut holding the pigtail in place does not tighten down quite enough, as when you try to turn the antenna the last turn to tighten it down, the whole pigtail turns with it!
I will try to secure it in place with some hot glue and see how that goes.
Ease of setup
Setting up the quadcopter was fairly simple. My model came loaded with Betaflight 3.2 which was nice.
To be thorough, I like to go through all the screens on the Betaflight configurator to make sure all the settings are OK. Indeed, everything was fine and motor directions were fine too.
There’s one thing you must note though – the manual they provide says that Serial RX is on UART1, but I found out that mine worked on UART6. I believe that’s how the new iterations of the Omnibus board(this board takes the OmnibusF4SD target) are, so keep that in mind.
Otherwise this was quite literally bind and fly – I just had to enable the ARM and Flip After Crash modes, as well as Airmode and that was it. The in built OSD settings are also a bit too crowded for my liking, so I turned that off and just enabled the basics: craft name, timer 2(fly time), main battery voltage, current draw, and mah drawn.
Flight performance
So when I took this quad out for the first time, I just could not get it to fly! It would keep taking off, twitching, and the props would stop spinning.
I just could not figure out why this was happening – I tried resoldering the motor leads, updating ESCs, updating firmware, but still the same thing.
Finally, I changed the flight controller to a spare one I had lying around(I had to switch the VTx too) and just before I was about to power up, I noticed that one of the motor wires was stripped and possibly shorting out against the carbon fiber of the bottom plate!
Funnily enough, I read in Propwashed.com’s review that their sample of the Furibee Darkmax 220 also had a stripped motor wire that was shorting out, which they fixed and their copter flew fine.
Of course by the time I discovered this, I had already cut the connector off of the wires coming out of the 4 in 1 ESC so I could no longer use the original FC.
The review and flight performance will still be the same as if you had the original flight controller, since the powertrain is the same, and even the firmware on the board is the same(Betaflight) – the only difference was that I had replaced it with an F3 board and the original board was an F4.
However this won’t affect speed or handling(at least on stock PIDs anyway).
My copter then flew fine – I got in about 3 packs when I went out to fly it and here are my thoughts on performance(DVR is at the end of the post):
- The copter flies very well with the stock 5152 props. These are higher kV motors so top end speed is much higher, and if you give the camera enough uptilt, even mid to high throttles felt decently fast.
- Lower end throttle was OK, and the copter flew mildly – to really push it, you have to increase uptilt to 45 degrees at least so you’ll get good angle and throttle to go fast.
- The stock FPV camera was terrible. I was flying into the sun and the image was so whitewashed that I just couldn’t see the gates well enough to line up correctly.
- In my attempts to get it flying, I ended up crashing a lot and flipping on to concrete a few times. The frame was unscathed, which was good.
Final thoughts(read this if nothing else!)
The DarkMax 220 is an excellent inexpensive quad – but it is not as out of the box as it would seem. The fact that I’ve seen two separate incidents of a stripped motor wire is interesting, so if you do decide to pick this quad up, I would recommend you make sure the wires are ok.
Assuming that these were two isolated incidents(the rest of the reviews I have seen online seem to be raving), the value for money you are getting is EXCELLENT.
As far as flight performance goes, it’s a good race quad and you could probably use it for acro flying too. Though I feel the higher kV motors are more suited to racing.
The biggest gripe I had was the FPV camera – but then again, I was probably asking too much – I can’t reasonably expect a quad that is this inexpensive to have a top quality FPV camera.
Although I would like to make a suggestion to manufacturers – DON’T CHEAP OUT ON FPV CAMERAS! You can get great HS1177 clones for cheap and a good FPV camera makes a whole world of difference. Indeed, the camera is the one thing that you can actually see as you are flying – it’s your most important connection to the quad.
All in all, though, for less than $200, you can’t go wrong with the DarkMax 220 – just be prepared to swap a thing or two out. Even if everything else is fine, I still suggest you replace the FPV camera.
If you’ve got a hankering to pick up a nice racequad and don’t want to break the bank, go get yourself a Furibee DarkMax 220.
Leave a Reply
You must be logged in to post a comment.