When I came back from the USA this year, I (apparently) did not pack my gear correctly, so I ended up damaging my Taranis X9D+ LCD screen. It had pretty much leaked and was totally unusable.
Luckily there are plenty of spares available for the Taranis, so it was easy to fix. I simply headed over to Google, found the part I needed, and started work.
All in all, it took me about 30 minutes to take the Taranis apart, replace the screen, and put it back together. It may take you even less time.
Remember to remove your battery before doing any work!

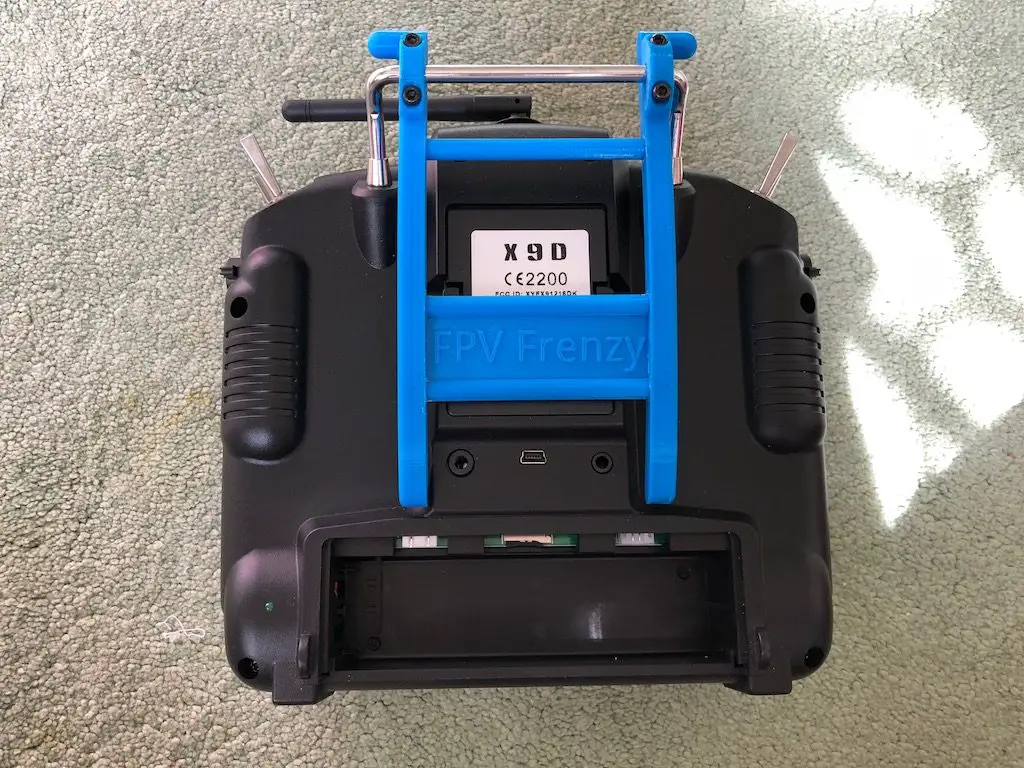
Step 1: Remove the 6 screws on the back of the Taranis
The X9D+ has 6 screws on the back(unlike the Q X7 which has only 4). Remove the screws and separate the two halves of the radio, but be careful:
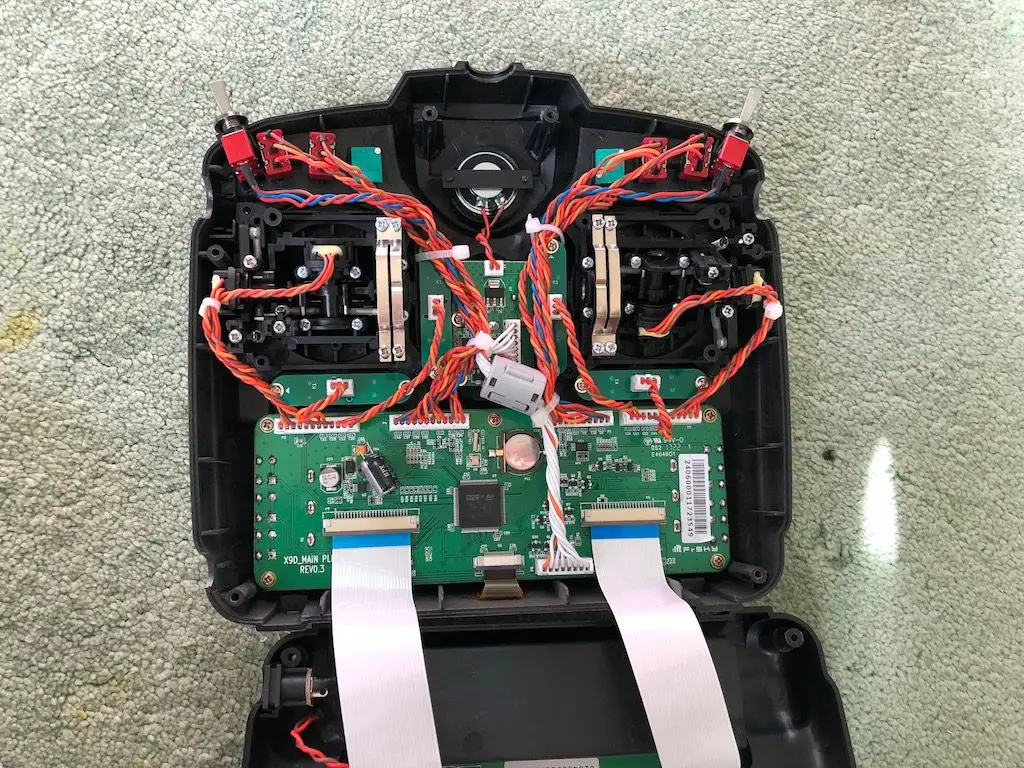
The switches may fall out, and there are two ribbon cables connecting two boards in each half together. To fully separate the halves, you’ll need to remove the ribbon cable.
Step 2: Remove the 2 ribbon cables and separate the front and back

To remove the ribbon cable, pull the little plastic fastener out towards you to disengage it. The cables will just slide out. Now that the halves are separate, you can get to work on the front half to remove the broken LCD and replace it.
Step 3: Unscrew the main board
There are a bunch of connectors plugging into the main board. You’ll have to carefully remove all of these. They can be a little tight, so be careful. You don’t want to yank too hard and remove the other part of the connector, otherwise it will be a whole new hassle.
Don’t worry about the cables, just remove them – plugging them back in is easy because they can only fit in one spot. Once the cables are out, remove the 5 screws holding the board in and set them aside.
Step 4: Remove the broken LCD

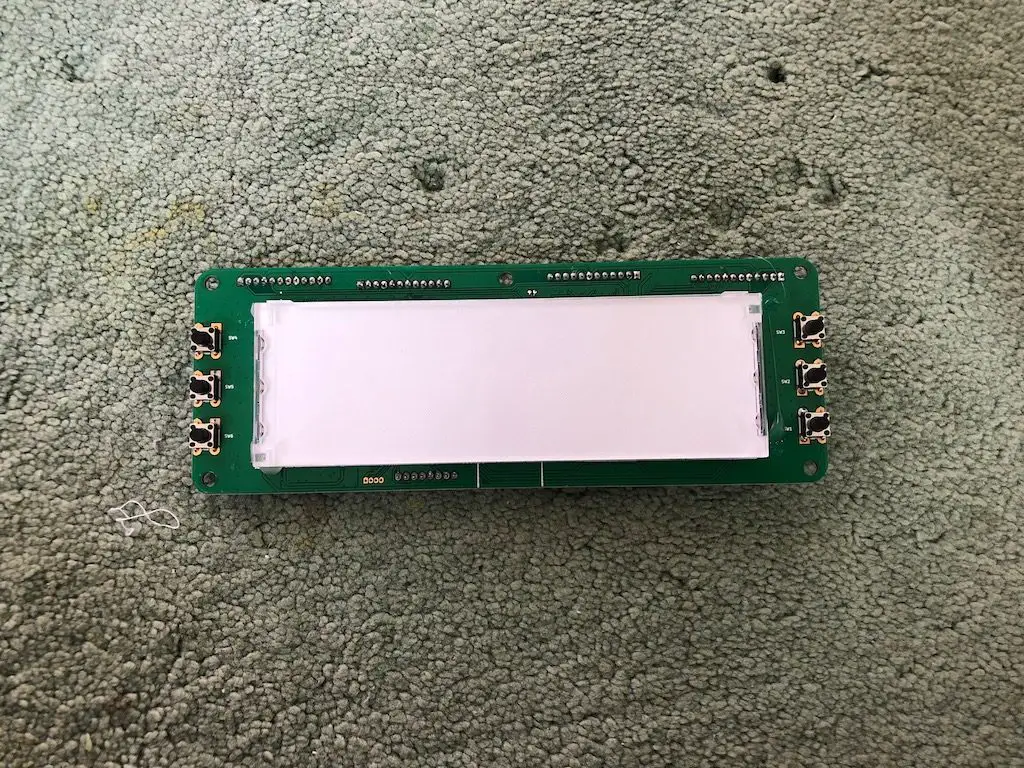
The LCD assembly is actually stuck onto the backlight, and the replacement you’ll get will also most likely include the backlight too. If your backlight is not damaged, you can just replace the LCD and not have to worry about the backlight, since that involves desoldering the whole unit and then replacing it.
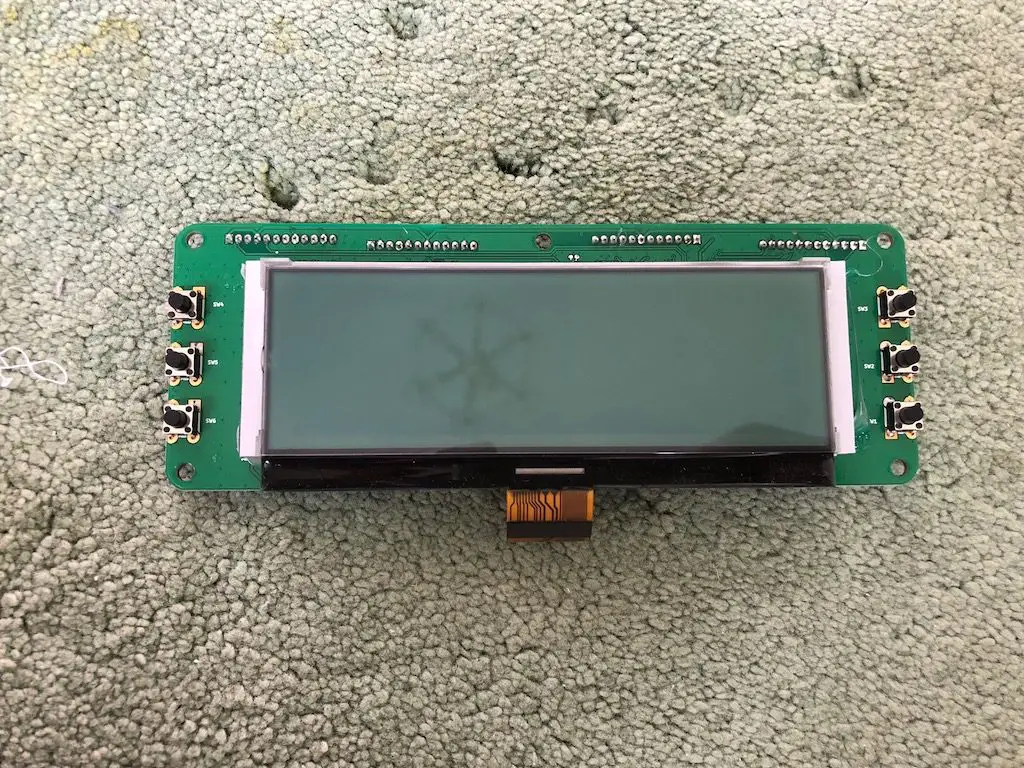
To remove the LCD, take out the small ribbon cable that connects the LCD to the main board using the same method described above.
Next, use a little hobby knife and lift up the tape-like material from the top of the backlight – this is part of what is holding the LCD down.
Then use your finger to lift up the LCD out of the little plastic bracket, and with a bit of coercing it should come out.
Step 5: Replace with the new LCD

Take the replacement part you ordered, and if your backlight is fine, lift off the LCD from the backlight since you don’t need the backlight right now. You can leave it in your spares box.
Stick the new LCD onto the backlight assembly, and flip the board over and plug in the ribbon cable.
That’s it! The new LCD is in place and you can start putting the radio together again.
Leave a Reply
You must be logged in to post a comment.