Up until now, the only FPV cameras I felt were decent enough to use on miniquads were either the good ol’ HS1177(which I no longer use, though), and Runcam cameras.
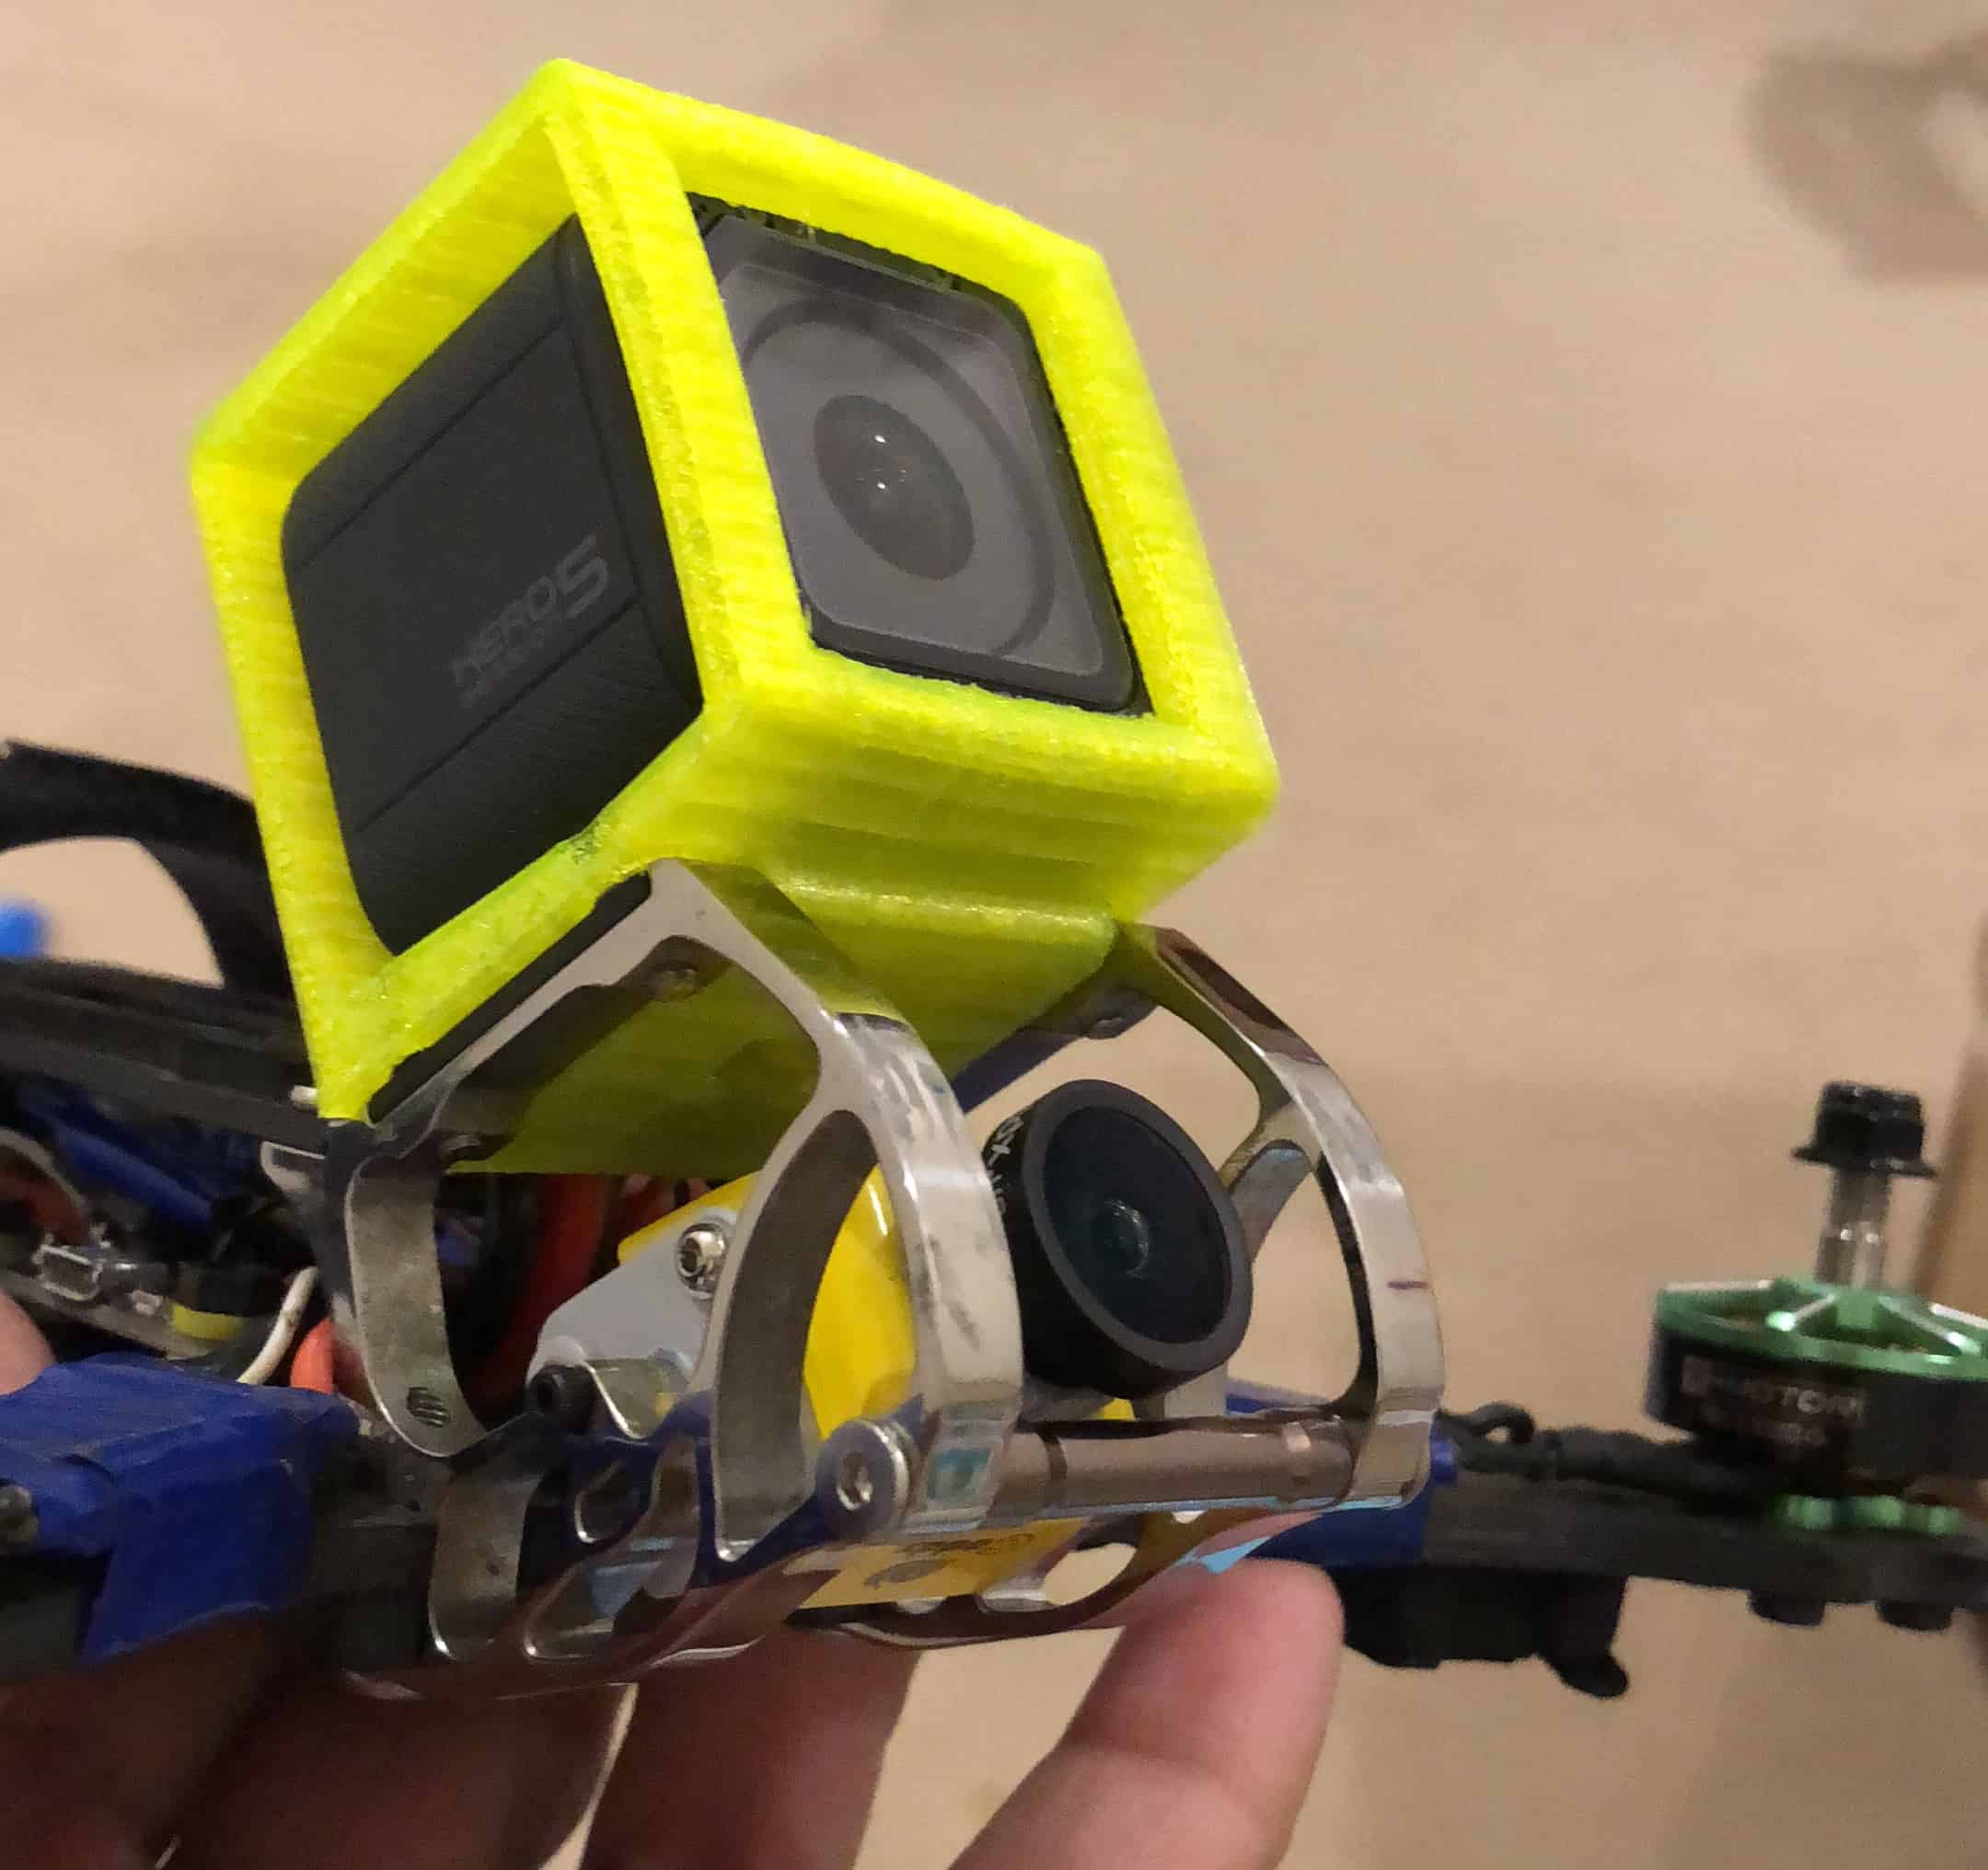
When a new company called Caddx burst onto the scene, I was intrigued. As it just so happened, the Runcam Swift 2 on my Rooster died and so I decided to replace it with a Caddx Turbo S1.
(I’ve only used Runcam Swifts, my next build will probably use an Eagle).
Design, feel, and unboxing
The Caddx Turbo S1 uses the same form factor as the Runcam Swift mini(not micro). The build is quite solid, and I think the most striking feature on the surface is the large grey nylon focus adjusting ring on the front.
One gripe I have had with Runcam cameras is that the focus ring is really small – or at least the grooves are anyway – and I always found it difficult to get fine adjusting with the focus.
The grooves on the focus ring in the Caddx are much deeper and easier to adjust, turn, and tighten again.
The camera I got came with a 2.1 mm lens.
On the back side, there’s a picture of a snail(I am assuming this is a reference to the movie Turbo about a racing snail), and there is a single port where you plug in a really nice silicone cable.
It’s really good that manufacturers have finally gotten the message and exclusively use silicone coated cables as the plastic ones were just terrible.
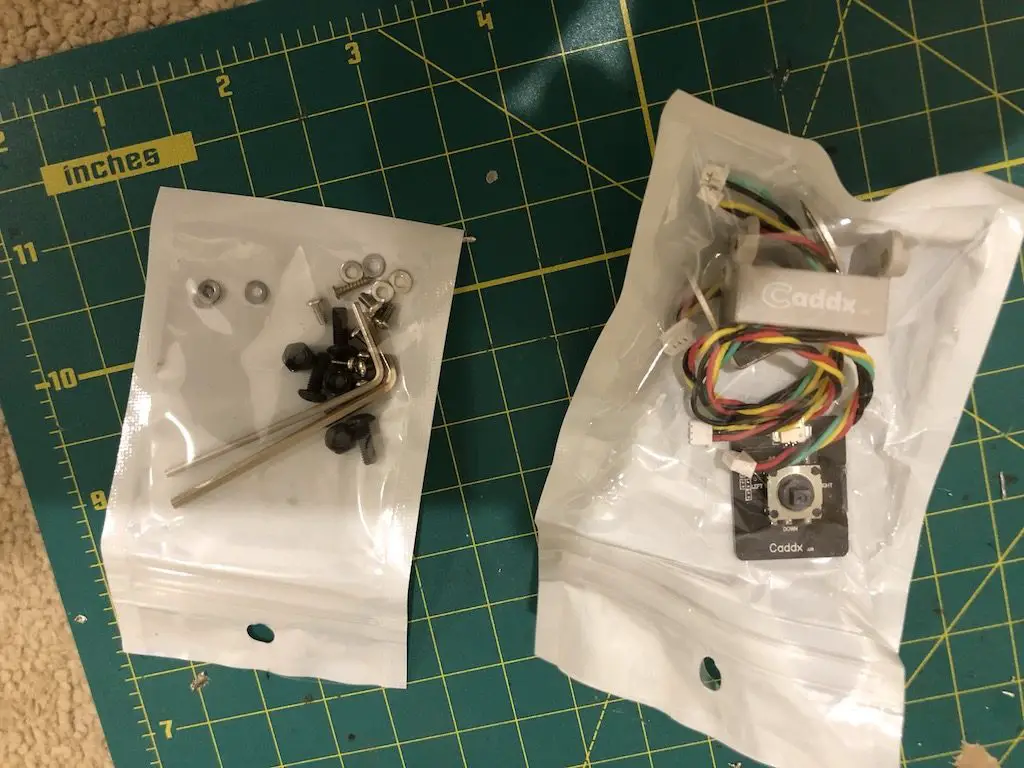
Since this is a “mini” form factor, it won’t directly fit into plates/cages designed for the regular 27mm sized cameras. To get around that, Caddx includes a little plastic extension that the camera fits into. The extension is secured using 3 bolts(remember to use the included washers too), and with the extension, it fits perfectly into my Rooster’s camera cage.

The camera takes a wide range of voltage input. The wires are in this order: Voltage, GND, Video, and OSD.
The cable goes into the camera, and then splits to form two plugs – one that you can wire into the flight controller, and one that goes into the OSD.
For this, the ground wire is double. The OSD controller is a little board that comes with it. The plug goes into the controller and you can use it to change settings.

Personally I don’t like the idea of the OSD cable joint like this, since you either have to find a mounting solution for the board and keep it permanently plugged in, or you have to have a dangling wire.
The way I wired it up to my CLRacing(which has a Camera control pad) was a simpler solution, since I cut off all the connectors and just directly soldered everything including the OSD wire to their respective pads.
I didn’t have to change any settings in the BF configurator to get the camera control to work.
You just have to raise the throttle to mid and push yaw to the right, and you’ll enter the menu.
Setting up
The menu options were quite straightforward, and after going through them all, I just left them on default.
One thing I was not able to figure out was how to turn the OSD off. Since I already have the Betaflight OSD active, the Caddx OSD is a little redundant.
I will post an update about this soon. Since I am using Camera Control from the FC, I am not sure how it’s done. With the Runcam Swift, you had to push down on the joystick to bring up the main settings menu where you could change the name and choose what to and what not to display.
Aside from that, it was pretty straightforward like any other camera.
Flight performance and image quality
The camera lens was well focused from the get-go, and I didn’t need to make any changes there. However, there were some very faint lines in the feed which seem like disturbance or noise, but they don’t get worse/better with changes in throttle, so I am guessing it’s part of the camera feed itself.
Otherwise, objects were nice and sharp, light handling was great(I flew in towards and out of the sun a few times), and the latency was not noticeable(not that it really is anyway, unless you’re using some sort of meter to test it).
Caddx advertises the camera as very adept at handling low light situations, which I am yet to test. Update on that soon.
Here’s a DVR of a recent flight I did:
Specs
| Model | Turbo S1 |
| Image Sensor | 1/3″ CCD Sensor |
| Horizontal Resolution | 600 TVL |
| TV System | NTSC/PAL |
| Synchronization | Internal |
Ratio 4:3
| Electronic Shutter | PAL: 1/50~100,000; NTSC: 1/60~100,000 |
| S/N Ratio | >60dB (AGC OFF) |
| Video Output | CVBS |
| Lens | 2.5mm ,FOV 130° |
| Lens Screw Diameter | M10 |
| Min. Illumination | 0.01Lux@F1.2 |
| Auto Gain Control | YES |
| BLC | YES |
| FLY OSD | Voltage/time/horizontal line/title |
| Camera OSD | YES |
| WDR | D-WDR |
| DNR | 2 DNR |
| Day/Night | Auto/Color/B&W |
| Connector | Molex PicoBlade 1.25mm 4P |
| Wide Power Input | DC 5-40V |
| Work Temperature | -20℃~+60℃ |
| Work Humidity | 20%~80% |
| Dimensions | 22mm*22mm*27mm |
| Weight | 12g (N.W.)/ (G.W.) |
Conclusion
All in all, the Caddx Turbo S1 is a solid alternative to the Runcam Swift 2. It’s nearly the same price, so in all honesty, it’s a toss up as to which you want to use.
I may change my mind once I get a chance to fly this at night and see how the night footage is.


Leave a Reply
You must be logged in to post a comment.